Close

A Community of Artists
Lesson Plan, Grades 5-12, Social Studies, Art, 3-D
Description
Lesson Plan & Artwork by: Mary Reilly
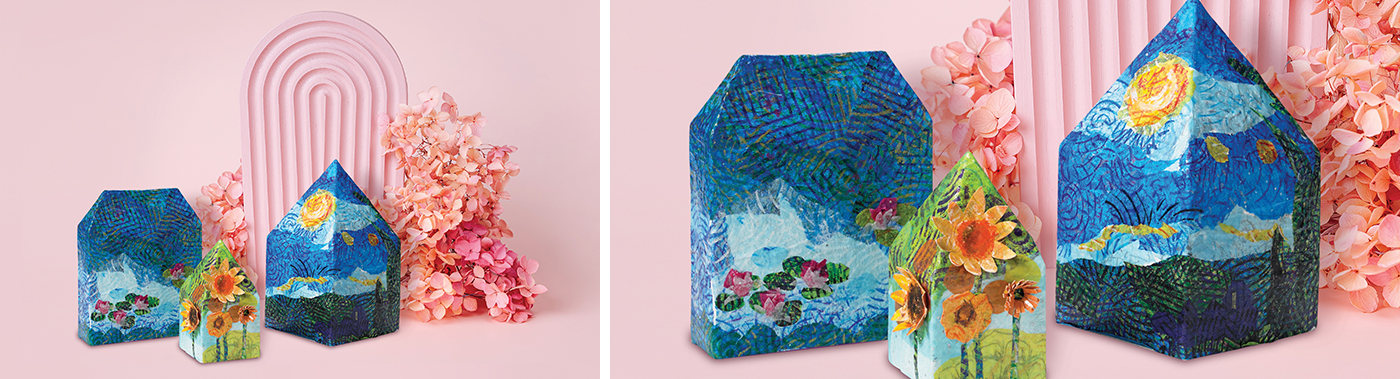
Artists have long valued the idea of community. Art Communities can be based on a style of work, a school of art, a specific movement, or a time period. The formation of artist communities has nurtured the creative spirit, supported that which is different, and has encouraged creative thinking, problem solving, and instructive criticism. Through the use of simple three-dimensional construction and various paper techniques, students will create a classroom artist community of houses, with each house representing a different artistic style.
Objectives
- Students will explore different art styles and communities and discuss the influences these styles had on the world of art. Some of the more famous artist styles/communities are the French Impressionists, Cubists, Surrealists and Abstract Expressionists. Based on their research and discussion, students will establish guidelines for their classroom art community.
- Students will select artists they want to represent in the community being built.
- Students will create three dimensional houses, with each one representing a specific art style.
- Students will have the opportunity to discuss the value of community in both the world of art and the world in which they live.
Supplies Needed
KolorFast® Luster Tissues Assortment, Pack of 14 210790
KolorFast® Glitter Tissue Assortment, Pack of 14 409339
KolorFast® Tissue Assortment, 50 count 214944
Plast'r Craft® Modeling Material, 5 lb. 399395
School Smart® Newsboard, 18" x 24", Pack of 12 085576
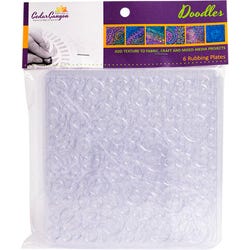
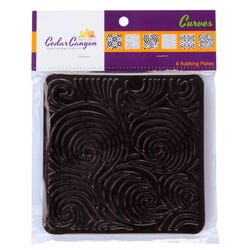
Curve Rubbing Plates, Set of 6 410873
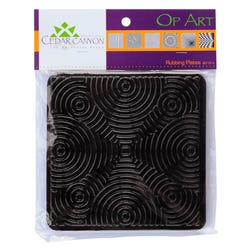
Op Art Rubbing Plates, Set of 6 410874
Corobuff® Sheets, 12" x 16", Pack of 12 006321
Garden Flowers Rubbing Plates, Set of 6 1280619
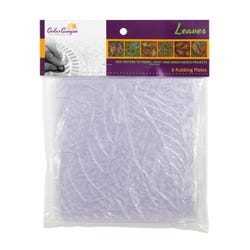
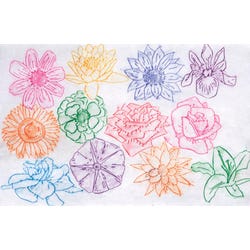
Roylco® Flowers Rubbing Plates, Set of 6 410526
PlayColor® Water-Soluble Solid Tempera Sticks, Matte, Set of 12 1439083
PlayColor® Water-Soluble Solid Tempera Sticks, Metallic, Set of 6 1439039
Richeson Semi-Moist Pearlescent Watercolor Set, Set of 12 1439134
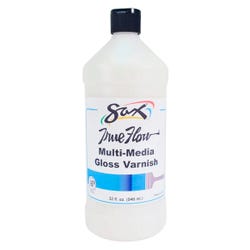
Sax® True Flow® Multi Media Varnish, Quart 403960
3M 201+ General Use Masking Tape, 1/2" x 60 yds 1461993
*Here are the supplies needed for this lesson plan for reference. Find a convenient carousel of shoppable products for this lesson below.
Standards
Standard #1: Generate and conceptualize artistic ideas and work.
Standard #2: Organize and develop artistic ideas and work.
Standard #3: Define and complete artistic work.
Standard #5: Develop and refine artistic work for presentation.
Standard #10: Synthesize and relate knowledge and personal experiences to make art.
Instructions
1
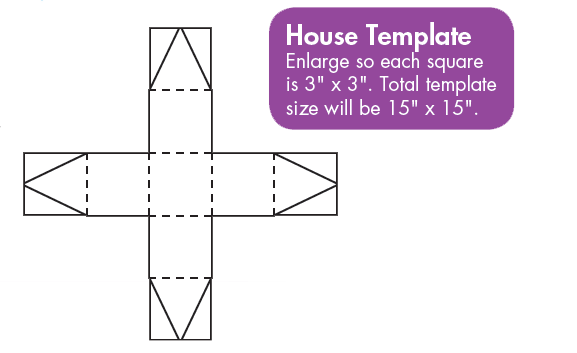
House construction: Start with a plus sign template. The template below represents a three inch plus house frame; each part of the plus sign is three inches: the roof, house sides, and base. Once students start to experiment they can create larger and more complex houses using this plus sign concept. Have students start by drawing their template on paper.
2
Trace the template on newsboard. Draw lines to mark the base lines, house side lines, and roof lines. See template below. Cut out shape, score the dotted lines. Fold on these lines to create the frame of your house. Tape sides and roof using masking tape.
3
Prepare Plast'r Craft® per manufacturer's instructions. Place one layer of Plast'r Craft® over the entire house frame and allow it to dry. The Plast'r Craft® will make the house sturdier to handle. If texture is desired, the Plast'r Craft® can be easily manipulated to create different types of textures at the time of application.
4
Create different patterned papers by using KolorFast® Tissues, tempera sticks, and rubbing plates. Students will use these papers to decorate their houses and make them their own. Students should experiment with different colors and patterns. Note: KolorFast® tissue does not bleed; other tissues will bleed and students' patterns can be lost.
5
Students should select the papers that will best help them emulate the chosen artist. Have students look for patterns that best reflect brush strokes and textures used by the artist. Students can trade with each other to achieve the patterns and colors they need to complete their work.
6
Once students have chosen the papers they want to use, they should experiment with placement. Students should try to create a placement that will use the whole surface of the house. Once students are comfortable with their design, they can use Sax® Multi Media Varnish to adhere the tissue paper to their house frame. Allow to dry. Students can now add other embellishments.
7
When all the houses are complete, a grouping of houses should be put together. Have each student explain how their design represents the artist they chose. Talk about what makes this grouping a community.