Close

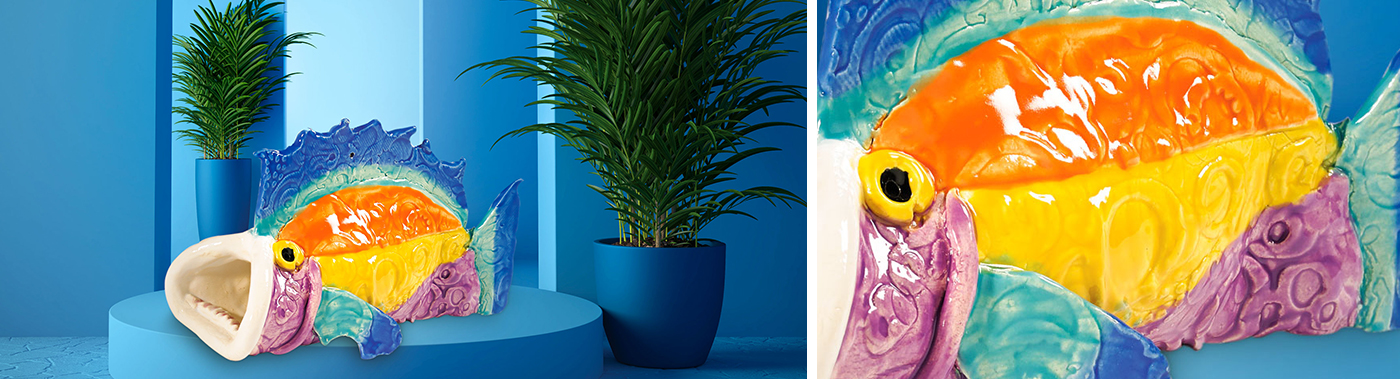
Taco Fish
Lesson Plan, Grades 3-12, Science, Art, Ceramics & Sculptures, 3-D
Description
Lesson Plan and Artwork by Eric Orr
Fish are a colorful and inspiring subject for individual expression as no two are alike in shape, color, texture or form.
Objectives
- This clay lesson allows for creative fish construction while paying attention to fish biology. White art clay and glazes provide the perfect match for creative colorful expression and decoration.
Supplies Needed
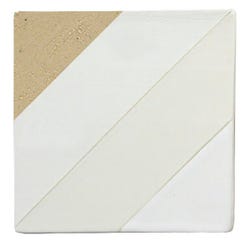
Supply #1 351452 AMACO® White Art Clay No. 25, 50 lb.
Supply #2 1402970 AMACO® Teacher's Palette® Non-Toxic Glaze Class Pack No. 3, Set of 12, Pint Jars
Supply #3 1494608 AMACO® Teacher's Palette® Non-Toxic Glaze Class Pack No. 4, Set of 12, 8 oz. Jars
Supply #4 409782 Clay Slabmaking Complete Kit
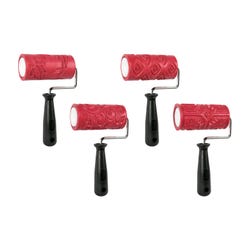
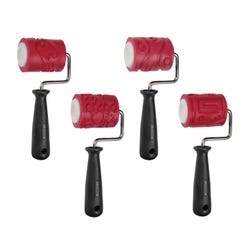
Supply #5 1402963 AMACO® Textured Clay Rollers: Koi Fish, Vine/Leaf, Tribal, and Pre Columbian patterns, Set of 4, 4" Wide
Supply #6 1442849 AMACO® Textured Clay Rollers: Chain Link, Pre-Columbian, Wave, and Circle patters, Set of 4, 2 1/2" Wide
Supply #7 385145 Kemper Fettling Knife (Kit includes 4)
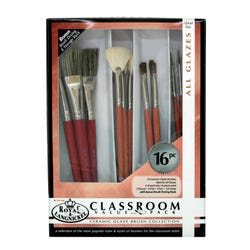
Supply #8 1289641 Royal Brush® Ceramic Brush Classroom Value Pack, Assorted Sizes, Pack of 16 (Kit includes 2 packs)
*Here are the supplies needed for this lesson plan for reference. Find a convenient carousel of shoppable products for this lesson below.
Standards
CONTENT Standard #1: Generate and conceptualize artistic ideas and work.
CONTENT Standard #2: Organize and develop artistic ideas and work.
CONTENT Standard #3: Define and complete artistic work.
CONTENT Standard #5: Develop and refine artistic work for presentation.
CONTENT Standard #10: Synthesize and relate knowledge and personal experiences to make art.
Instructions
1
Roll a slab using one pound of clay (approximately the size of an orange) to 1/4"or 5/16" thick round disc.
2
Texture slab with textured clay rollers. Use more than one for a random fish texture.
3
Trim around a 5-6" diameter lid or bowl placed on the clay slab. Cut circle towards edge of slab as extra clay is needed for fins, tail etc.
4
With remaining clay, cut out an expressive tail, dorsal (top) fin and two pectoral (side) fins.
5
Texture back sides of dorsal and pectoral fins with textured clay rollers.
6
Turn clay disc over, texture side down, and fold into a taco shape. Stuff the shape with a small amount of newspaper to facilitate it holding a three-dimensional form.
7
Score and apply slip to top inside of taco shell as well as one end and insert dorsal fin and tail. Press shell firmly around inserted pieces.
8
Score and slip the pectoral fins and press firmly to side of fish to aid as a support. Cutting the bottom of the tail flat will also facilitate the fish standing up on the table.
9
Add details: Coil lips? Teeth? Eye balls? Gills? Inside mouth details?
10
Fish may be displayed as it is on belly, or a hole may be made in belly and fish displayed on a rod with a base. Flying (taco) fish may be created by gently holding leatherhard fish by its dorsal fin to ascertain balance point, then poking a small hole (pin tool) in fin at balance point for later tying string in order to hang fish from ceiling.
11
Dry fish and bisque fire to cone 04 (1945 degrees F.) If desired, remove paper when the clay is still slightly damp at the leather-hard stage.
12
Using glazes, brush on several coats specified in package directions, letting glaze dry between coats. Ideas: cool colors on one side, warm on other? A monochromatic color scheme? Analogous colors? Complimentary? Pointillist? A fish with camouflage? A fish glazed "in the style of" a famous artist? A graffiti fish?
13
Glaze fire to cone 05-06 (1888-1828 degrees F.). Be sure to either wipe glaze off belly of fish and bottom of fins, or better yet, apply underglaze, as it will not stick to the kiln shelf.