Close

Spiral Bookmaking Cover Design
Lesson Plan, Grades 4-12, Language Arts, Art, Sax, Mixed Media
Description
Lesson Plan and Artwork by Joe Culotta
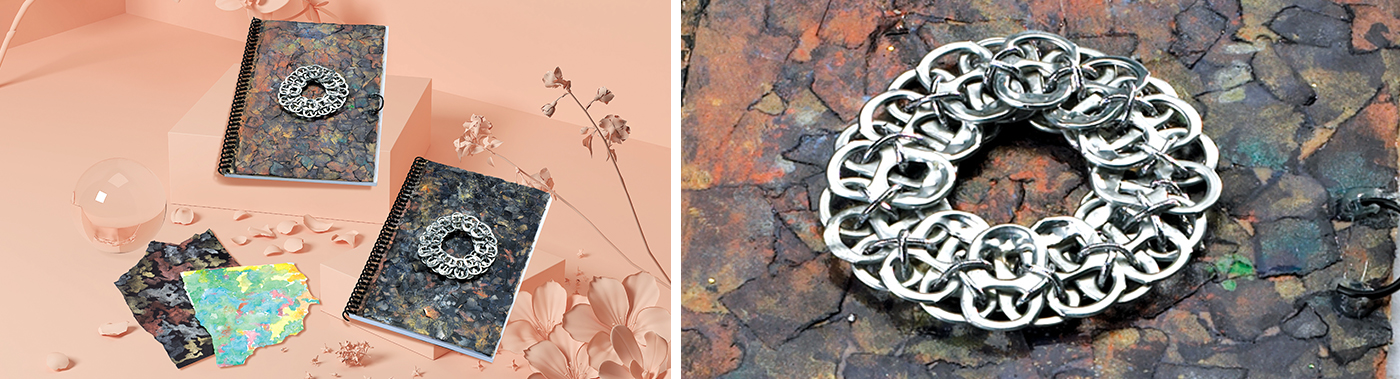
Creative decoration for books involves using simple materials along with creative imagination. The process for these decorative covers involves collage, assembly and creative decoration using recyclable materials. These books can be used as journals, sketchbooks or student notebooks.
Objectives
- Students will decorate a 6"x 9" cover to be used as a journal or sketchbook through collage, the process of applying torn papers to a surface.
- Students will decorate the collage cover with metallic watercolors and recycled materials.
Supplies Needed
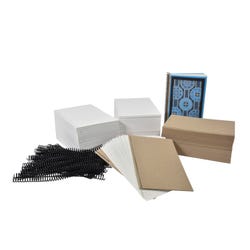
Sax Spiral Bound Sketchbook & Journal Making Kit
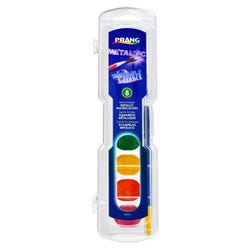
Prang® Metallic Semi-Moist Watercolors 405577
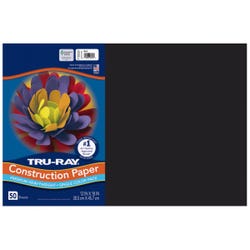
Tru-Ray® Construction Paper 12"x18"054150
Sax® 80 lb. Ultra White Drawing Paper 12"x18" 4 053946
Sax® True Flow® Tempera Varnish 402269
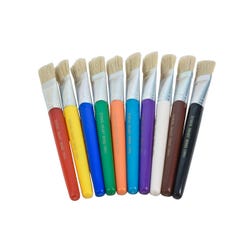
School Smart Flat Tip Stubby Easel Brushes, Set of 10 085682
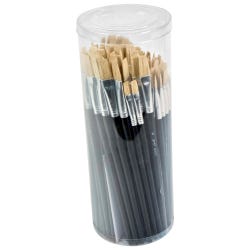
Sax® White Bristle Brushes set of 21 461012
Prang® Metallic Art Markers, 6-Color Set 411071
*Here are the supplies needed for this lesson plan for reference. Find a convenient carousel of shoppable products for this lesson below.
Standards
CONTENT Standard #1: Generate and conceptualize artistic ideas and work.
CONTENT Standard #2: Organize and develop artistic ideas and work.
CONTENT Standard #3: Define and complete artistic work.
CONTENT Standard #4: Select, analyze and interpret artistic work for presentation.
CONTENT Standard #5: Develop and refine artistic work for presentation.
CONTENT Standard #6: Convey meaning through the presentation of artistic work.
Instructions
1
Our bookmaking classroom pack has enough materials to create thirty 6"x 9" spiral-bound books, with 30 white pages each for sketching and writing.
2
Each student will have a 9"x12" piece of black construction paper for the cover design. On the black construction paper students will apply copper, silver, and gold Prang® metallic watercolor randomly on the surface.
3
For the inside cover, use white drawing paper and apply the other colors of metallic watercolor. Allow this to dry.
4
After drying, tear each sheet into pieces large enough to be applied to the 6"x 9" chipboard surface.
5
Using a piece of masking tape or blue painters tape, cover the pre-punched holes of the notebook or journal so they will be protected from the collage technique.
6
Apply the torn pieces to the chipboard with a bristle brush and Sax® Tempera Varnish. The collage technique of gluing and placement of the torn pieces will seal them to the surface.
7
Additional decoration can be applied to negative areas with metallic pens or markers, if desired.
8
After the covers are dry, the book can be assembled with the spiral and papers provided in the bookmaking kit.
9
Additional found materials such as aluminum tabs may be applied for decoration to enhance the design.
* The application of papers can be switched. The metallic on the white sheet may be used as a cover and the black on the inside.