Close

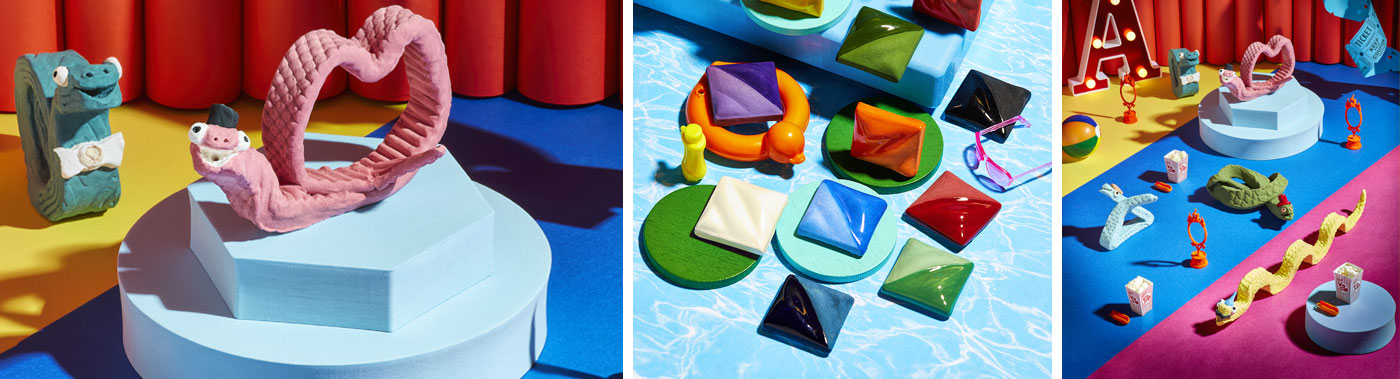
Reptile Circus
Lesson Plan, Grades 3-8, Art, Science, Amaco, Ceramics & Sculptures, 3-D
Description
Lesson Plan & Artwork by Eric Orr
Many adults fear reptiles (especially snakes!) yet youth often find them fascinating. Teaching about the vital role snakes play in nature as well as educating youth to identify differences between poisonous and non-poisonous reptiles is an important lesson for all. The lesson will present reptiles in a less threatening and almost comical scenario.
Objectives
- Choose a reptile or insect that elicits a fearful or strong emotion.
- Explore using the reptile or insect as an art subject and show it in a novel, funny, or non-threatening manner as a comical creature.
- Learn how to make a base for your creature showing its home, habitat, or environment.
- Use humor and imagination to create creature.
Supplies Needed
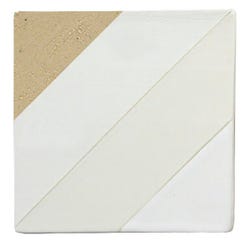
AMACO® Low Fire Moist Earthenware Clay, 50 Pounds, White
AMACO® Velvet Underglaze Classroom Pack, Assorted Colors, Set of 12
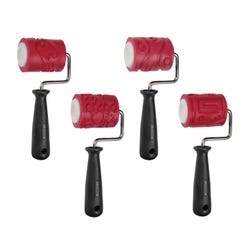
AMACO® Textured Clay Rollers, Set of 4
Sax® Genuine Primed Canvas Pad, 18 x 24”, White, 10 Sheets
Falcon Hardwood Clay Roller, 18 x 10-1/2”
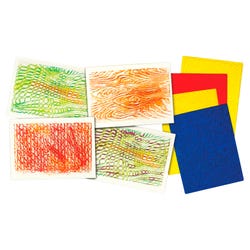
Roylco® Texture Rubbing Plates with 8 Textures, 8-1/2 x 11”, Set of 4
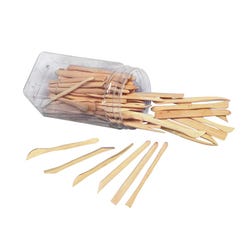
Jack Richeson™ Pro Needle Tool, 6-5/8”, Aluminum Handle
Kemper Tools® Fettling Knife, 4-1/2”, Soft Pliable Steel Blade, Wood Handle
Jack Richeson™ Boxwood Modeling Tool Set, 6 in, Set of 72
*Here are the supplies needed for this lesson plan for reference. Find a convenient carousel of shoppable products for this lesson below.
Standards
Standard #1: Generate and conceptualize artistic ideas and work.
Standard #2: Organize and develop artistic ideas and work.
Standard #3: Refine and complete artistic work.
Standard #6: Convey meaning through the presentation of artistic work.
Standard #7: Perceive and analyze artistic work.
Standard #8: Interpret intent and meaning in artistic work.
Instructions
1
Once you have your idea, determine how you can use clay (rolled out slabs) or another construction to depict your creature in a new and different way.
2
Draw out your animal. Choose a view that best shows your creature’s attributes/features. (Top, side, front).
3
Cut out the image. Then place your sketch on a rolled-out slab of clay (about 1/4”) and draw over outside lines with a ball point pen.
4
Lift your paper and cut out your creature on the impressed lines, with a fettling knife, pin tool or a paper clip.
5
Determine how you wish to show/present your shape in a 3-dimensional way. How will you make it stable and/or stand? Will it need a base (pad of clay), a prop to support it? Remember to score and slip any clay pieces you wish to join.
6
Add details with a pin tool, stamps, rollers, or texture tools.
7
Turn your sculpture as if you are walking around it. A 3-D sculpture is designed to be viewed from all sides.
8
Be sure the sculpture is neat, and free of extra clay. Be sure to hollow out with a loop tool, any parts thicker than your thumb.
9
Dry sculpture and fire slowly in kiln to cone 04 (1945 degrees F)
10
Determine your color scheme and apply 2-3 coats of AMACO underglaze colors with a brush. Velvet Underglazes can be applied to the entire piece without it sticking to the kiln shelf. If a gloss finish is desired, AMACO LG-10 Gloss Transparent glaze can be applied before glaze firing. Glaze fire to cone 05(1888 degrees F).
11
Have a class show and critique. Discuss the creature’s strong points, what could be improved upon and any new techniques used.