Close

Imaginary Birds
Lesson Plan, Grades 6-12, Art, Science, Math, History, Sax, AMACO, Styrofoam, Scotch, School Specialty, Aleene's, Jack Richeson
Description
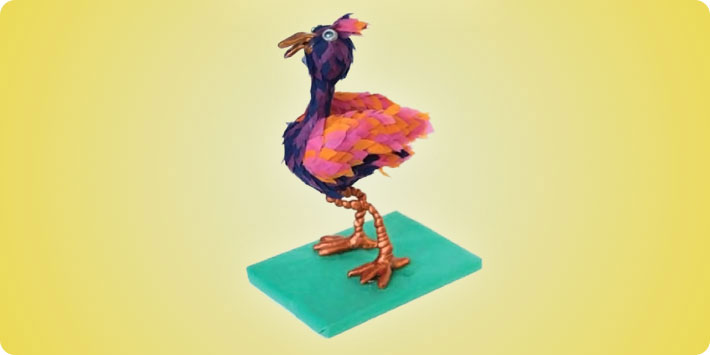
Through the history of mankind, people have been fascinated with the study of birds both those that fly and those that cannot. Birds are admiredfor beautiful colors as well as their ability to soar and fly. Sculpture, in general, has been a way to depict all sorts of subjects. Combining mixedmedia in a sculpture of a bird, students will be able to appreciate both the art of sculpture and nature in a different way.
Objectives
- Students will create a three dimensional sculpture of a whimsical, imaginary bird.
- Students will experience mixed media to create their sculpture.
- Students will recognize the connections between the study of birds (Ornithology) and Science, Art, Math and History. Smart-fab® material will be the medium to create the bird?s feathers over a body of Styrofoam®, Amaco® Cloud Clay® and Wire.
Supplies Needed
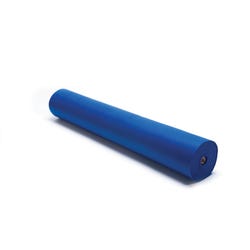
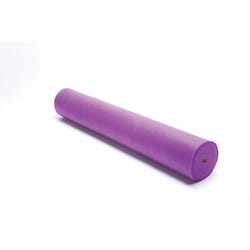
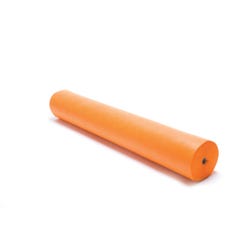
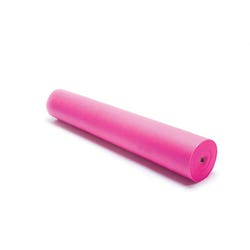
Smart-fab®, 48 x 120? (More colors & sizes available on www.classroomdirect.com)
Dark Pink 1394916
Orange 1394915
Dark Purple 1394911
Dark Blue 1394910
Amaco® Cloud Clay®, 6 lb. Classroom Pack 1361983
Sargent Art Liquid Metal Acrylics Paint, 8 oz 405594
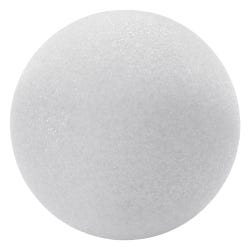
Styrofoam® Balls 1 ½ 363614
School Specialty Styrofoam Balls 3 247040
Scotch® 232 Masking Tape, 2 x 60 yds. 005301
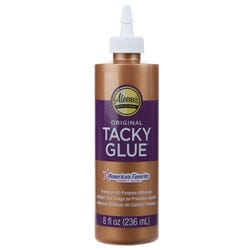
Aleene?s Tacky Glue, 8 oz. 443021
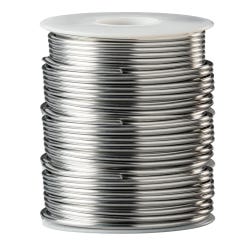
Jack Richeson Aluminum Sculpture Wire, 1/8 408147
Newspaper
Wooden bases
Note: Add wire, wadded newspaper or other media to achieve an egg shape for the bird?s body. Add more layers to increase the size of your sculpture.
Standards
#1 Understanding and applying media, techniques and processes.
#2 Using knowledge of structures and functions.
#4 Understanding the visual arts in relation to history and cultures.
#5 Reflecting upon and assessing the characteristics and merits of their work and the work of others.
Instructions
1
Demonstrate how to make an armature for the bird from Styrofoam® balls and or wadded news paper, tape and Cloud Clay®. Explain that soft annealed wire will be used for the legs and feet and all will be attached to a wooden base.
2
Have students make a quick sketch to have a basic shape in mind for their imaginary, whimsical bird. Tell them that the physical position of the bird will lend character to their work. Heads can be tilted and wings and legs can bend into certain shapes. Balance will play a part in the design of the armature. This is where the subject of math plays a part in this project.
3
Demonstrate how to place the wire in the bird?s body for the legs and feet of the bird. Explain that Cloud Clay® will be applied over the entire basic armature to give a smoother shape for the bird.
4
Tell student that they will need to make subtle feather shapes out of the Cloud Clay® over the body and wings, which will serve as an armature for the feathers made from Smart-fab®.
5
Have students create their armature complete with wings and beaks and eyes, starting with Styrofoam® balls and or newspaper, and tape, Cloud Clay® and wire. Use a piece of wire to join the round head shape to the body.
6
Have students shape wire for the legs ending in large loops. These loops will be the base for the feet and will be stapled to a wooden base. Insert the wire into the bird?s body. Remind students that birds legs bend at the knee in the opposite position of human legs. Explain that the feet will be made from Cloud Clay® and attached over the wire loops lastly.
7
Insert the legs into the body. Do not staple the bird onto the wooden base until you have finished painting and applying Smart-fab® feathers to the body. Cover legs with Cloud Clay® in a coil fashion.
8
Create feet from Cloud Clay®, set aside to dry. These will be painted and attached as a last step to the sculpture.
9
Allow the Cloud Clay® to dry for a day or two, before acrylic paint is applied.
10
Have student paint the bird?s body and let dry.
11
Using Smart-fab® in a specific color scheme, have students cut feather shapes from the product. Apply the 'feathers' with Tacky Glue to the body of the bird. Remind the students that they must apply feathers from the ends of the tail and wings first to be able to have a natural layered look to the 'feathers'. The application of the 'feathers'; will end with the head at the beak. A good design will give a realistic look to the bird.
12
Cover a wooden block to serve as the base for the bird.
13
Note: if you do not wish to have the bird attached to a block of wood, have the students create a heavier leg and bigger feet to support the birds body.
14
Staple the bird?s looped wire feet to the wooden block.
15
Attach the Cloud Clay® feet over their wire loop feet by using additional clay to fuse the feet to the legs. Paint where the clay joint is from the legs to the feet after the clay has dried for a day. This will complete the Bird Sculpture.
16
Have students look at one another?s work and discuss processes and characteristics that make their work as individual as they are.