Close

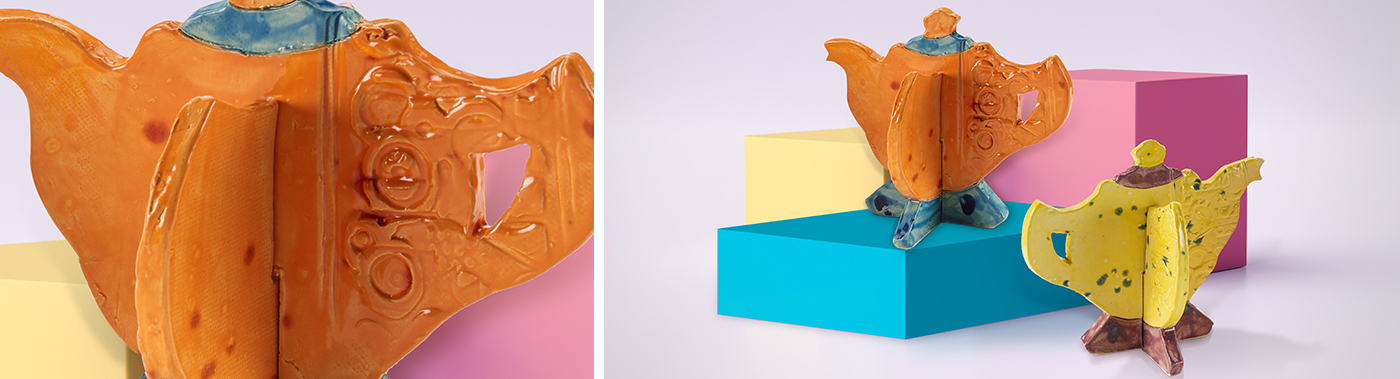
Tab and Slot Teapot
Lesson Plan, Grades 8-12, Art, Math, Social Studies, Ceramics & Sculptures, 3-D
Description
Lesson Plan and Artwork by Eric Orr
Russian Constructivist Naum Gabo (1890- 1997) is most famous for his “Constructed Heads 1 and 2”, created in 1915-16. Gabo used the tab and slot technique to assemble his flat plywood shapes, which abstractly suggest a three dimensional human head. The use of flat interior planes to create an implied form without the use of a surface or skin was truly revolutionary for its time. Tab and slot construction is often used today in the creation of “put together” plywood and cardboard furniture.
Objectives
- Students will examine 3D forms and determine how to construct them with flat planes joined by the tab and slot method.
- Students will use flat clay slabs and the tab and slot method in the construction of a 3D sculpture.
- Students will fire, glaze and share their forms in a class critique.
Supplies Needed
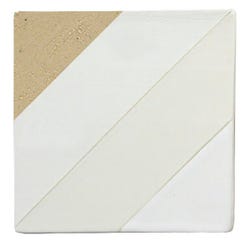
White Art 25 Clay, 50 lbs.
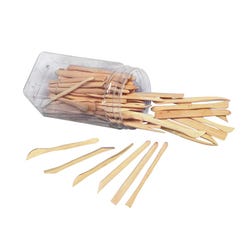
Fettling Knife
Modeling Tools
Clay Slabmaking Kit
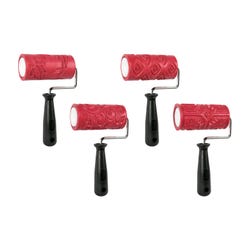
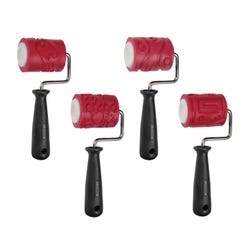
Texture Clay Rollers
Glaze, set of 4
*Here are the supplies needed for this lesson plan for reference. Find a convenient carousel of shoppable products for this lesson below.
Standards
Standard #1: Generate and conceptualize artistic ideas and work.
Standard #2: Organize and develop artistic ideas and work.
Standard #3: Define and complete artistic work.
Standard #4: Analyze, interpret, and select artistic work for presentation.
Standard #5: Develop and refine artistic work for presentation.
Standard #6: Convey meaning through the presentation of artistic work.
Standard #8: Interpret intent and meaning in artistic work.
Standard #9: Apply criteria to evaluate artistic work.
Standard #10: Synthesize and relate knowledge and personal experiences to make art.
Standard #11: Relate artistic ideas and works with societal, cultural and historical context to deepen understanding.
Instructions
1
Make two ‘V’s with your fingers and slide them to interlock. This is the tab and slot method of joining.
2
Examine various 3D forms and discern how they could be recreated utilizing the tab and slot joining method to join 2D planes.
3
Choose a form and draw out the various planes that could join it together. Note the planes in tab and slot most often intersect at right angles to one another.
4
Construct templates of your shapes using thick paper. Cut out with scissors.
5
Using pre-cut canvas mat, rolling pin and ½” thick guide sticks, roll out a slab of clay. Place your paper templates on the slab and cut them out using a fettling knife. Texture the slabs with clay rollers as desired.
6
Allow slabs to firm up to leather hard. Plan, measure and cut the tabs and slots to connect the planes. Use care and measure for accuracy. Tab width will be just a bit wider than slab thickness. Allow for a little bit of “play” or looseness. Smooth edges now with wood tools and damp finger.
7
Carefully assemble the shapes and make sure the sculpture will stand up. Do this before clay is bone dry, as it is brittle and will break instead of give. Add any features, stamps, sprigs or details at this time.
8
Drying the flat slabs between newspaper drywall (sheetrock) will aid in shapes not warping.
9
When bone dry bisque fire to cone 04, 1949º F.
10
Glaze and glaze fire to cone 05, 1888º F.
11
Assemble and conduct a class critique.