Close

Shrink Art Landmarks
Lesson Plan, Grades 3-8, History, Art, Mixed Media
Description
Lesson Plan & Artwork by: Kathryn Cahill
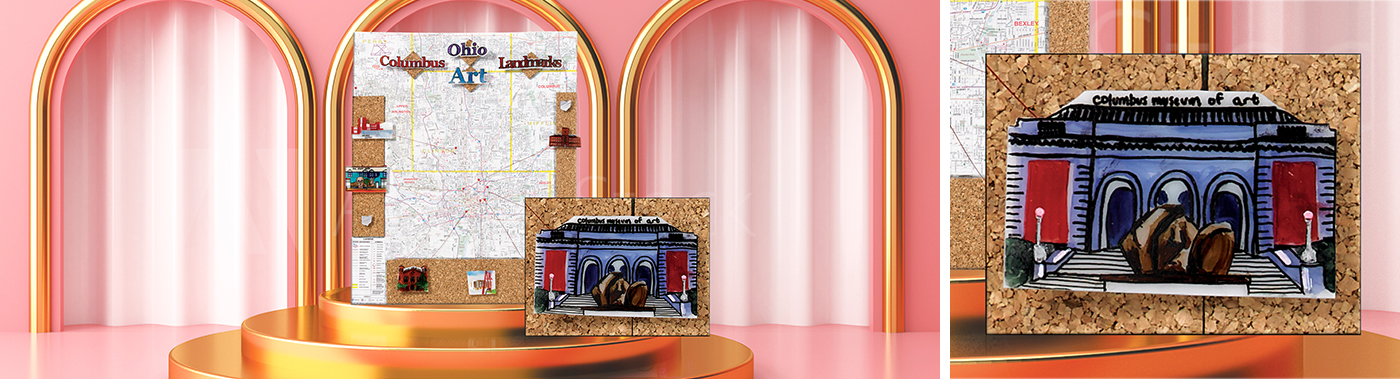
This lesson focuses on recognizing important buildings in our communities. Themes such as art landmarks, our favorite restaurants, or public buildings could be used for display purposes and connections in group projects. A local area map and key is used to visualize the locations of each landmark. An image search is used, and the photograph of the landmark is printed and placed under matte shrink film for tracing and reproducing with alcohol based markers. Markers are used on the matte shrink art to provide professional looking color to the finished images.
Objectives
- Students will use technology to find photographs of important landmarks in their communities.
- Students will trace the landmark and color in its features.
- Students will find the location of their landmark on the map and use the shrink art landmark to point out the important location.
- Students will display final images in a group project with a central theme.
Supplies Needed
Prismacolor® Premier Brush-Fine Double-Ended Markers, Set of 24 1436348
Sharpie® Oil Based Paint Markers 1371759
Sharpie® Brush Tip Permanent Markers, Set of 12 1438024
Lyons® Stick-On Artist Canvas, 12" x 12", Pack of 3 1415210
Sax® Canvas Panels, 12" x 16" 412514
Sax® Canvas Panels, 8" x 10" 412499
Sax® Canvas Panels, 16" x 20" 412526
E6000 Glue, 3.7 oz 443195
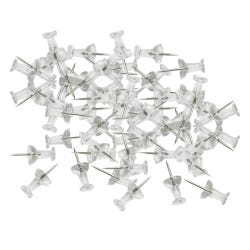
7/16" Thumbtacks, Pack of 100 1369864
1/2" Thumbtacks, Pack of 100 200-6850
Sax® True Flow Acrylic Matte Medium, 1 Quart 442139
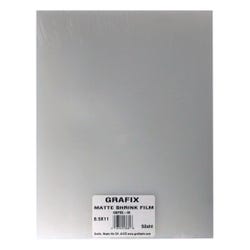
Grafix® Matte Shrink Film 8 1/2" x 11" inches, Pack of 50 401562
*Here are the supplies needed for this lesson plan for reference. Find a convenient carousel of shoppable products for this lesson below.
Standards
Standard #1: Generate and conceptualize artistic ideas and work.
Standard #2: Organize and develop artistic ideas and work.
Standard #4: Select, analyze and interpret artistic work for presentation.
Standard #6: Convey meaning through the presentation of artistic work.
Standard #11: Relate artistic ideas and works with societal, cultural and historical context to deepen understanding.
Instructions
1
Talk about architecture and important landmarks in your community. Look at a variety of maps and read books that focus on map making and reading.
2
Put together groups of students with topics like fun places to go, or art landmarks and allow them to make a list of the physical places. Have the students locate these on a map.
3
Students complete image searches for photographs of the physical buildings on the computer. Print the images to about 5 x 7 inches.
4
Tape an image underneath a half sheet of matte shrink film. The matte shrink film is translucent, so students can trace on top and color the image using brush tip markers. Write the name of the landmark by the colored reproduction.
5
Cut the image out and bake plastic according to the instructions.
6
When shrunk, the hardware can be glued on the back. For this project, I used tacks and E6000 glue because I wanted to put tacks on a map. If you were doing a fundraiser, it may be nice make pins, magnets, or even key chains of these important landmarks! Just be sure to punch any holes before shrinking the film in the oven.
7
Put together your finished project, including a map, shrink art landmark tacks, and any other materials, photographs, or information you have gathered.