Close

Paper Quilts
Lesson Plan, Grades 5-12, Art, Math, Social Studies, Roylco
Description
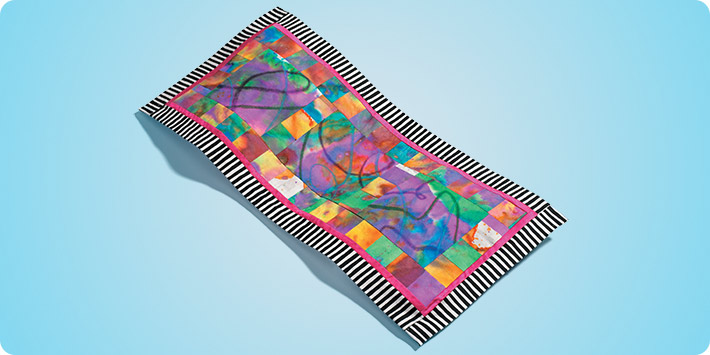
Quilting takes on a whole new look with the use of paper media. Students will have the opportunity to create and design their own paper fabric using diffusing paper, watercolors and oil pastels. These papers will become the fabric used to create quilt pieces. Students can embellish the individual quilt pieces with embroidery, ribbons and beads. Once the quilt is pieced and sewn together, real or paper fabric can be used to edge the quilts.
Objectives
- Students will study quilting patterns and learn the history behind each of these patterns.
- Students will be able to experiment with the art of quilting using a non-traditional media.
- Students will learn how to create their own fabric designs and use them in a finished piece.
Supplies Needed
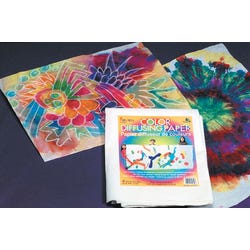
Roylco® Color Diffusing Paper 075219
Sax® Liquid Watercolor 068624
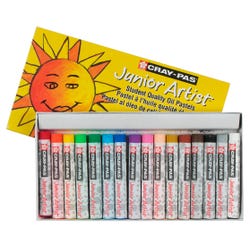
Sakura® Cray-Pas® Junior Artist Set 059190
Ribbon Assortment 410735
Silver Lined E Bead 248190
Glass Foil Beads 408066
Darice Cotton Embroidery Floss with Bobbins, 8.74 yd, Assorted Color, Pack of 100 1458671
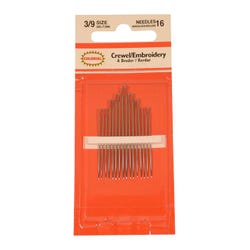
Embroidery and Crewel Needle Assortment 431933
Optional Materials
Dahle® Vantage Self-Healing Mat 18"x24" 409206
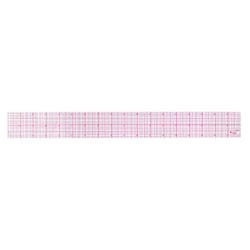
C-Thru® Beveled Ruler 037526
Standards
CONTENT Standards #1: Understanding and applying media, techniques and processes.
CONTENT Standards #2: Using knowledge of structures and functions.
CONTENT Standards #6: Making connections between visual art and other disciplines.
Instructions
1
To create the paper fabric, set up a dying station using newspaper as the foundation. Lay Roylco® Diffusing Paper, one sheet at a time, on the bed of newspaper. Apply the Sax® Liquid Watercolor (fabric dye) by pouring, spraying or painting it onto the diffusing paper. Keep in mind, a little paint goes a long way. As one sheet of paper fabric is complete, lay a fresh sheet on top and start the process over, allowing colors to bleed into the bottom sheets. Upon completion of paper fabric sheets, separate each sheet and allow them to dry. When paper fabric sheets are dry, Sakura® Cray-Pas® can be used to create line elements in each fabric piece.
2
Select or create a quilt pattern.
3
Using the quilt pattern as a guide, cut the paper fabric sheets and sew the paper fabric sheets together by machine or hand stitch. Do not over stitch or place the stitches too close together. Because this is paper, the needle holes will perforate the paper. Press seams open with a dry iron.
4
Once each quilt piece is completed, students can embellish quilt pieces with beads, ribbons or embroidery.
5
Sew the completed pieces together to form a small quilt. Dry press. Boarder the quilt with paper fabric or use real fabric as a boarder.
6
The completed piece can be mounted on a piece of mat board.