Close

Dogs of the Renaissance
Lesson Plan, Grades 7-12, Art, History, Sax, Drawing
Description
Lesson Plan and Artwork by Nadine Dresbach
This lesson focuses on three properties of Renaissance artwork: The use and possible symbolism of dogs, the color palette used at that time and the ornate wood, sometimes gilded, frames that surrounded their work.
Objectives
- Research Renaissance artwork and framing styles.
- Create and frame composition in the historic style.
- Use patterning in frame design.
Supplies Needed
Lyra® Polycrayons Soft Pastels Sticks, Assorted Colors, Set of 12
Lyra® Polycrayons Soft Pastels Sticks, Assorted Colors, Set of 24
DAS® Color Air-Dry Clay, 5 1/3 oz., 12 Assorted Colors, Pack of 24
Crescent® No. 99 Acid-Free Cold Press Illustration Board, White, 11"x14", Pack of 40
Sax® True Flow Non-Toxic Waterproof Multi-media Varnish, Gloss, 1 Gallon
*Here are the supplies needed for this lesson plan for reference. Find a convenient carousel of shoppable products for this lesson below.
Standards
Creating
Anchor Standard #2: Organize and develop artistic ideas in work.
Anchor Standard #3: Refine and complete artistic work.
Presenting
Anchor standard #5: Develop and refine artisticwork for presentation.
Instructions
1
Students will begin by examining and researching the symbolism and use of dogs in Renaissance artwork.
2
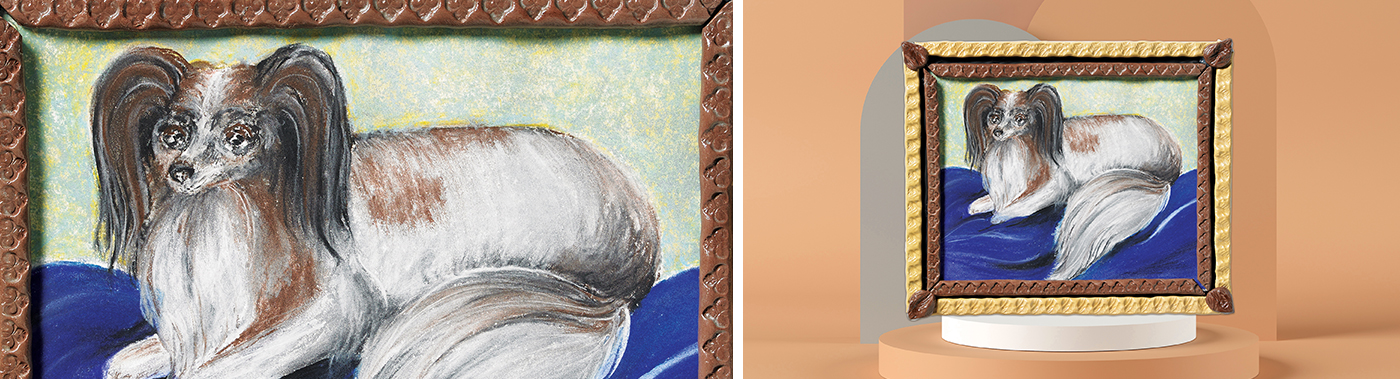
They will then create their own "dog portrait" in the style of these artists selecting a similar breed of dog and color choices that may have been used at that time.
3
After a rough draft is completed, students may continue onto their final board using soft pastel sticks. They are easily blended and manipulated.
4
When the portrait portion of the lesson is complete, the piece may be sprayed with a fixative.
5
Students can then research the history of framing styles of the Renaissance, including what woods were used and what styles were made. The example in this lesson used the brown and gold colors of air dry clay but alternative colors may be used.
6
The frame was created by rolling coils of the air dry clay and pressing them flat with a repeating pattern into the coils. Keep in mind when designing and measuring the frame that the air dry clay will shrink slightly during the drying process.
7
Allow the clay to dry overnight.
8
Coat the clay with Sax® True Flow Multi-Media Varnish to give it a wonderful luster, improve stability and highlight the patterns in the frame.
9
The frame then can be glued into position using a hot glue gun or any craft glue.