Holiday Handprint Banner
Description
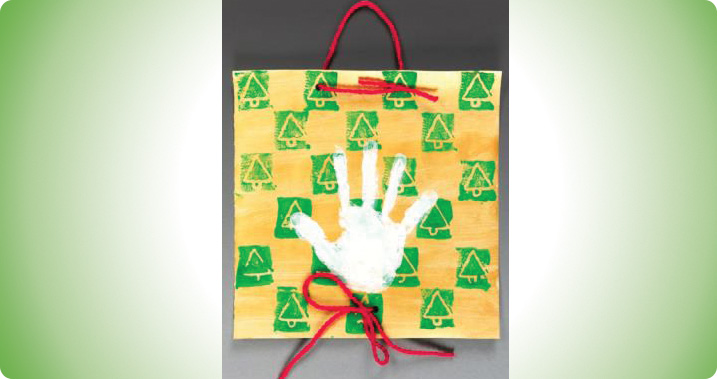
Families always treasure handprint decorations! This easy relief print makes a wonderful, personalized gift for any holiday. A simple adaptation can also turn this activity into a cross-curricular plan by discussing family holiday traditions.
Supplies Needed
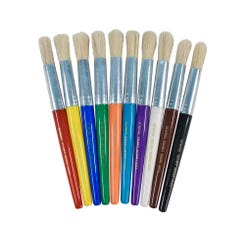
Paint Brushes
Colored Pencils
Construction Paper
Cup or Bottle
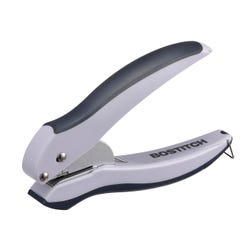
Hole Punch
Paper Towels
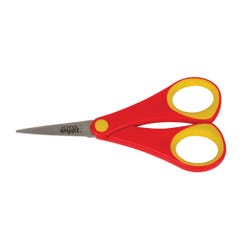
Pointed Tip Scissors
Recycled Material
Ribbon
Tempera Paint
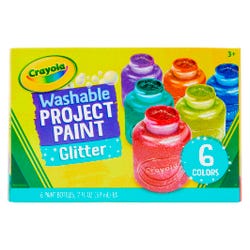
Washable Fingerpaints
Standards
LA: Engage effectively in a range of collaborative discussions (one-on-one, in groups, and teacher-led) with diverse partners on grade 3 topics and texts, building on others' ideas and expressing their own clearly.
LA: Conduct short research projects that build knowledge about a topic.
SS: Give examples of how experiences may be interpreted differently by people from diverse cultural perspectives and frames of reference.
VA: Use different media, techniques, and processes to communicate ideas, experiences, and stories.
VA: Use visual structures of art to communicate ideas.
VA: Select and use subject matter, symbols, and ideas to communicate meaning.
Instructions
1
Here's a way to make a cherished handprint present for parents or grandparents. You'll use an easy art technique called relief printing.
2
Measure a square or any shape you choose on construction paper. Mark the edges with Crayola® Colored Pencils. Cut out your banner with Crayola Scissors.
3
Cover the art area with recycled newspaper. Paint the background of your plaque with Crayola Premier Tempera and paint brushes. Air dry.
4
On a foam tray, use a colored pencil to press in a holiday symbol such as a Christmas tree, dreidel, candle, or flower. Remember, the design will print in reverse. Cut out the printing block.
5
What color will stand out on the gold background? Brush Crayola Washable Paint on the printing block. Stamp a pattern on the paper. Add paint to the stamp as needed. Air dry.
6
Students use their hand as a stamp, paint it with a contrasting color of Crayola Washable Finger Paint. Press your palm on your banner. Print both hands if desired. Students wash their hands with soap and water. Air dry the banner on a flat surface.
7
Punch two holes at the top of the banner. Draw ribbon or yarn through the holes and tie to form a hanger.
8
Punch two more holes on the bottom. Run more ribbon through these holes and tie into a bow. Be sure to write the date on the back of the banner.
Adaptations
Students interview family members about winter holiday traditions. Students compose interview questions for family members prior to the interview. Students can write or audiotape responses. Students use information gained in the interview to decide upon holiday symbols to use for their gift bags.
Students expand their holiday bag creations to various holidays celebrated during the year. Students may choose to interview family members once again or select a symbol of their holiday that they are already familiar with.
Students translate the use of holiday symbols from gift bags to greeting cards. In addition to making the cover of the cards, students compose original sentiments to include in their cards.


