Close

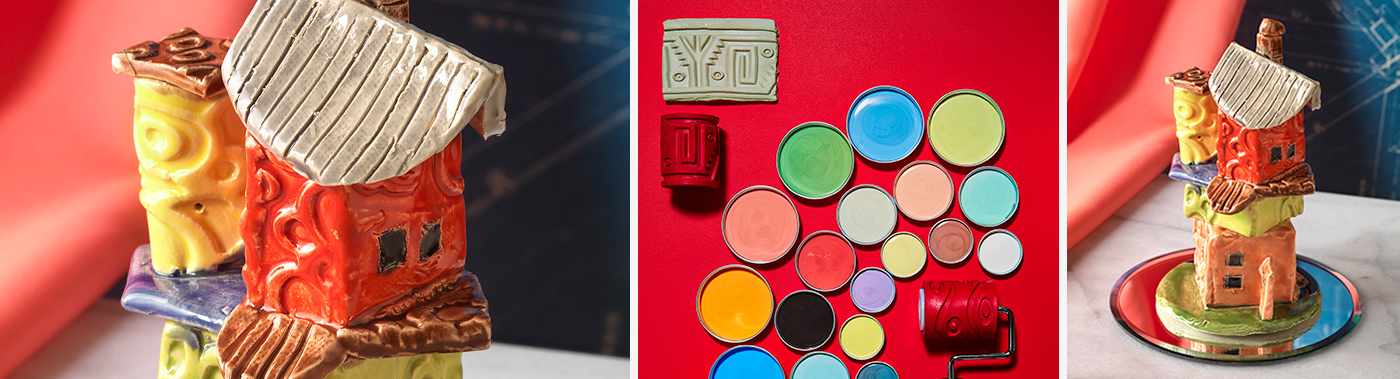
Pastel Slab Fun Houses
Lesson Plan, Grades 7-12, Math, Social Studies, Art, Ceramics & Sculptures, 3-D
Description
Lesson Plan and Artwork by Eric Orr
Whether it’s called a residence, a lodging, or a habitat – if it has a roof and a way inside, the craftsmanship and expertise of designing houses has been an artist’s and architect’s creative playground ever since early man left caves. This lesson uses textured clay slabs joined together in the creation of structures for the living in both real and imaginary settings.
Objectives
- View and discuss human abodes throughout history including various locations and cultures.
- Discuss the purpose and use of homes, and consider environment, size, form and materials available, etc.
- Draw an idea for structures (views from different sides, angles, even floor plans if desired). Will it be single or multi-storied? Does the house have a past, historical evidence or style, futuristic, quaint or odd, funny or impractical?
Supplies Needed
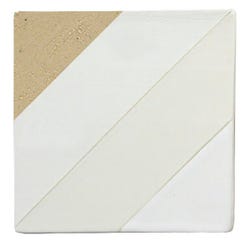
AMACO® Low Fire Earthenware White Art 25 Clay, 50lbs
AMACO® Tile Cutter, 4 in, Each
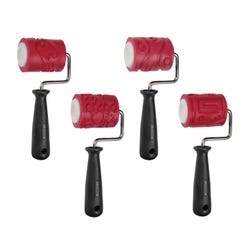
AMACO® Textured Clay Rollers, 2-1/2 in W, 4 Sleeve Clay Rollers
AMACO® Teacher’s Palette Light® Glazes, Pint, Set of 12
AMACO® Velvet Underglaze Classroom Pack, Pint, Set of 6
Kemper Fettling Knife
Xiem Bevel Cutter
Jack Richeson™ Pro Needle Tool, Each
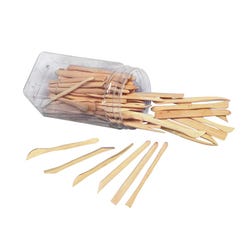
Jack Richeson™ Boxwood Modeling Tools Set of 72
Standards
Standard #1: Generate and conceptualize artistic ideas and work.
Standard #2: Organize and develop artistic ideas and work.
Standard #3: Refine and complete artistic work.
Standard #4: Select, analyze and interpret artistic work for presentation.
Standard #7: Perceive and analyze artistic work.
Standard #11: Relate artistic ideas and works with societal, cultural and historical context to deepen understanding.
Instructions
1
Roll out 2 or more pounds of Amaco White Art 25 Clay, depending on size, complexity of abode. Slabs can be 3/16 inch or thicker thicker and rolled onto a sheet of the Sax canvas pad. Use the Amaco Texture Clay Rollers to texture the clay slabs, then use the Amaco Tile Cutter to cut the slabs into smaller 4 in. square sections that will be used for the side structures of the house.
2
All structures should be assembled and scored and slipped to a base slab of clay. An angle cutter wire helps cut slab angles to fit together better. Be sure to score and slip all joined clay, and even provide small reinforcing coils to make joints strong.
3
Do not create any enclosed/sealed up boxes, or houses will explode in bisque firing. (A pin tool hole or small window will allow air to circulate and prevent blow ups).
4
Be sure to include roofs, doors and windows, chimneys if there is a fireplace and other details. Students can use loop tools, texture tools, or knives and pin tools to draw, shape, and suggest these important architectural details.
5
Sign the house on or under the base and let house sculptures dry on a small newspaper covered board.
6
Bisque fire to “Cone 04” (1945 degrees) when clay is totally dry. Use a slow firing speed to allow heat to get into all the “rooms”.
7
Glaze with Teacher’s Palette Light glazes, or Amaco Velvet underglazes (for a matte finish). Use two to three coats and glaze fire at a medium speed to Cone 05 (1888) degrees F. or Cone 06 ((1833) degrees F.
8
Assemble houses into a town and critique/discuss, or even do a writing assignment about “Our Town”.