Close

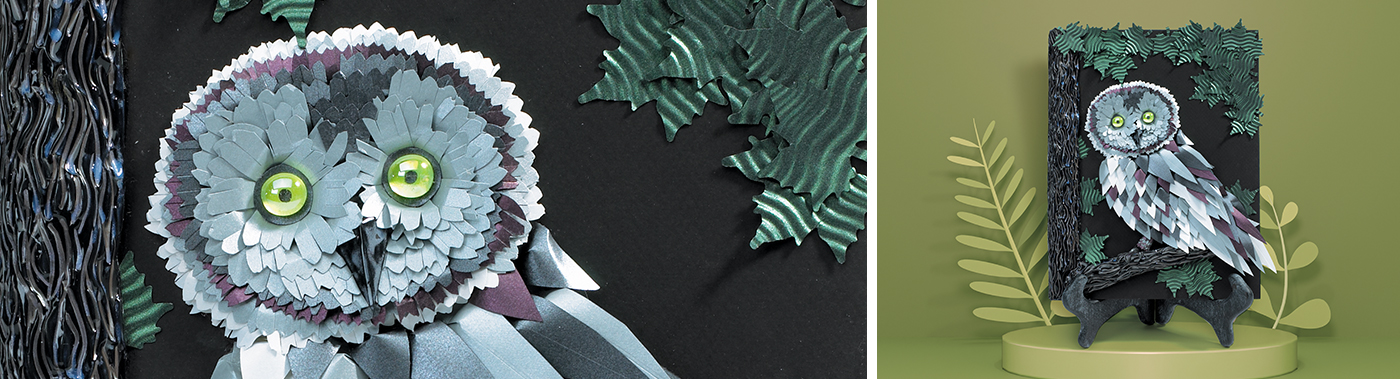
Mixed Media Night Owl
Lesson Plan, Grades 4-12, Science, Mixed Media
Description
Lesson Plan and Artwork by Nadine Dresbach
Students will create a textured relief night owl through the use of a variety of media including cardstock paper, punches, crimpers, embossing paper and foils. The richness of these specialty papers and your students limitless creativity will create a spectacular finished piece.
Objectives
- Students will study images and learn about the habitats and behaviors of the night owl. Students will study the patterns, designs and textures found in the layering of the birds feathers and surroundings.
- Students will learn and experience the process of cut paper modeling to create a relief effect.
Supplies Needed
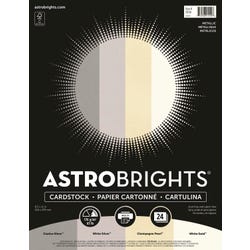
Royal Metallics Creative Collection Acid-Free Heavy Weight Card Stock, 65 lb, 8-1/2 X 11 in, Assorted Metallic Light Color, Pack of 40 409384
Royal Metallics Creative Collection Acid-Free Heavy Weight Card Stock, 65 lb, 8-1/2 X 11 in, Assorted Metallic Dark Color, Pack of 40 409385
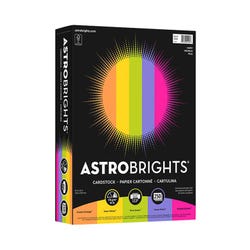
Astrobrights Acid-Free Convenience Paper, 8-1/2 X 11 in, 24 lb, Happy Assortment, Pack of 500 4 077429
Crescent 8 All Black Mounting Board (16" x 20") 409659
Crescent® 8 Mounting Board (8"x 10") 409658
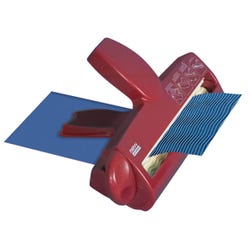
Corru-Gator® Paper Crimper (wave) 408863
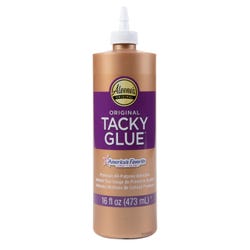
Aleenes Tacky Glue (pint jar) 443024
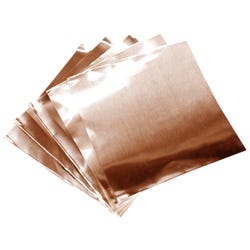
Copper Foil Squares (5"x 5") 578783
Art Emboss Black Sheets (medium weight) 1288797
McGill Stacking Punches (square) or 409480
Clever Lever Super Craft Punches (Heart) 407220
Fiskars® Paper Edgers (contemporary) 090328
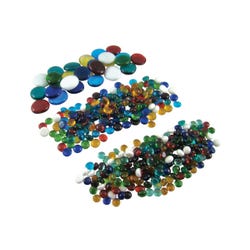
Glass Globs (3 lb. asst.) 444065
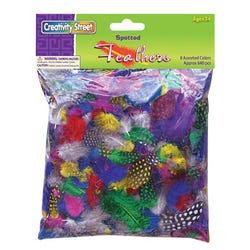
Rainbow Guinea Hen Feathers 4039609
Sax® True Flow® Multi-Media Varnish 403960
Additional Materials:
Colored pencils for layouts
Brushes for glue application
Scissors
Permanent markers for detail work if desired
Metallic colored pencils
*Here are the supplies needed for this lesson plan for reference. Find a convenient carousel of shoppable products for this lesson below.
Standards
CONTENT Standard #1: Generate and conceptualize artistic ideas and work.
CONTENT Standard #2: Organize and develop artistic ideas and work.
CONTENT Standard #3: Define and complete artistic work.
CONTENT Standard #5: Develop and refine artistic work for presentation.
CONTENT Standard #10: Synthesize and relate knowledge and personal experiences to make art.
Instructions
1
Due to the layering required for the owl itself, it is recommended that the student complete the background first. This lesson uses Crescent® 8 All Black Mounting Board for the background base.
2
For the background trees and leaves, consider using a paper crimper with the metallics papers and the copper foil squares. Another option is to use the black art emboss sheets embellished with the metallic colored pencils to create a textured surface. The art emboss can be coated with the Sax True Flow Multi Media Varnish for a high gloss finish where desired. Do not use the varnish until the material has been shaped into its finished form or the varnish will crack. Cardstock paper can also be used in the background for distant points of light, such as a moon or stars, if desired. This sample used the art emboss for the tree and a leaf punch, metallics paper and crimper for the leaves.
3
When the background is complete the students may begin on the owl itself. It is best to work on the body first, working from the bottom to the top for the layering. When working on the head, it is best to work from the outside to the inside finishing with the eyes.
4
To create the feathers, use the metallics papers and the punches. The sample shown here used the Heart-shaped punch for the breast and head feathers. When you have punched a square or heart, cut a small slit diagonally from the corner of the square, or down the center of the heart. Bend the two sides of the cut together to overlap them until you create the size of the feather you desire. Glue them together and set aside to dry (small clips can be used to hold a stack together while the glue is setting). It is reccomended that you create several in advance before you begin to layer them on the board. The heart shape can be cut in half first for a smaller feather (used in the sample). A full heart punch was used on the head but the top of the heart was cut across with the Fiskars Paper Edgers and then the small slit was cut onto the bottom of the heart so it could be folded and curved around.
5
Feathers may be used as accents between the paper feathers as well as ones created by the art emboss or the copper foil. (All of these should be considered during the layout process.)
6
When the layering of the feathers is complete, have students move onto the eyes. This lesson uses various cardstock layered under a glass glob for each eye.