Close

Fairy Tale Forest
Lesson Plan, Grades 3-8, Art, Language Arts, Ceramics & Sculptures, 3-D
Description
Lesson Plan and Artwork by Nadine Dresbach
The purpose of this lesson is to enable students to use modeling clay in a non-traditional method, as a "paint" on the surface, and to give dimension to their finished piece. Students will take a traditional fairy tale and select three elements of it to feature in their piece. The lesson combines the use of modeling clay and traditional watercolors.
Objectives
- Establish a design for a traditional fairy tale.
- Use a traditional material in a non-traditional way.
- Create depth in artwork though drawing and media application.
Supplies Needed
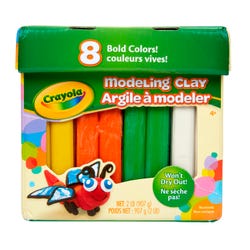
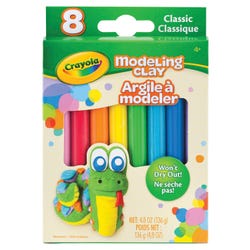
Crayola® Modeling Clay, Classic Colors, Set of 8
Crayola® Modeling Clay, Pastel Colors, Set of 8
Crayola® Modeling Clay, Natural Colors, Set of 8
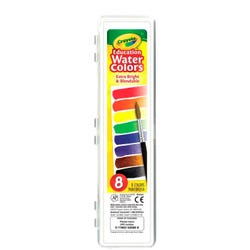
Crayola® Non-Toxic Semi-Moist Watercolor Paint Set, Assorted Colors, Set of 8
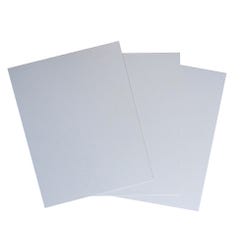
Crescent® No. 99 Acid-Free Cold Press Illustration Board, White, 11"x14", Pack of 40
x® True Flow Non-Toxic Waterproof Multi-media Varnish, Gloss, 1 Gallon
*Here are the supplies needed for this lesson plan for reference. Find a convenient carousel of shoppable products for this lesson below.
Standards
Creating
Anchor Standard #2: Organize and develop artistic ideas in work.
Anchor Standard #3: Refine and complete artistic work.
Presenting
Anchor Standard #5: Develop and refine artistic work for presentation.
Instructions
1
Students will begin by examining and brainstorming a list of various fairy tales from childhood that take place in a forest.
2
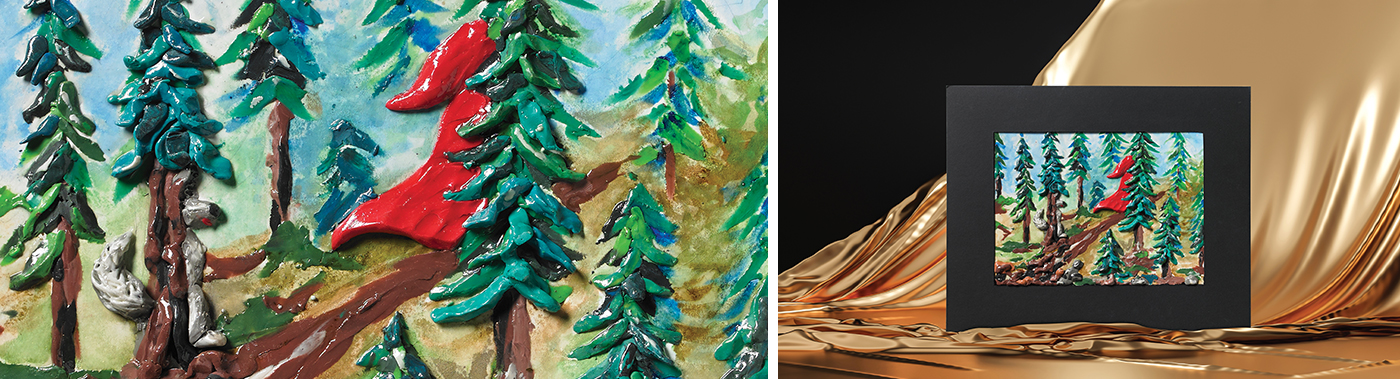
Students will develop sketches for the teacher's approval based on this idea. Students should incorporate three elements of the story into their artwork. For example, the piece featured in this lesson is using the woods, the red coat and the wolf. On the practice sketch indicate which colors of modeling clay would be used on what areas, and which areas would use watercolors. Keep in mind, the use of the modeling clay also helps to create the feeling of depth in the work. The modeling clay mixes well so it can be used to create additional colors.
3
Gently sketch out the drawing onto the illustration board.
4
Begin by applying the modeling clay onto all the desired areas. Press firmly onto the board and it will adhere, push it down and rub it on to attach it initially, and build it up from there.
5
When most of the modeling clay is applied, begin to watercolor the background or any other imagery. If more clay is desired, wait until the background dries before applying.
6
When the piece is finished, and all watercolor areas are dry, gently apply a coat of Sax Multi-media Varnish over the entire piece. This will give it stability and add natural highlights to the work.