Close

Fluid Mixed Media
Lesson Plan, Grades K-12, Art, Science, Collage, Mixed Media
Description
Lesson Plan and Artwork by Joe Culotta
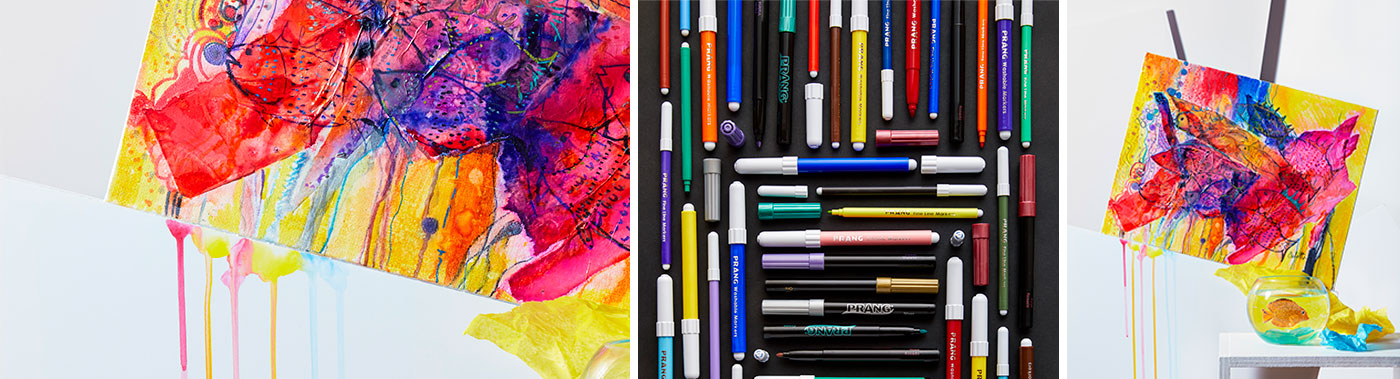
In this lesson students combine Prang Markers and colored tissue paper creating a collage painting to expand their creative expression. Using this combination of materials as a mixed media lesson allows students to explore color, value, texture and movement to create a striking finished piece. The layering techniques of the washable markers, tissue and the top layers of fine detail transform the illusion of depth within the image.
Objectives
- Use the technique of layering and drawing to experiment with color and value.
- Expand skills of the elements and principles of design focusing on texture, movement and depth.
- Learn properties of the mixed media process experimenting with markers and tissues.
Supplies Needed
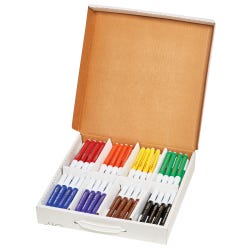
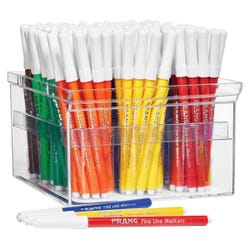
Prang® Washable Art Markers, Bullet Tip, Assorted Colors, Set of 200
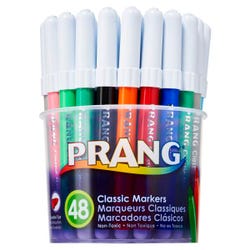
Prang® Classic Art Markers, Bullet Tip, Assorted Colors, Set of 48
Prang® Classic Art Markers, Fine Tip, Assorted Colors, Set of 144
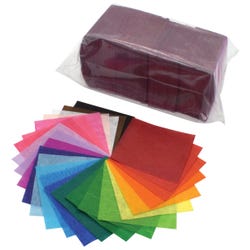
Spectra® Deluxe Bleeding Art Tissue™ Single Sheet Dispenser with Tissue Paper, 20 x 30 in, 40 Quires
Spectra® Deluxe Bleeding Art Tissue™ Squares, 11/2 x 11/2 in, Pack of 2500
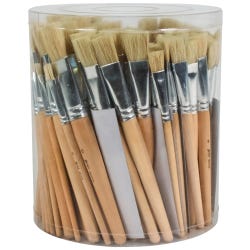
Sax® Flat White Bristle Short Handle Brushes, Assorted Sizes, Natural, Pack of 144
Sax® Genuine Canvas Panel Classroom Pack, 9 x 12 in, White, Pack of 36
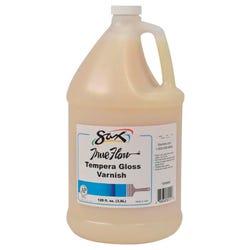
Sax® True Flow® Tempera Varnish, 1 Gallon
Spray Paint Bottle, 32 oz., Set of 6
AMACO® Durable Drying/Heat Gun, Metal - OPTIONAL
Standards
Standard #1: Generate and conceptualize artistic ideas and work.
Standard #2: Organize and develop artistic ideas and work.
Standard #5: Develop and refine artistic work for presentation.
Instructions
1
2
Select the subject matter for the intended design. Underwater or botanical imagery works well with this process due to the fluidity and movement in the finished work.
3
Gather an assortment of colored tissues, appropriate to the subject matter, to create a design.
4
To begin, start with your background and primary image shapes, cut or tear the tissue into pieces of various size, either geometric or irregular and set them on the canvas board as intended to form the intended design.
5
Using a spray bottle of water for the first application, lightly mist the surface. The tissues will “bleed” creating interesting patterns of color on the canvas board. The tissue shapes may also be lifted after spraying, and applied to other areas, to create “ghost” patterns on the canvas.
6
Prang Washable Markers should be applied to increase color on the dampened overall design. They can be used under or over the tissue. Their washable quality will enable them to “bleed” as well, adding to the depth of the image.
7
A heat gun may be used to quick dry areas. After it has dried use a variety of Prang Markers on the surface to brighten and enhance the overall design.
8
Once completely dried, apply Sax Tempera Varnish to seal the collage. Allow the varnish to dry naturally for several days.
9
Now for the primary subject matter of the design, use the Prang Fine Point Markers to emphasize the details of the main imagery. Prang Classic Markers will add vibrancy to the design. The markers look quite different when applied over the sealed collage and the results are a subtle variation in hue and value.