Close

Printmaking with the Pochoir Color Process
Lesson Plan, Grades 9-12, Art, Printmaking
Description
Art and Lesson Plan by Edwin Leary
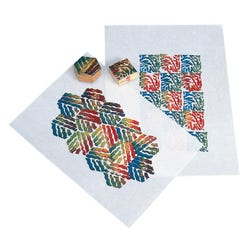
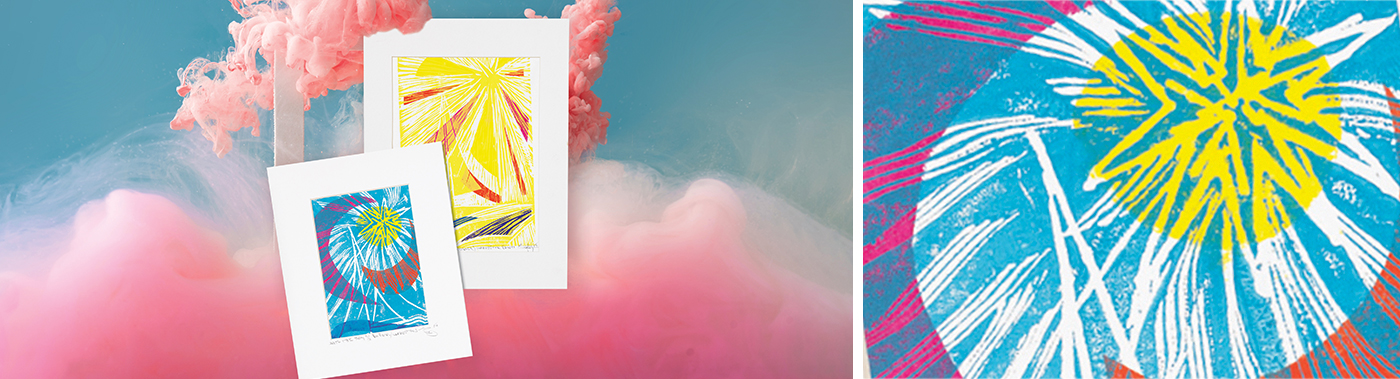
The Pochoir French, pronounced POE-schwar, Color Process is intended to add color to small areas of relief prints through a stencil method. The laydown of a flat colored area in a printmaking process is accomplished before the final print.
Objectives
- The arts are inherently experimental and actively engage learners in the process of creating, interpreting and responding to art materials and processes from simple to complex.
- The organizational structure of art allows the learner to move from creating a black and white block print to adding color through an innovative process called "Pochoir".
Supplies Needed
Faber-Castell® Watercolor Connector Paints, 24 color 1438857
Perfect Print Paper, 60 lb. wt., 12" x 18", Pack of 100 246982
Stencil Paper, 12" x 18", Pack of 20 452681
Utility-Stencil Knife, with blade and safety cap 248953
Stencil Brushes, white bristles, 6 assorted sizes, Pack of 6 462062
Scratch Foam Printing Plates, 9" x 12", Pack of 48 408108
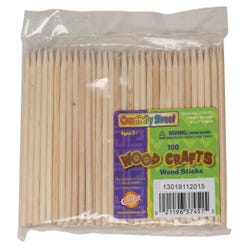
Wooden Stylus Sticks, 4 1/2" Box of 100 085949
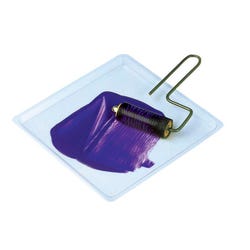
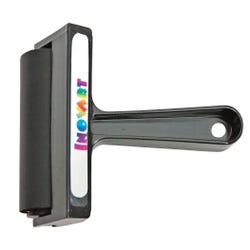
Soft Rubber Brayer, 4" wide, soft grip handle, each 411156
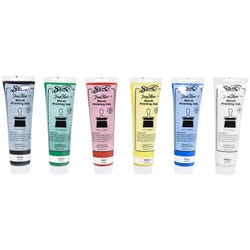
Sax® True Flow Block Printing Ink, 6 assorted 5 oz, colors 1429280
Ink Mixing trays, clear plastic, 6 1/2" x 6 1/2" 090907
Rubbing Sticks, smooth plastic with flat end, each 410248
*Here are the supplies needed for this lesson plan for reference. Find a convenient carousel of shoppable products for this lesson below.
Standards
Standard #1: Generate and conceptualize artistic ideas and work.
Standard #2: Organize and develop artistic ideas and work.
Standard #4: Select, analyze and interpret artistic work for presentation.
Standard #6: Convey meaning through the presentation of artistic work.
Standard #7: Perceive and analyze artistic work.
Standard #8: Interpret intent and meaning in artistic work.
Instructions
1
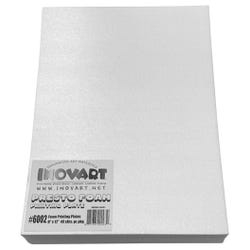
Create a block printing plate in wood, linoleum, or foam. Roll with ink and print a proof. Examine the print at the proof state for open areas that would be enhanced by adding color.
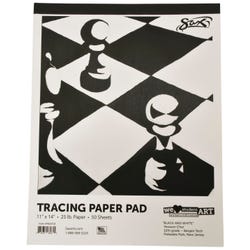
2
Using the proof state as a guide, cut out of the tracing paper in those areas that would be in color. Note: If you are using multiple colors, all these areas can be cut out of the same tracing sheet.
3
Small triangular registration marks can be cut into the corners of the stencil to ensure correct positioning onto the final print paper.
4
Mark registration corners (lightly with pencil) onto the final paper for the correct positioning of the stencil and final print paper.
5
Add colors to the final print paper through the open areas of the stencil, using the stencil brush with VERY little paint, in a DABBING, not painting, motion.
6
Position the inked block exactly over the registration marks. Turn over the paper and block to rub, pressing on the back of the final paper with a baren, spoon, or rubbing stick.
7
Lift the final print and curate with Title, edition number, and name-date.