Close

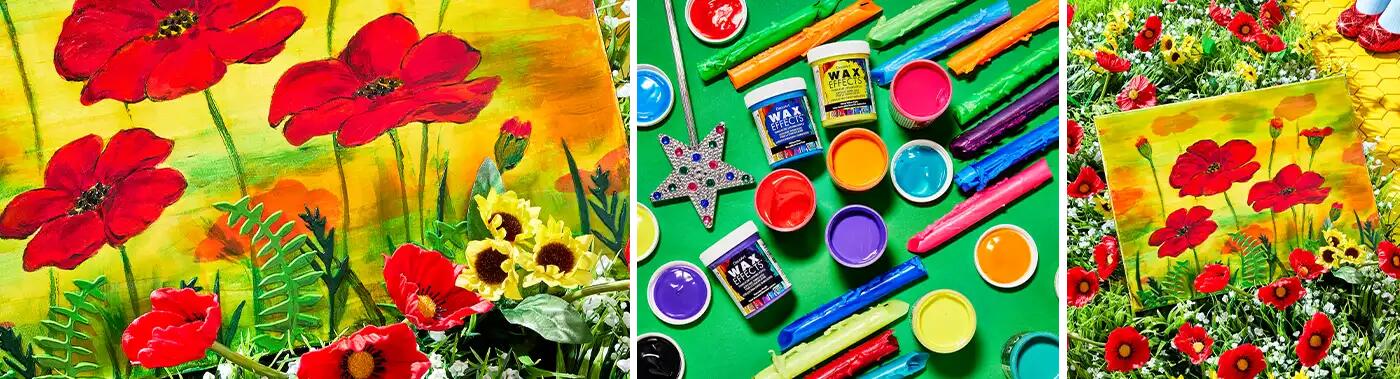
Poppies with a Wax Effect
Lesson Plan, Grades 8-12, Art, Art History, Deco Art, Mixed Media, Painting
Description
Lesson Plan and Artwork by Nadine Dresbach
In this lesson, the Wax Effects medium is used to create an encaustic style painting, using layers of color and various application methods to create translucence and depth within the piece. The traditional form of encaustic has a long history beginning with the Greeks. In traditional encaustic methods, the wax is heated. However, this lesson uses a Wax Effects medium that requires no heating to achieve the same stunning and desirable effects.
Objectives
- Explore the history of traditional encaustics.
- Experiment and refine the use of a nontraditional medium and its application.
- Create depth in a painting using a layering of Wax Effects and pigments systematically.
- Create depth using object size, color, and definition of objects.
Supplies Needed
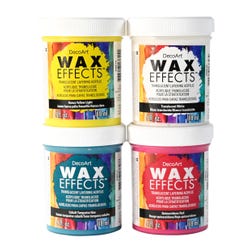
DecoArt® Wax Effects™ Acrylic Paint, 4 Oz, Assorted Primary Colors, Set of 4
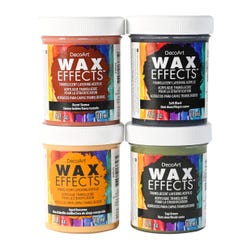
DecoArt® Wax Effects™ Acrylic Paint, 4 Oz, Assorted Natural Colors, Set of 4
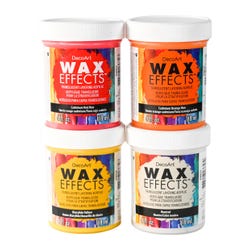
DecoArt® Wax Effects™ Acrylic Paint, 4 Oz, Assorted Warm Colors, Set of 4
DecoArt® Wax Effects™ Acrylic Paint, 4 Oz, Assorted Cool Colors, Set of 4
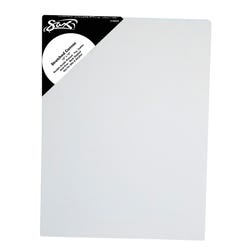
Sax® Quality Stretched Canvas, Double Acrylic Primed, 12 x 16”, White
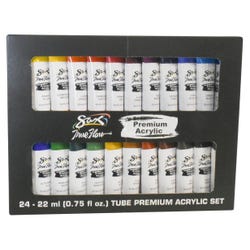
Sax® Premium Acrylic Paint, 0.75 Oz, Assorted Colors, Set of 24
Jack Richeson™ White Synthetic Brush Classroom Pack, Assorted Brush Types, Long Handle, Assorted Size, Pack of 36
Jack Richeson™ Plastic Flexible Super Safety Painting Knives, Set of 5
Grafix® Plastic Light-Weight Sheet for Monoprinting, 6 x 9 x 0.02”, Transparent, Pack of 10
*Here are the supplies needed for this lesson plan for reference. Find a convenient carousel of shoppable products for this lesson below.
Standards
Standard #2: Organize and develop artistic ideas and work.
Standard #3: Refine and complete artistic work.
Standard #5: Develop and refine artistic work for presentation.
Instructions
1
Take time to explore the DecoArt Wax Effects medium fully. Create swatch samples, test colors, and practice using the medium with tools such as palette knives and assorted brushes. Add a bit of pigment to Wax Effects to notice color changes. Mix colors to note their mixing properties. Understanding the qualities of the material will help guide subject matter choices. Select imagery in which you can create a background, middle, and foreground. You will use Wax Effects and acrylic paint in various ways to deepen this effect. For this lesson, poppies in a field were used as a subject.
2
Lightly sketch your selected composition onto the canvas (heavy pencil will show through).
3
Since Wax Effects are translucent when applied in thin layers, use acrylics to apply a very light coat. Block in indications of color with very light washes, creating a base over the entire canvas.
4
According to your design, begin to create layers of Wax Effects on the canvas. The piece for this lesson was created intentionally with a blurred background indicating shapes and colors to keep those items at a distance. Next, a thin coat of the Aged Beeswax Wax Effects was applied with a palette knife horizontally across the whole canvas. This takes a bit of practice, but the Wax Effects material is very forgiving and gives you enough working time to create a smooth, even surface.
5
Your base coat of Wax Effects can be any color that suits your final image. Let the layers dry completely between coats. Thin layers are best and dry faster. A small fan is great at speeding up the drying process.
6
When it is dry, continue to alternate colors of Wax Effects, integrating acrylic elements here and there to create layers. Lightly add middleground elements (poppy pods, stems, leaves, large poppy base coat). In the background of this piece, the colors of Hansa Yellow Light, Diarylide Yellow, Cadmium Orange Hue, Sap Green, and Phthalo Green Blue were used. Very thin coats of each were layered at the top, middle, and bottom of the image, working some of them simultaneously–applying the yellows to the top, orange and yellows to the middle, and yellows and greens to the bottom. Then more details were added with acrylic (more leaves, blurred ferns). Lastly, a coat of Hansa Yellow Light was added to the entire canvas to create an overall glow.
7
After you have established a background with the optical depth you desire, it is time to add some details. Add a few more details to your middleground elements (poppy buds, stems, leaves) and your main area of focus (large poppies).
8
Carefully choosing the appropriate color (Neutral is a non-color option in the Wax Effects line of products), apply another thin coat of Wax Effects over those middleground images to push them back a bit further.
9
Continue to alternate this technique, adding small details, layering acrylic or colored Wax Effects to areas to pull images forward or make them recede.
10
The poppy petals in this image were created alternating layers of acrylic paint with the Wax Effects colors of Quinacridone Red, Cadmium Red Hue and Cadmium Orange Hue.
11
One of the final techniques used in this piece to create the ferns, leaves, and grasses in the foreground was to create stencils out of stiff plastic sheets cut by hand with scissors. There was also a stencil used with the Soft Black for the centers of the poppies.
12
Pre-mix the desired Wax Effects greens, blues, and yellows, sometimes tinting them with a bit of acrylic. Mix enough to fill in the stencil several times if you plan to use it more than once. Leftover premixed color can be stored in a small airtight container. Lay the stencil onto your piece. Holding it firmly and using a palette knife, fill in the stencil, using a smooth stroke of the palette knife across it in different directions. Gently lift the stencil from its corner off the canvas.
13
Stenciling notes: Practice this technique on a separate plastic sheet, scraping it off and reusing the color to not waste it. Stencils can be washed and used from the other side to apply the opposite design. In this piece, darker grasses and leaves were done first and when dry, lighter colors were mixed for the ferns. Because some stenciled images will be close together, you will need to wait for some to dry before you can lay your stencil next to it, so pre-planning will be required.
14
Add final elements in acrylic to bring out details in the piece.