Close

All Geared Up
Lesson Plan, Grades 2-8, Art, Science, Roylco, Collage, Adapted
Description
Lesson Plan and Artwork by Sue Loesl
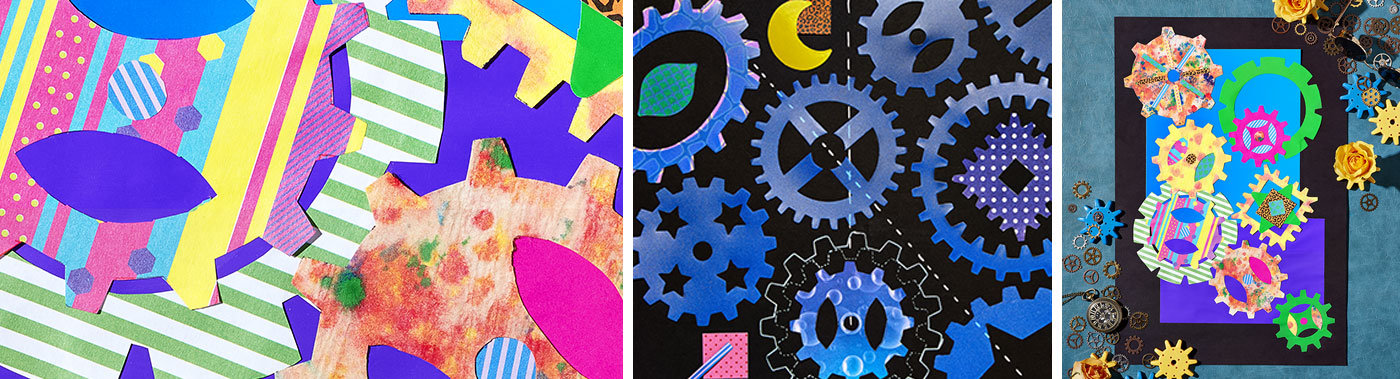
Many research studies connect using the skills of art and science to strengthen student learning. Skills such as observation, identifying patterns, visual thinking and manipulative ability cross over between the two smoothly. The study of how gears work with their interlocking pieces, their opposing rotation direction when placed next to each other, and how fast the gears move based on size, can make for an engaging art lesson as the students design their own gear composition. These compositions take on a very Steam Punk look!
Objectives
- Learn about gears and explore various gear movements to plan their gear imagery.
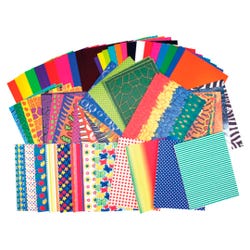
- Learn how to design their own decorated papers and explore patterned paper to make into gears.
- Create a gear composition that reflects their personal creativity.
- Support their independent artmaking opportunities utilizing adaptive art materials and tools.
Supplies Needed
Things You May Also Need:Roylco® Blots of Paper, 8-1/2 x 11 Inches, Pack of 40
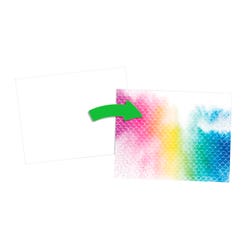
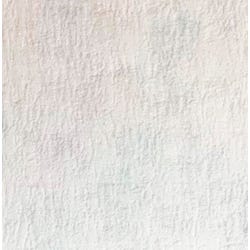
Roylco® Color Reveal Texture Paper, 8-1/2 x 11 Inches, 96 Sheets
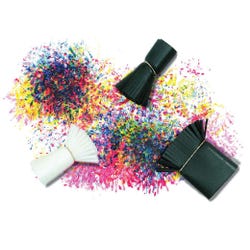
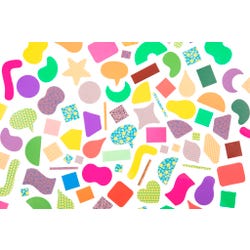
Roylco® Paper Popz, Pack of 1500
Roylco® Gears Stencils, Assorted Sizes, Set of 15
Roylco® Funny Floppy Foam Paint Brushes, Set of 6
Roylco® Preschool Paper, 8-1/2 x 11, Pack of 176
Sax® Versatemp® Premium Heavy-Bodied Tempera Paint, Violet, Pint
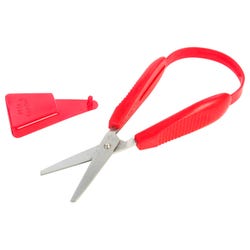
PETA Mini Easi-Grip Scissors, Stainless Steel Blade, Maroon/Red
Elmer's® Disappearing Purple Glue Stick, 0.21 Ounces, Pack of 12
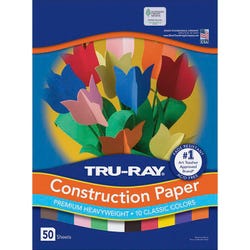
TRU-RAY® Sulphite Construction Paper, 12 x 18 Inches, Assorted Standard Color, Pack of 50
Royal & Langnickel® Big Kid's Choice™ Nylon Lil' Dippers™ Bristle Paint Brushes, Set of 3
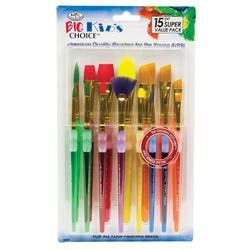
Royal & Langnickel® Big Kid's Choice™ Value Pack Brushes, 15 Pieces
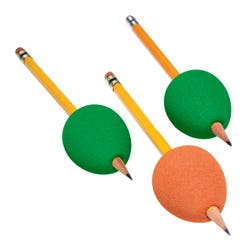
Abilitations® Egg Ohs! Handwriting Grips, Set of 3
*Here are the supplies needed for this lesson plan for reference. Find a convenient carousel of shoppable products for this lesson below.
Lid or other flat container for paint (about the size of a coffee can lid)
Standards
Standard #2: Organize and develop artistic ideas and work.
Standard #5: Develop and refine artistic work for presentation.
Standard #7: Perceive and analyze artistic work.
Standard #10: Synthesize and relate knowledge and personal experiences to make art.
Instructions
1
Research gears and explore videos online that illustrate working gears to show students. Separate the Rolyco Gear Stencils and save all the pieces, positive and negative, for use as templates. Contact other classroom teachers at school to acquire gear manipulatives for students to use in the art class to experience gear movement. Explore gears with students.
2
Describe to students that they will be creating their own designed gear composition.
3
Create decorated paper. Have students take a half sheet of Rolyco Blots of Paper and place on a cookie sheet, low tray or other low surface that can get wet. A paper plate works as well.
4
Assist students in wetting the Blots of Paper. The paper can be quickly dipped into a tub of water, spritzed with a sprayer with water, or wetted by brushing water onto the surface. The paper absorbs water quickly and doesn’t need to be dripping wet. More water can be added if needed for the effect the student prefers.
5
Choose a paintbrush and/or the Roylco Floppy Fun Brush. If the paintbrush handle is too thin and difficult for the student hand grip, push the paintbrush from the plastic end into and through the Abilitations Egg-Ohs so that the ferrule and brush tips are out of the grip. Provide small and flat containers of Sax Versatemp Heavy Body Tempera Paint for painting. Dip the chosen brush(es) into thinned tempera paint and tap or draw random marks onto Roylco Blots of Paper. The paper will absorb the colors and spread them out, very similar to the effects you would get with the Roylco Diffusing Paper.
6
For a layered effect, let the colors blend by thinning the paint even more for the background. Then, using the Roylco Floppy Fun Brush, dip it into unthinned paint and tap onto the blended color background. The darker textured design will appear to be floating on the background. Let dry.
7
Direct students to choose colored or patterned paper from the Roylco Paper Pops and Rolyco Preschool Paper Sets to make gears. Using the Roylco Gear Stencils, trace with a pencil or pen from the back of the paper, to minimize cutting confusion with the paper designs. The grips above can be used to build up the handle on the pencil or pen for easier tracing. Students can choose either the center of the gear from their template, another template, or create their own. A piece of painter’s tape can be used to hold the gear template for student cutting. Students can use traditional or PETA Mini Easi-Grip Scissors to cut out their gear shapes. If the student has difficulty cutting the many teeth on the gears, the number of teeth can be minimized by tracing 2 teeth together as one. These papers can be used to trace and cut out gears as well as for small pieces to design the middle of the gears. Some students may find either the positive or negative small pieces from the gear templates easier to trace than the other. Painter’s tape can stabilize the small template pieces to the back of the paper for tracing and cutting.
8
Use a colored glue stick so students can see the glue easier and attach the decorative middles on their gears from under the gear or on top.
9
When Rolyco Blots of Paper is dry, direct students to choose template gears for tracing on the back side of the Blots of Paper for a total of 3 to 9 gears, including the gears created with the other patterned papers. Minimizing the total number of gears can support a student in participating to the best of their abilities. Scraps of this designed paper can also be used to design the centers of other gears, as well as scraps from the other papers.
10
Give each student a piece of Tru-Ray Sulfite Construction Paper, 12”x18” in the color of their choice. Direct students to create their gear imagery by laying out and manipulating the gears to a design of their choice.
11
Once the student creates their design with the gears, the student can glue the pieces in place with an Elmer’s Glue Stick. A photo can be taken of all the pieces before the student glues them down, as preferred placement of the pieces may be difficult when the pieces are lifted for gluing. This can minimize student frustration in gluing the gears into their perfect places.
12
The student will determine when the gear composition is complete.