Close

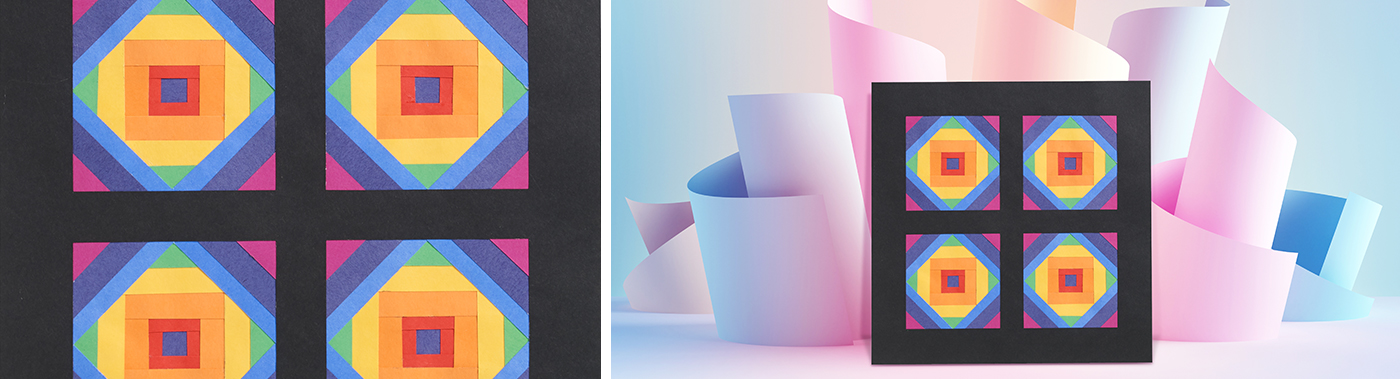
Geometric Quilt Blocks
Lesson Plan, Grades 5-12, Art, Social Studies, Math, Collage
Description
Lesson Plan and Artwork by Annette Johnson
The industrial revolution in the United States brought about a dramatic change in the way quilts were made. Fabric no longer had to be woven by hand on a loom. There was now a wide variety of commercially manufactured fabrics available in colorful prints and solids at affordable prices. The overall design of the quilt top also changed during this time. Quilts were now increasingly made using variety of geometric pattern blocks made with commercially manufactured fabrics. These traditional geometric quilt pattern blocks will be used as a basis to create your own paper quilt blocks.
Objectives
- Students will study the history of quilting in particular the traditional geometric quilt pattern blocks.
- Students will learn how using warm and cool colors, analogous and complimentary colors can change how an individual block looks and feels.
- Students will learn how the original geometric block can be altered by turning it in different directions and combining it with multiples of the same block to create a new pattern.
Supplies Needed
Westcott Beveled Graph Ruler, 2 x 18 Inches
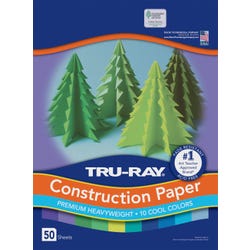
Tru-Ray Sulphite Construction Paper, 9 x 12 Inches, Assorted Cool Color, 50 Sheets
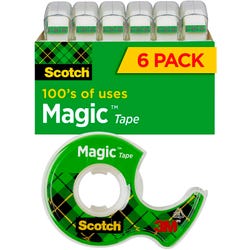
Scotch 810 Magic Tape in Dispenser, 0.75 x 650 Inches, Pack of 6
Tru-Ray Sulphite Construction Paper, 9 x 12 Inches, Assorted Colors, 50 Sheets
Tru-Ray Sulphite Construction Paper, 9 x 12 Inches, Black, 50 Sheets
Tru-Ray Sulphite Construction Paper, 9 x 12 Inches, Assorted Bright Color, 50 Sheets
School Smart Graph Paper, 1/4 Inch Rule, 9 x 12 Inches, White, 500 Sheets
School Smart Glue Sticks, 1.27 Ounces, White and Dries Clear, Pack of 12
Standards
Standard #1: Generate and conceptualize artistic ideas and work.
Standard #3: Define and complete artistic work.
Standard #4: Analyze, interpret, and select artistic work for presentation.
Standard #8: Interpret intent and meaning in artistic work.
Standard #11: Relate artistic ideas and works with societal, cultural and historical context to deepen understanding.
Instructions
1
Choose one of the many traditional blocks as your pattern.
2
Using the ¼” graph paper (4 squares = 1”) and your ruler draw a 6” square near the center of the paper. With a pencil, draw the block pattern you have chosen in the square. If you want to create your own pattern, using a different color pencil, change the spacing, move or add lines to create a new pattern. When the desired look is achieved, darken the pencil lines to make it easier to see when completing the block.
3
Starting with the outer most shape students should number their patterns in the order they will be applying the construction paper color strips. This will help them achieve the intended color placement on the block.
4
Make a frame using black construction paper. Cut 4 strips of black construction paper 2” wide by 10” long. Lay two strips parallel to each other. The outer edges should be 10” apart. Create a square by placing the two remaining strips on top of the first strips. The outer edges should also be 10” apart. Keeping the corners square use the glue stick to glue all corners together creating a 10” square with a 6” opening. Older students can cut a 6” opening in a 10” square of black construction paper to use as the frame.
5
Students should select the colors of construction paper they want to use for their block and cut these into 2” x 7” strips.
6
Students will be working from the back to complete the design. Place the frame face down centering it over the pattern. Tape it to the pattern so it will not shift while completing the design. Starting on one side take the first strip of construction paper and position it on the #1 shape covering it completely and stopping at the line separating it from the next section. Place a small amount of glue or tape on the black frame where the colored strip overlaps it. Continue around the square placing another strip over the #2 shape gluing or taping it to the frame or the previous strip. Continue with #3, covering each consecutive number until all numbered shapes are covered.
7
Cut the tape holding the frame to the design; turn the frame over to reveal the finished geometric quilt block.
8
Students will show the class their completed blocks. Discuss the name of the block and the colors they chose to complete it. Did they use warm or cool colors, complimentary or analogous? All the quilt blocks should be combined to form a class quilt.