Close

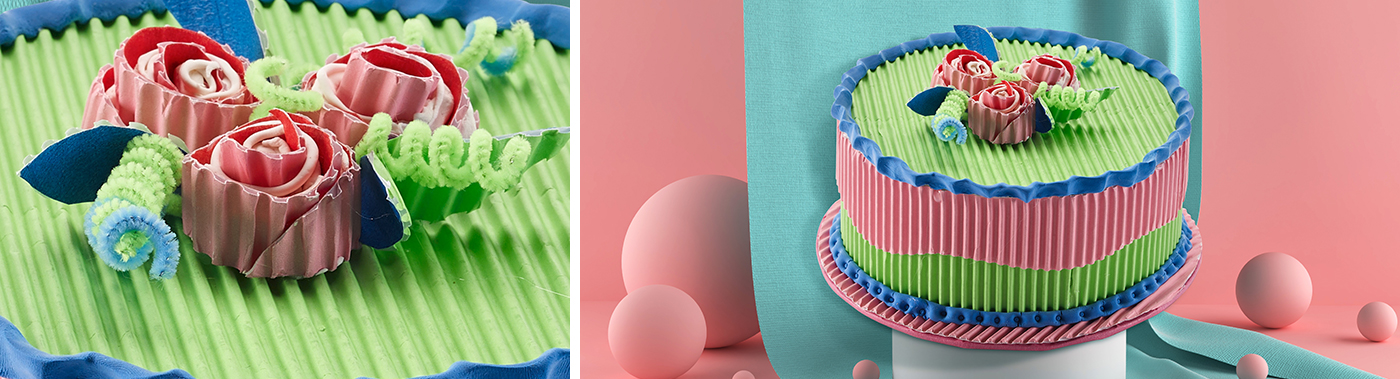
Corobuff Cake Sculpture
Lesson Plan, Grades 5-9, Math, Art, 3-D
Description
Lesson Plan and Artwork by Nadine Dresbach
In this lesson, students will create a three dimensional cake sculpture using Corobuff paper sheets.
Objectives
- Students will manipulate paper materials to learn how to create a three-dimensional paper sculpture.
- Students will use math, analytical properties and experimentation to create a successful design.
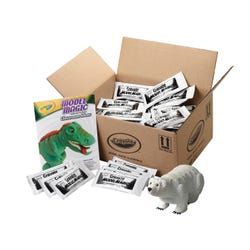
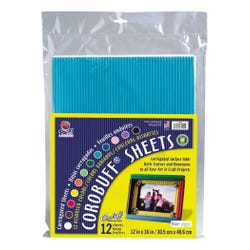
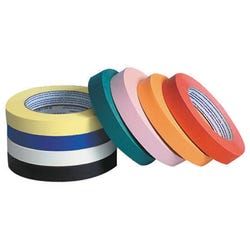
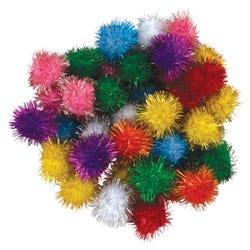
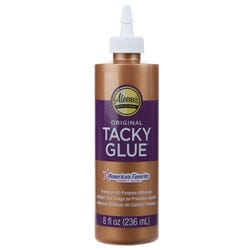
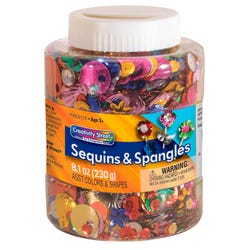
Supplies Needed
Pacon Corobuff, pack of 12
White Model Magic, pack of 15
Creativity Street Colored Masking tape
Aleenes Tacky Glue, 8 oz.
*Here are the supplies needed for this lesson plan for reference. Find a convenient carousel of shoppable products for this lesson below.
Standards
Standard #2: Organize and develop artistic ideas and work
Standard #3: Refine and complete artistic work.
Standard #5: Develop and refine artistic work for presentation.
Instructions
1
Have students conceptualize a rough cake design and select a color pallet for each element of the design.
2
Begin by cutting a base out of a piece of corrugated cardboard (the example shown uses a 9” base). Cardboard will be used to reinforce the Pacon Corobuff for the base of the cake.
3
Use the colored masking tape to cover the edge of the corrugated board.
4
Trace the base circle onto your chosen color of Pacon Corobuff and cut it out. Using tacky glue, mount the Corobuff onto the corrugated cardboard base (in the finished artwork image this is pink).
5
Cut two 3" strips for the sides of the cake from the Pacon Corobuff, with the corrugated lines running vertically (in the finished piece this is green). Corobuff has wonderful pre-marked grids on the back for easy cutting.
6
Tape the two strips (at the short end) together on the back using the colored masking tape. Flip it over and run a little line of tacky glue between the edges for a finished look.
7
After measuring the desired diameter, trim the excess, and do the same to the other two ends so the 3” high strip makes one continuous circle, serving as the sides of the cake.
8
Allow the glue on the seams to dry for a few minutes.
9
Tear several 3 inch strips of tape and place them evenly around the interior of the “sides” of the cake hanging off by 1.5". This helps position the sides of the cake onto the base.
10
After adjusting and securing the tape tabs on the inside of the cake, take longer strips about 4" long and place them around horizontally on the inside of the base to secure it tightly to the base.
11
A second layer of “icing” can be added to the sides of the cake. Take another two strips of Pacon Corobuff and cut one edge into a wave and wrap it around the sides of the cake securing it to the top.
12
Using scrap paper, create a stencil of the top of the cake by flipping it over and tracing it. Trace the stencil on the back of the Corobuff (in the finished sample this is green). Cut it slightly larger than necessary so it will cover the entire edge.
13
Using the tacky glue, attach the Pacon Corobuff cake top to the sides of the cake and allow to dry.
14
Use Model Magic to create decorative edging along the base of the cake and the top edge.
15
Create the roses and leaves and vines: For the leaves: on the back of the Corobuff use a complementary or similar color of tape covering up the white backing. Do this in a 5" square area (In the example, blue tape was used on on the back of the green). Cut the leaves from this area of the Corobuff. For the roses use red tape on the back of pink Corobuff. Do this in long narrow strips just an inch or two high. For the roses, cut the top edge in wave pattern. Coil the rose up and nestle it into a mound of the Model Magic to secure its shape. Then add very thin coil rolled pieces of the Model Magic to the top of the rose. For the vines, wind pipe cleaners around a pencil. Secure all these elements to the the cake using the tacky glue.