Close

Animals, Animals Stenciled Watercolors
Lesson Plan, Grades 2-6, Art, Science, Sax, School Smart, Fadeless, Yes!, Prang, Crayola
Description
Herds, flocks, schools, prides or other groups of animals moving together can be a beautiful sight. Rhythm and movement are gracefully portrayed as they travel across the land/sky/sea. It is easy to capture some of that sense of movement if a stencil is used to create the shape of the animal again and again. In this lesson, watercolors were used with a cut stencil and details were added with colored pencil.
Objectives
- Students will study animals that live in groups or herds.
- Students will learn to create a sense of depth with atmospheric perspective, the placement of objects in relationship to the eye-level, and overlapping.
- Students will learn how to use stencils to create paintings.
Supplies Needed
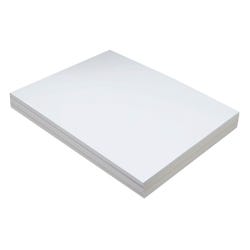
Sax® 90-Lb. Extra-White Sulphite Drawing Paper, 9 x 12, Ream 206321
School Smart® White Tag Board, Heavyweight 2-Ply .010, 100-Sheet Pkgs. 085496
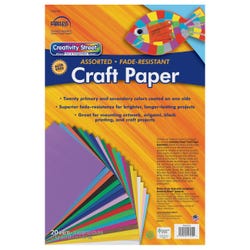
Fadeless® All-Purpose Art Paper, Assorted Colors, 12 x 18, 20-Sheet Pkgs. 207391
Yes! Paste Glue 401632
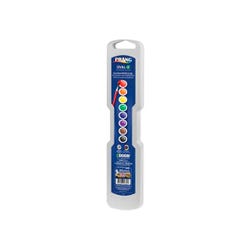
Prang® Semi-Moist Watercolors, Oval Pan, Set of 8 001233
School Smart® Bucket and Sponge Assortment, 12 - 2 x 3 x 1 sponges 085851
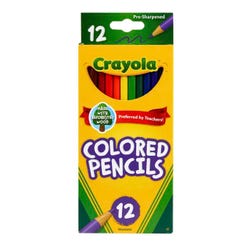
Crayola® 12 Ct. Full Size Colored Pencils 160-1456
School Smart® Railroad Board, 4 Ply, Assorted Colors, Pack of 100 sheets 085547
Standards
CONTENT Standard #1: Understanding and applying media, techniques and processes. Grades K-4: Students use different media, techniques and processes to communicate ideas, experiences and stories.
CONTENT Standard #2: Using knowledge of structures and functions. Grades K-4: Students use visual structures and functions of art to communicate ideas.
CONTENT Standard #3: Choosing and evaluating a range of subject matter, symbols and ideas. Grades K-4: Students explore and understand prospective CONTENT for works of art.
Instructions
1
Study types of animals with your class and determine which ones travel in groups. You needn?t confine yourself to land animals only. Fish swim in schools and birds often fly in flocks.
2
Students should choose one of the animals determined to be a group traveler.
3
On a sheet of tagboard, students draw the chosen animal. It should be at least the size of the student?s hand.
4
Students carefully cut around the outline of the animal and tape closed where the scissors cut from the edge of the paper to the animal shape. Save the inside animal-shaped piece as well.
5
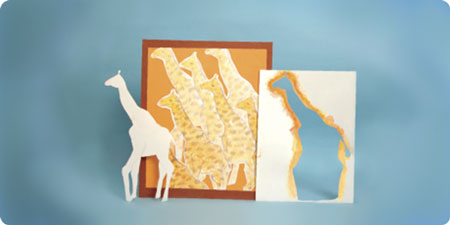
Discuss with your class how nearer objects are more intensely colored than those far away (atmospheric perspective). Introduce the concept of eye-level discuss how if the bottoms of things are below your eye-level, the closer objects will be lower in the picture, as in the giraffe picture. If objects are above eye-level, like birds flying high in the sky, the closer ones will be higher on the page. Also point out how things that are closer may overlap those behind them.
6
(The directions from this point up to Step 8 are given for animals that are at least partially below eye-level. Directions about placement and overlapping would be reversed if the animals were above eye-level.) Students will start with some whose feet/bottom edges are not even on the page. Place the animal-shaped hole in the tagboard low on the sulphite paper. Using a damp sponge, pick up color from the watercolor paints. Holding the stencil firmly in place, dab paint with the sponge onto the paper inside the cutout. Remember the shapes stenciled low on the page should have comparatively strong color.
7
Students keep stenciling more shapes on the page, moving the stencil up higher on the page. The lower shapes overlap the higher shapes.
8
After students have stenciled enough animals to fill a good portion of the page, they will use the animal cutout and the colored pencils to outline and add details to the animals. The details on the closer animals should be darker and more distinct, becoming more fuzzy on those further away.
9
Students cut out the completed animal grouping, leaving a white border all around, and glue to a piece of Fadeless paper in a complimentary color cut to 9 x 12.
10
Students glue this to a slightly larger piece of Railroad Board using Yes! Paste Glue.