Close

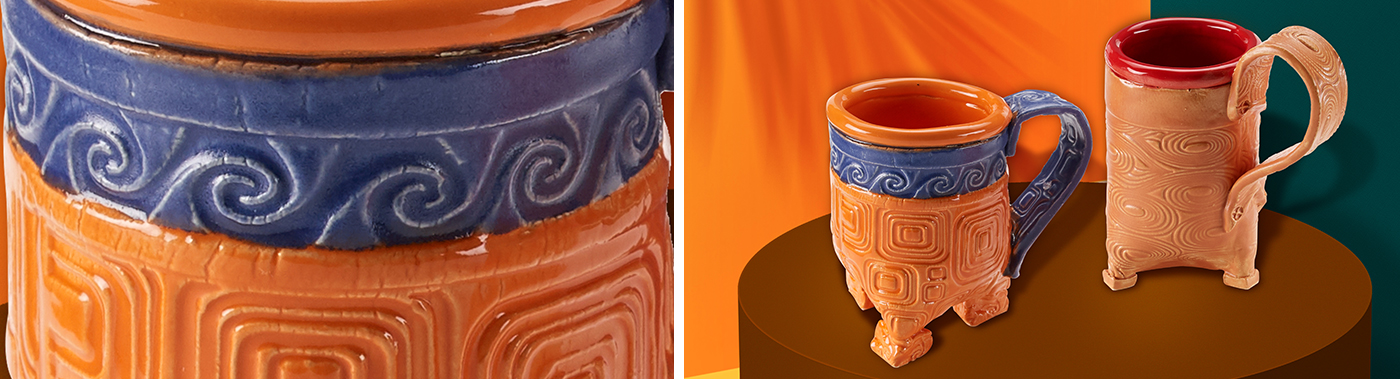
Tripodial Slab Cup
Lesson Plan, Grades 5-12, Art, Math, Social Studies, Ceramics & Sculptures, 3-D, Multi-Cultural
Description
Lesson Plan and Artwork by Eric Orr
Have you ever sat at a table in a restaurant that had uneven legs that rocked and were always moving? Very annoying! This lesson tackles that problem by using three legs to create a very stable pot foot. A tripod is always stable. Various cultures have created pottery with three feet. Reference ewers and vases of the Chinese Song Dynasty, 960-1279 A.D. Earthenware pots of the Mexican Classic Period 300-900 A.D., as well as Nigerian pots and ancient Cretan pots of the late Minoan period, 1450-1400 B.C.
Objectives
- Students will discuss why humans, animals and insects have an even number of legs. Why/how are they always stable? Why is a tripod always stable? Does a man with a can seek that stability?
- Students will glaze and fire their functional ware.
- In this clay lesson students will create a textured cup having three feet.
- Students will analyze their designs and craftsmanship in a class critique.
Supplies Needed
Art Clay
Fettling Knife
Modeling Tools, set of 10
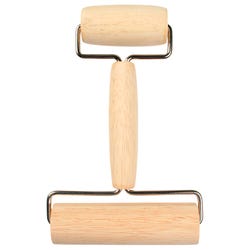
Clay Slabmaking Kit
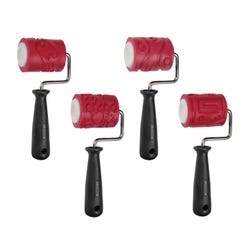
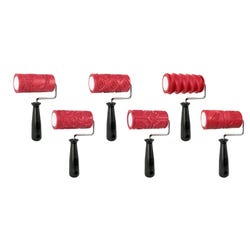
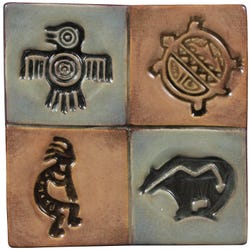
Continuous Design Tools, Deco Patterns
Texture Mat, Swirls
Continuous Design Tools, N American
Texture Mat, Retro Squares
Foundation Glaze, Pints
*Here are the supplies needed for this lesson plan for reference. Find a convenient carousel of shoppable products for this lesson below.
Standards
Standard #1: Generate and conceptualize artistic ideas and work.
Standard #2: Organize and develop artistic ideas and work.
Standard #3: Define and complete artistic work.
Standard #5: Develop and refine artistic work for presentation.
Standard #7: Perceive and analyze artistic work.
Standard #11: Relate artistic ideas and works with societal, cultural and historical context to deepen understanding.
Instructions
1
Depending on height and diameter of desired cup, wedge and roll out 1.5 to 2 lbs. of White Art Clay using roller, mat and guide sticks to a ¼” thick rectangular slab.
2
Determine location of textured design on the cup. Texture with design tool, texture mats or stamps.
3
With a fettling knife and ruler, cut the slab into a rectangle whose circumference will fit around a newspaper-covered pipe, can or cylinder. Remember that circumference = Pi (3.14) x Diameter. The width of the textured slab will be the height of the cup.
4
Place the slab around the cylinder. Cut to length, score and slip the seam. Smooth the joint. Note that the cup is upside down on the tube.
5
Slide the clay ring off the cylinder top about 1.5 to 2”. Gently fold the clay bottom of the cup creating three equilateral feet and gently pinch the three feet together, score and slip. The cup bottom has a triangular hole, so cut a small triangle of clay, score and slip the edges and close the bottom.
6
Finish the tripodial foot. More clay may be added to the foot area to increase cup height.
7
Slide the cup off the tube. On the inside, reinforce side and bottom joints and smooth so cup will hold liquid. Gently tap the three feet on the table and note that the rim is parallel with the table top. Add a slab or coil handle from scrap clay.
8
Roll a coil and score and slip it to the rim. This will be against the user’s lips so be sure it is nice and smooth.
9
When dry, bisque fire to cone 04, 1949º F.
10
Glaze and fire to appropriate cone.