Close

Symmetrical Spaces and Kawaii Faces
Lesson Plan, Grades 9-12, Art, Social Studies, Art History, Painting, Multi-Cultural
Description
Lesson Plan and Artwork by Kathryn Cahill
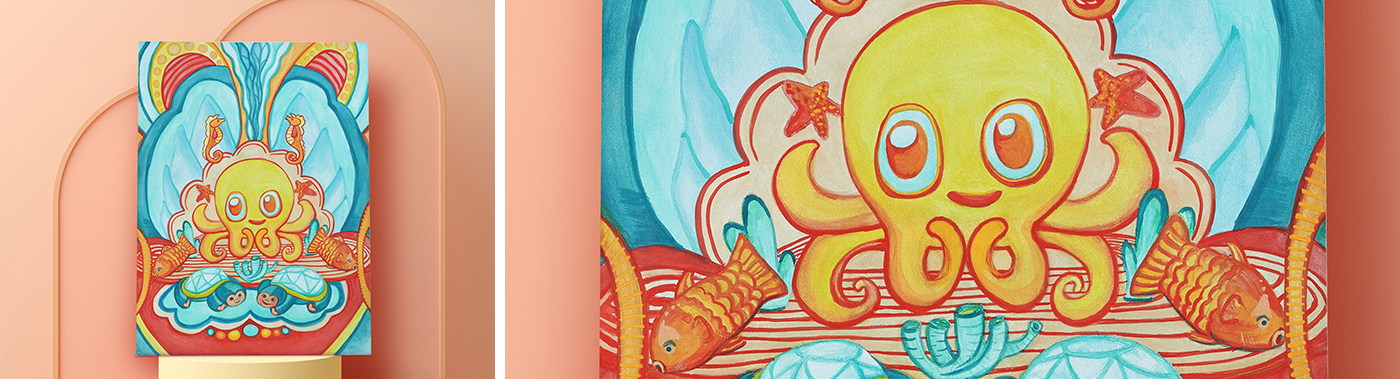
This lesson plan combines a Kawaii aesthetic experience with the practice of drawing and painting symmetrical characters who are immersed in colorful, patterned landscapes. Cultural connections can be made in many places, including symmetrical Swedish folk art, the cute and minimal characters of Western and Japanese popular culture, and the work of a contemporary Guatemalan illustrator named Muxxi.
Objectives
- Students will research symmetrical art from many sources.
- Students will use a limited palette of colors.
- Students will develop and draw characters that are symmetrically aligned in the given space.
- Students will create a patterned landscape for their characters.
Supplies Needed
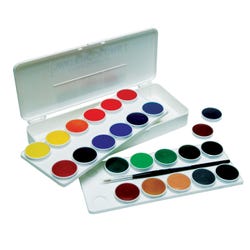
Watercolor Board Ex-Heavy Weight CP 15 x 20"
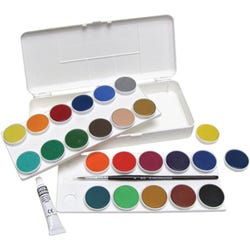
Paint Watercolor 24 color opaque
Paint Watercolor 24 color transparent
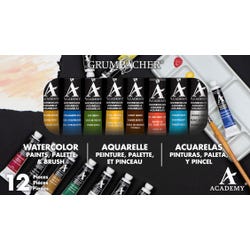
Paint Watercolor Academy .25 oz, set of 10
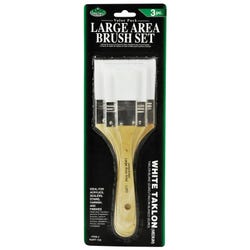
Brush All Purpose White Taklon
Brush Soft Grip Round, set of 5
Brush Bucket Collapsible
*Here are the supplies needed for this lesson plan for reference. Find a convenient carousel of shoppable products for this lesson below.
Standards
Standard #2: Organize and develop artistic ideas and work.
Standard #3: Define and complete artistic work.
Standard #8: Interpret intent and meaning in artistic work.
Standard #11: Relate artistic ideas and works with societal, cultural and historical context to deepen understanding.
Instructions
1
Research visual symmetry using multiple sources including some of the topics referenced in the lesson description.
2
Make a reference chart of the watercolors you have available. Use opaque and transparent watercolor sets, and then select a limited palette by removing the selected pans from the sets to use. A limited palette gives the finished piece unity despite its busy surface and multiple characters.
3
Divide the watercolor board in half using a light pencil and begin sketching in symmetrical character designs by balancing the two sides. Only outlines and loose shape guidelines are necessary in the beginning layers.
4
Separate and divide the space by creating large bilateral symmetrical shapes in light pencil in the background. Be sure to vary the line types, including thick, thin, dotted, scalloped, etc. This process is similar to doodling. Do not measure for perfect symmetry, for aesthetics and variety of hand-made items.
5
Paint the background and characters with light washes with flat brushes to establish their color tone. Add more watercolor where you add multiple coats of the same color, to increase opacity and color saturation. The 100% rag surface is delightfully absorbent and allows for gradually depositing the pigment in multiple layers. Avoid using too much water in the washes, as the board may bow. If warping does occur, weigh the board down during the drying process.
6
Use smaller round brushes to outline the shapes and to add opaque details and textures to the artwork. Mistakes can be lifted from the paper or blended with water into the surrounding area. Outlining is easiest when moving the board around to get the most comfortable and consistent approach. Continue to build layers of pattern and texture until you have achieved desired outcome. Be sure to include visual cues to move the eye around the whole work.
7
Use a written assignment or hold a group discussion to deepen the understanding and appreciation of the artwork.