Close

Printmaking 101: Multicolor Reduction Prints
Lesson Plan, Grades 9-12, Art, History, Speedball
Description
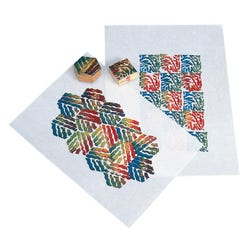
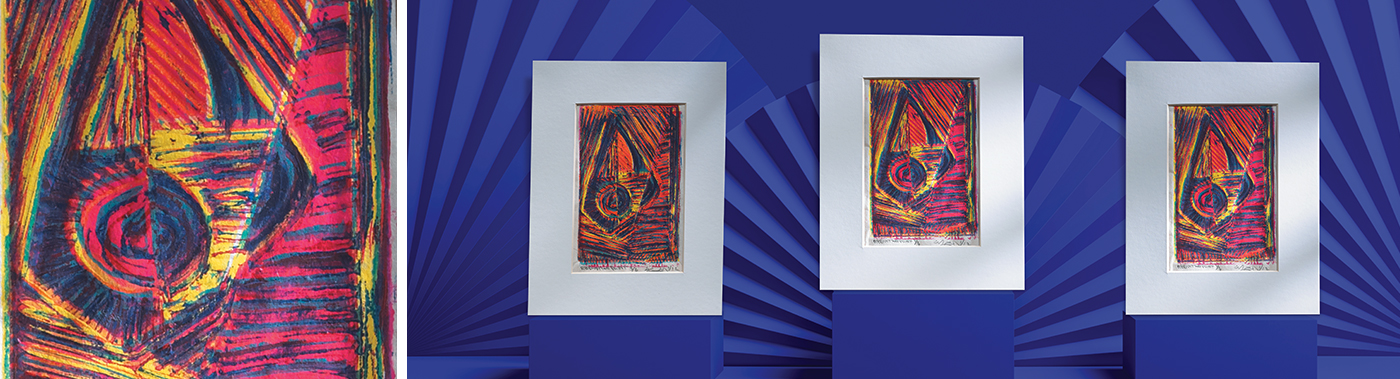
Of all the forms of printmaking; the hand crafted relief print process is the most direct. Areas of the design are cut away from the printmaking surface, leaving a raised image-surface which is then to be inked. Paper is then placed over the surface and pressure is applied to transfer-produce an impression-finished print. Modern relief printmaking techniques include: stamping; linocuts; woodcuts; reduction prints; etc. The reduction technique, sometimes called, lost block, requires the entire edition to be printed at one time. Cutting away parts of the design in various stages, inking and printing one color at a time, (light colors to dark) until finished. This process has the greatest use of multiple colors without the cost and cutting multiple plates.
Objectives
- This Art-Infused Lesson Plan brings together: the rich history of printmaking; exploring of cognitive development; applying and expression of original-creative ideas; small-large motor coordination; planning and production sequences.
Supplies Needed
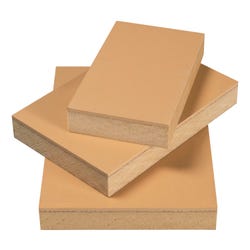
Speedball® Linoleum Block, 4" x 6" 410858
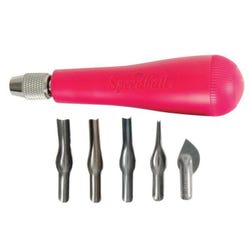
Speedball® Linoleum Cutter Assortment #1 380954
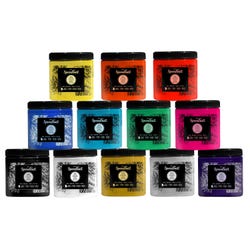
Speedball® Water Soluble Block Printing Ink - Assorted Colors, Set of 12, 8 oz. jars 405965
Sax® Perfect Print Block Printing Paper - White, 9" x 12", 60 lb., Pack of 100 246982
Subi® Block Printing Paper - Assorted Colors, 9" x 12", 60 lb., Pack of 40 406610
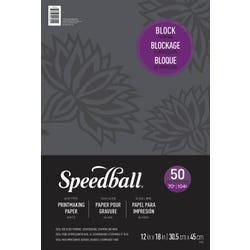
Speedball® Printmaster® Paper - White, 12" x 18", 60 lb., Pack of 50 401658
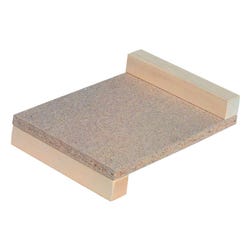
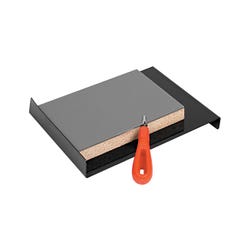
Linoleum Block Stop 225852
Inking Plate 380960
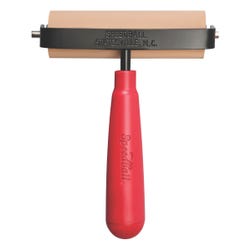
Speedball® Soft Rubber Brayer, 4" 216495
Speedball® Hard Rubber Brayer, 4" 466310
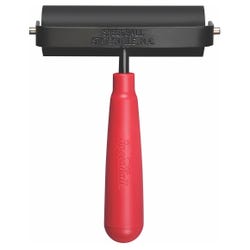
Speedball® Red Baren 407267
Rubbing Stick®, 2.5" dia. 410248
Standards
CONTENT Standard #1: Understanding and applying techniques and processes.
CONTENT Standard #2: Using knowledge of structures and functions.
CONTENT Standard #3: Choosing and evaluating a range of subject matter, symbols and Ideas
Instructions
Build qualitative problem solving relationships with students by investigating varied subject matter, thinking within the material being used, and the process of reduction printmaking.
1
In the early twentieth century, contemporary relief printmaking took place among the following artists: Pablo Picasso, Edvard Munch, Emil Nolde and Joan Miro. Students will see their directness and simplicity that this hybrid relief process offers.
2
Select the relief printing plate and size.
3
Use standard linoleum cutting tools which can be used safely with block stops and bench hooks.
4
Designing for this process will require thinking in reverse. What appears on the left side of the printing plate will appear on the right side of the finished print.
5
When you are ready to carve your image, you can either draw or paint it directly onto the printing plate. REMEMBER, with the reduction print process, you will begin with cutting away parts of the design one part at a time. This first carving layer will have the least amount of cutting done to it.
6
This remaining surface will then be inked and printed for the entire edition of prints. Printing plate registration will be key during this step, (More on that in step #8).
7
Each new layer of the image will be cut from what remains of the previous layer. New cuts are made to represent the next change of color-design and will be inked and printed for the entire edition. Light colors are printed first. Darker colors and details will be last.
8
Registration is where the printing plate is positioned and brought into a correct relationship to the paper it's being printed on. This can easily be done by either aligning and marking the margin of the paper from the printing plate or marking the printing plate corners on the finished paper with a pencil to indicate the corners of the plate.
9
Using a Styrofoam® ink tray for a Platen, roll out the ink to evenly distribute it onto the brayer surface. Roll the Speedball® rubber brayer over the printing plate numerous times to insure an even distribution of ink onto the plate.
10
Position the inked plate over the paper, mindful of the registration mark placement firmly press plate onto the paper. Carefully slide both the plate and paper off the work surface, turn over, hand burnish with baren, rubbing stick or wooden spoon. Pull the print.
11
Complete the edition and curate the prints, example: 1/5, 1 is the first print of the 5 in the total edition.
12
Print title, 1/5 in the lower LH margin. Name, date in the lower RH margin, make all marks in pencil.