Close

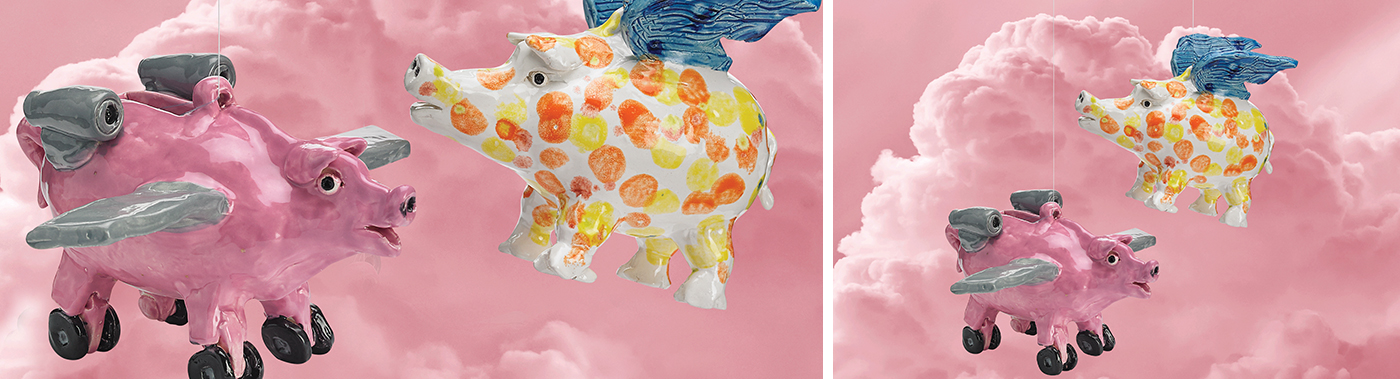
Piggy Bank: "When Pigs Fly"
Lesson Plan, Grades 4-12, Art, Social Studies, Ceramics & Sculptures
Description
Lesson Plan and Artwork by Eric Orr
Children have always been encouraged to save money "for a rainy day." A piggy bank is a unique form to encourage savings or "feeding the pig." Historically, in the middle ages, household containers were often formed from a cheap and plentiful earthenware red clay called "pygg". When folks had an extra coin, they would drop it into a clay jar for saving. Because owning a pig was a sign of simple wealth, these jars soon became shaped like a pig, especially in Javan (Indonesian) society, and similarly in Europe.
Objectives
- Students will join pinch pots to create a 3-D animal form. Students will elaborate on animal features and create a functional bank.
- Students will detail and glaze their animal banks with fun and fanciful color schemes.
Supplies Needed
Amaco® Versa Clay #20, White, 50 lbs.
Amaco® Teacher's Palette Glaze Set, Assorted Colors, 8 oz jars, Set of 12
Amaco® Crystaltex Glaze #4, Assorted Colors, 1 pt each, Pack of 12
Amaco® Sprig Molds, Decorative Foot, 5 1/4" x 4"
Sax® Mini Assorted Pattern Imprinting Mat Set, 1" x 6 3/4", Set of 24
Boxwood Modelers, 6", Set of 10
Fettling Knife, 4 1/2"
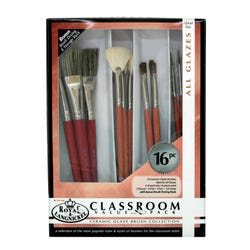
Ceramic Brush Set, Pack of 16
Half Moon Oval Smooth Flexible Scraper, Steel, 2" x 4"
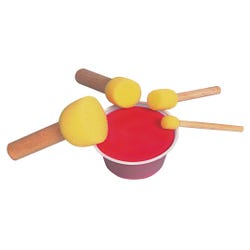
Foam Daubers, Assorted Sizes, Set of 40
*Here are the supplies needed for this lesson plan for reference. Find a convenient carousel of shoppable products for this lesson below.
Standards
Standard #1: Generated and conceptualize artistic ideas and work.
Standard #2: Organize and develop artistic ideas and work.
Standard #11: Relate artistic ideas and works with societal, cultural and historical context to deepen understanding.
Instructions
1
Create two pinch pots with 2 one-half pound balls of Amaco® low fire clay.
2
Start by rolling each soft clay ball into a perfect sphere. Push your thumb deeply into the ball to open it.
3
With thumb in middle, press and turn the ball thinning and expanding the outside with even pressure from your four fingers.
4
Try to pull and expand clay upwards and inwards, like a vase, not outward like a bowl.
5
Strive for even wall thickness.
6
Form the second ball in a similar fashion striving to make it the same diameter as the first.
7
When both pinch pots are done, turn them over and gently tap the rims on the table top to even them out.
8
Score and slip both rims and gently push them together. Your form will look like a baked potato.
9
Roll a wet clay coil and place it over the joint. Smooth the coil with a clay tool and then your fingers to cover the joint.
10
Scrape the seam with a serrated or smooth rib to make the joint/seam disappear. You now have the body of your pig or other animal.
11
Study the features of your pig or other animal and add features...neck, head, legs, tail, etc.
12
Be sure to score, slip and press all features onto hollow pinch pot form.
13
For bank, cut a slot in the back of the animal 1/2" wide by 2" long. This cut also allows air to escape during firing of an enclosed form without blow-ups.
14
When dry, bisque fire to cone 04 (1949 degrees F).
15
Glaze with three coats of Amaco CTL glazes. Foam daubers are a fun way to add other colors over your base glaze coats.
16
Glaze fire to cone 05, (1888 degrees F).