Close

Paste Paper Robot Collage
Lesson Plan, Grades K-12, Art, Science, Elmer's

Description
A robot is a tool made by humans to automatically perform a specific task. In this lesson, students invent a robot that is helpful for a task in their own life. To illustrate the idea, students create a final collage with beautifully textured paste papers.
Objectives
- Students will use creative and innovative thinking skills to imagine the robot's purpose and function.
- Students will experiment with line and texture in paint to achieve color and tone in paste papers. When using the papers to collage, students will explore shape and balance to assemble the robots.
Supplies Needed
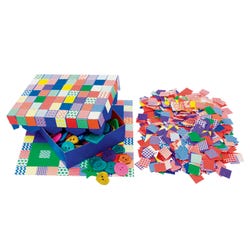
Pacon® Scrapbook Assortment, 160 Sheets 409338
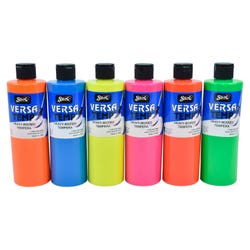
Sax® Versatemp Fluorescent Pint Set of 6 1440727
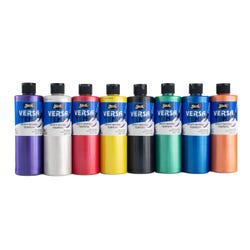
Sax® Versatemp Pearls Pint Set of 8 1440733
Sax® Versatemp Metallics Pint Set of 3 1440731
Elmer's® Art Paste, 2 oz. 1366814
Roylco® Petite Pattern Mosaics, Pack of 2000 1289189
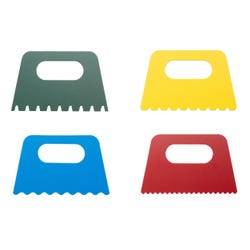
School Smart Plastic Assorted Design Paint Scraper Set, 3 X 5 in, Assorted Color, Set of 4 085829
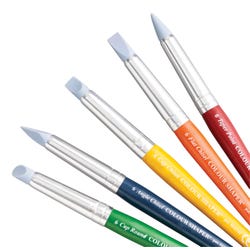
Colour Shapers for Kids, Size 6, Set of 5 216771
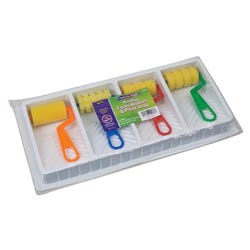
School Smart® Large Foam Rollers with Paint Tray 085648
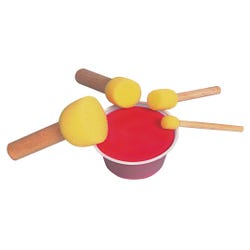
Paint & Clay Explorers, Set of 4 410957
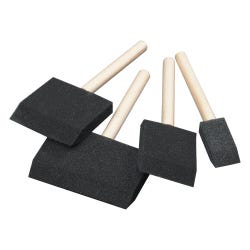
School Smart® Wedge Foam Brushes Assortment, Set of 48 085676
School Smart® Paint Scrapers, Set of 085829
Foam Daubers, Set of 40 404606
Elmers CraftBond Photo-Safe Refillable P 1392791
Elmer's® CraftBond® Tacky Glue, 8 oz. 1366811
Standards
CONTENT Standard #1: Understanding and applying media techniques and processes.
CONTENT Standard #4: Understanding the visual arts in relation to history and cultures.
Instructions
1
Prepare a basic worksheet to help students imagine a robot that performs a useful task. Save images of old and new robots to discuss. Mix Elmer's® Art Paste, add the paste to Sax® Versatemp®, and store the mixture in an airtight container until ready for use.
2
Discuss robot images and complete your robot worksheet with a focus on design, form, and function. Sketch out some possible robot designs and label the illustrations. Give the robot a title or name.
3
Distribute paint and tools by creating color stations. Keep like colored paint and paper together to avoid undesirable paint mixing. Students use a foam brush to apply the paste paint to the entire paper and then use texture tools while the paint is still wet. Allow students to experiment with a variety of tools including paint scrapers, foam daubers, rubber and foam rollers, plastic palette knives, and Colour Shapers to achieve different lines and textures in the wet paint. Allow the painted papers to dry on a rack.
4
When the papers are dry, cut them into standard shapes. I cut standard 5" x 5", 4" x 4", and 3" x 3" squares, and 1" x 6" lines on a paper cutter, cutting multiple pages at a time. Distribute a variety of shapes and colors to each table in a basket. Students can modify the standard shapes using scissors. Show them how to diagonally cut a square into two triangles, and how to fold a square to cut a symmetrical circle or shape. Students should lay out their design before securing it to a background paper with Elmer's® products. Apply a few Glue Dots to each piece of paper and line the edges with Tacky Glue before adding it to the background.
5
Frame the robot using Elmer's® CraftBond® Glue Dotss and Roylco® Petite Pattern Mosaic pieces. Display robots with worksheets. Discuss the work as a class..