Close

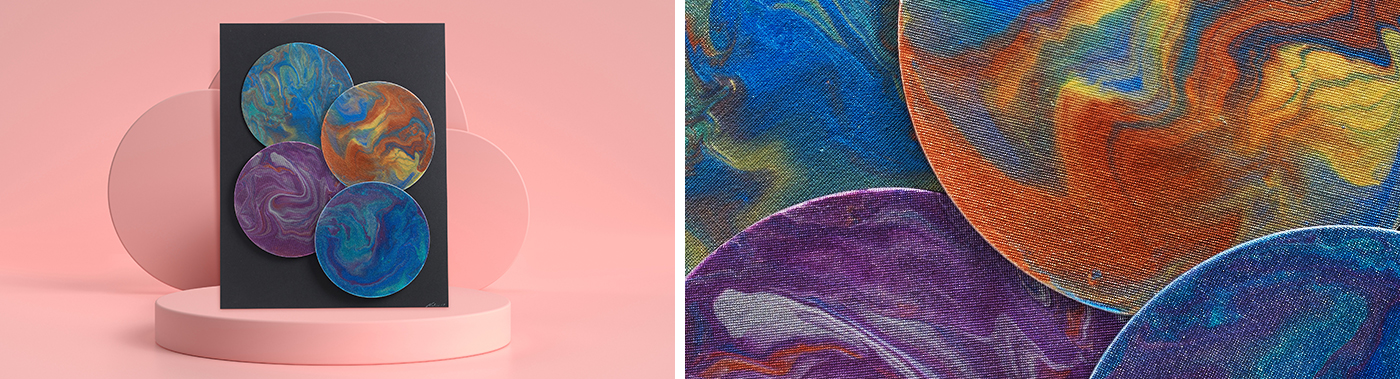
Paint Poured Planets
Lesson Plan, Grades 3-8, Art, Science, Sax, Painting
Description
Lesson Plan and Artwork by Nadine Dresbach
In this lesson students will learn the method of acrylic paint pouring to create beautiful luminescent planets. The art of paint pouring is a process method that yields dramatic and beautiful results.
Objectives
- Students will learn and experiment with the paint pouring method.
- Students will use math in portion measuring to prepare their product for the pour.
- Students will experiment with color mixing.
Supplies Needed
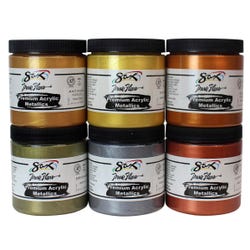
Sax True Flow Premium Acrylic – 4 oz, set of 6
Sax True Flow Premium Acrylic – 8 oz, set of 6
Canvas - round white 12"
Canvas - round white 8"
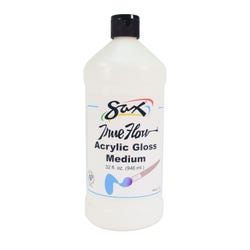
Sax True Flow Acrylic Gloss Medium 1 qt
Craft sticks
Small plastic disposable cups
Disposable tray
*Here are the supplies needed for this lesson plan for reference. Find a convenient carousel of shoppable products for this lesson below.
Standards
Standard #1: Generate and conceptualize artistic ideas and work.
Standard #3: Define and complete artistic work.
Standard #5: Develop and refine artistic work for presentation.
Instructions
1
Organize your workspace. The resulting artwork is a process that involves more time in planning and preparation than actual creation.
2
Prepare the pouring area. Use the bottom of a very large pizza box or any shallow box that is about 20 inches square. In the center of the box place an upside-down container that is smaller than the canvas, like an old plastic food/leftover container. Make sure it sits stable on the cardboard.
3
Prepare the paints. The method used in the artwork was made from what is called a “dirty pour” where each paint color is mixed up separately and then the selected colors are poured into one cup to be poured onto the painting. Have students select at least six different colors for experimentation purposes. The paints should be prepared in small disposable cups. A 5 ounce size works well, preferably clear so they can see the mixing.
4
Place equal parts Sax True Flow Premium Acrylic Metallic Paint and Sax True Flow Acrylic Medium into the cup and stir it thoroughly with the wooden craft stick. Add a small amount of water and stir again. Lift the craft stick above the cup and let it drip – if it drips slowly it is too thick. Continue to add water until - when the stick is lifted out the paint runs off the stick a little faster than honey but not like milk. Be patient this is important to the process.
5
Continue this process with all the colors. This is an involved process and should be done with care and will take a while to mix up. Its very important that there are no lumps of paint and the students achieve a very smooth paint in the cup.
6
Next, take a fresh cup and pour small amounts of selected colors (3 or 4 to start) into the cup, alternating as you pour. This is where the experimentation begins and you can guide your results. Alternate and repeat colors in the appropriate amount that you visualize. The total amount in the cup should only be about 3 ounces for an 8” canvas.
7
At this point, use what is called a “flip cup technique”- take the cup in one hand and hold the canvas in the other hand. Place the canvas upside down on top of the cup and flip the canvas over holding the cup in place. Set the canvas down onto the base that was set up in advance. Very slowly lift the cup off the canvas. The acrylic paint will begin to spread out. Then very gently, from underneath, tip the canvas in different directions so that the acrylic spreads and the whole canvas is covered. Paints can run off the edge and this is also a time to create the marbleizing “planet” imagery. “Gently direct” the acrylic pattern by tipping the canvas. (Students may wish to wear gloves for the pouring process)
8
If it looks like too much paint is remaining on the canvas just continue to tilt until the excess paint is running off the edges in different directions.
9
The drying process should take approximately 24-48 hours total time depending on the amount of paint that remains on the surface of the canvas. As the canvas’ edges dry first they may tend to curl up, very gently bend the canvas backwards.