Close

Oh, What a Relief
Lesson Plan, Grades 6-12, Printmaking
Description
Lesson Plan and Artwork by Franz Spohn
Relief printmaking parameters require a different approach to creating an image. This project focuses on single iconic images, developed by individual students as related to a common theme for the class. Students will develop these images with a strong emphasis on shape and bold lines, with textures created with the vocabulary of shapes created by using V and U gouges.
German Expressionist prints are a good reference for a bolder and less fussy approach to creating printed relief images.
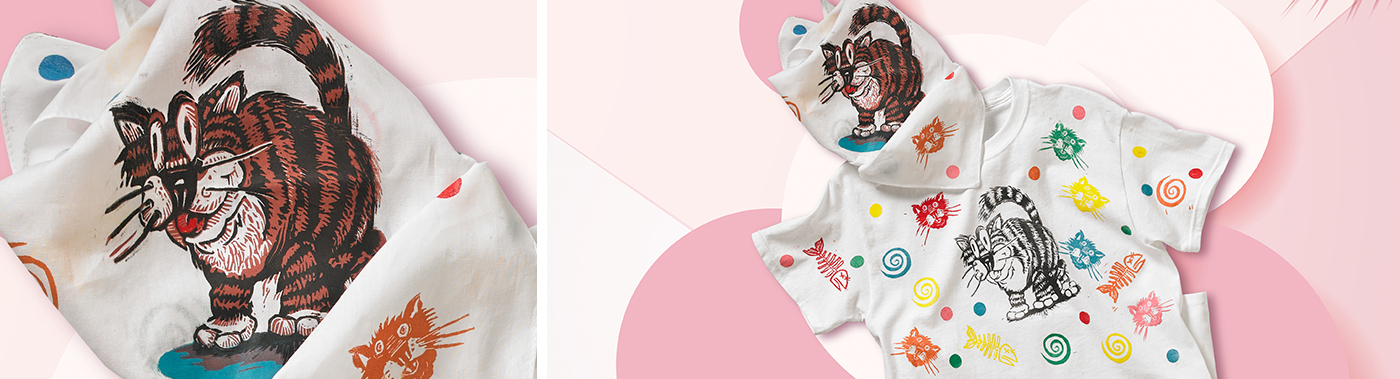
Students will create images, intuitively composed and printed onto cloth (bandanas) with smaller block(s). These blocks will be printed in an intuitive scatter pattern to create a finished piece. Students can create their own bandanas or, in collaboration, share their blocks with other members of the class.
Objectives
- Students will master tools and skills of the relief printing process to achieve their artistic vision.
- Students will visually interpret a given theme in terms of context and within the parameters of relief printmaking.
- Students will develop an intuitive sense of composition as the pieces are created from multiple stamped impressions.
- Students will learn to work collaboratively in a common studio environment.
Supplies Needed
Carve Blocks, 3 x 4 in
Carve Blocks, 4 x 16 in
Carve Blocks, 6 x 12 in
Carve Blocks, 9 x 11-3/4 in
Carve Blocks, 11-3/4 x 12 in
Fabric Block Printing Ink Classroom Set, Assorted Colors, 2.5 oz, Set of 8
Soft Rubber Brayer, 2 in W
Soft Rubber Brayer, 4 in W
Soft Rubber Brayer, 6 in W
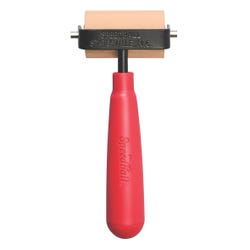
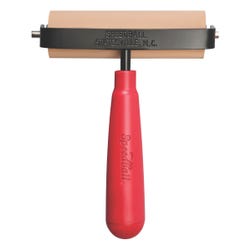
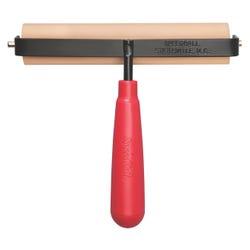
Baren, 4 in
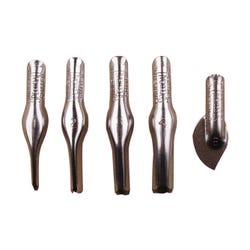
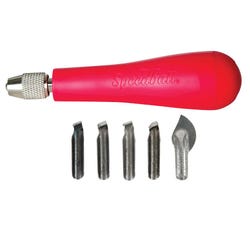
Linoleum Cutter Assortment Set of 5
Linozip Cutter No 37 Set of 6
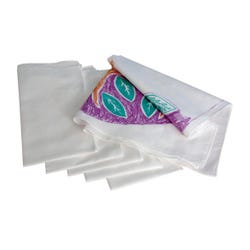
Cotton Blend Bandanas, Pack of 12
3/16” foamboard
Masking tape
Graphite paper
*Here are the supplies needed for this lesson plan for reference. Find a convenient carousel of shoppable products for this lesson below.
Standards
Standard #1: Generate and conceptualize artistic ideas and work.
Standard #2: Organize and develop artistic ideas and work.
Standard #3: Define and complete artistic work.
Standard #11: Relate artistic ideas and works with societal, cultural and historical context to deepen understanding.
Instructions
1
Choose a theme for the group. Sketch an image (keep within 3” X 5”) related to that theme. Refine to create a finished guide image that relies on a strong emphasis on shape and bold Lines. Unlike drawing, an additive process, in relief printing dark lines are created by cutting away the surrounding areas around the line, a reductive process. Keep in mind that the printed image will be the reverse of the image on the block.
2
Draw directly on to Carve Block with a light color marker or transfer the image from the refined sketch with graphite paper.
3
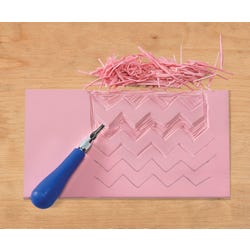
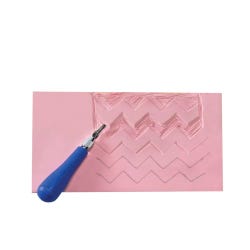
The negative, non-printing areas of the image are removed with a Linoleum Cutter. ”V” gouges are excellent for outlining boundaries of shapes and for more delicate white lines within shapes. “U” gouges serve well for removing larger areas of nonprinting areas of the the block and for creating textures. CAUTION: Never place hands in the path of the cutter. Use double stick tape, bench block or a piece of non- skid carpet mesh to keep block stable while cutting. Speedball Linozip Cutters are push cutters and can be used for younger students.
4
After blocks are cut, proof on newsprint in case refinements need be made before printing on the fabric.
5
Stretch bandanas on foam board or to a scratch-free smooth table surface. Do not use cardboard to avoid stripes appearing in large image shapes.
6
Roll out Fabric Block Printing Ink with brayers slightly larger than the block. Ink the block.
7
Place inked block, ink side down onto fabric. Using the Baren, apply firm, even pressure onto the block. Practice on scrap pieces of fabric to get an idea as to the ideal pressure and thickness of ink deposit.
8
Continue printing shape to develop an intuitively composed piece. Wash block before changing colors.
9
Variations could include students creating several blocks, using other students’ blocks, or developing a larger, key image on the bandana first and then scatter stamping subsequent images around it.