Close

Multi-Media Habitats
Lesson Plan, Grades 3-8, Art, Science, Painting, Mixed Media
Description
Lesson Plan and Artwork by Nadine Dresbach
This lesson uses a variety of tactile materials to create textured multimedia animal habitats. The paper mesh used in this project can be painted, drawn, sewn on and cut to specific shapes. The lesson also uses diffusing paper which highlights the use of liquid watercolors. Nature stencils can be used on the mesh and/or on the diffusing paper to create the desired habitat.
Objectives
- Research and gain knowledge of animal habitats.
- Focus on elements and principles of design by creating layering and texturing within their environment.
- Build hand skills by cutting and sewing into the mesh.
Supplies Needed
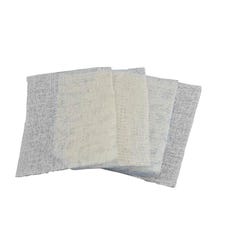
Roylco® Paper Mesh, 7 x 10 in, Set of 24
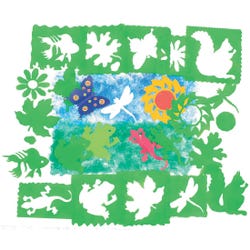
Roylco® Nature Stencils, Set of 10
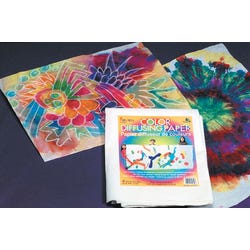
Roylco® Color Diffusing Paper, 12 x 18 in, Pack of 50
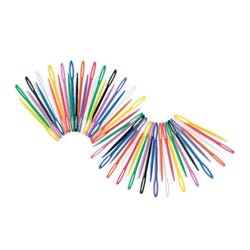
Roylco® Plastic Lacing Needle, 3 in, Pack of 32
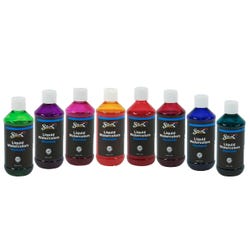
Sax® Washable Liquid Watercolors, 8 oz, Set of 8
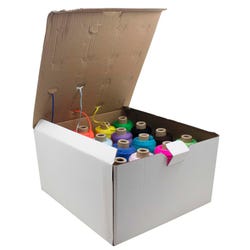
Pepperell Braiding Acrylic Double Weight Yarn Box, 4-Ply, Assorted Colors, Set of 16
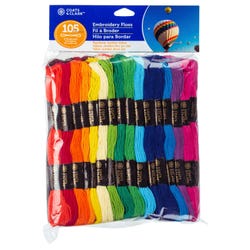
Coats & Clark Embroidery Floss, Assorted Colors, Pack of 105
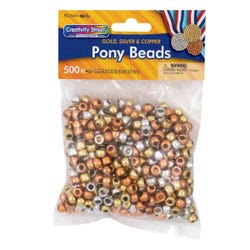
Creativity Street® Gold, Silver and Copper Pony Beads, Set of 500
Standards
Standard #1: Generate and conceptualize artistic ideas and work.
Standard #3: Refine and complete artistic work.
Standard #5: Develop and refine artistic work for presentation.
Instructions
1
Study various small animals and their habitats.
2
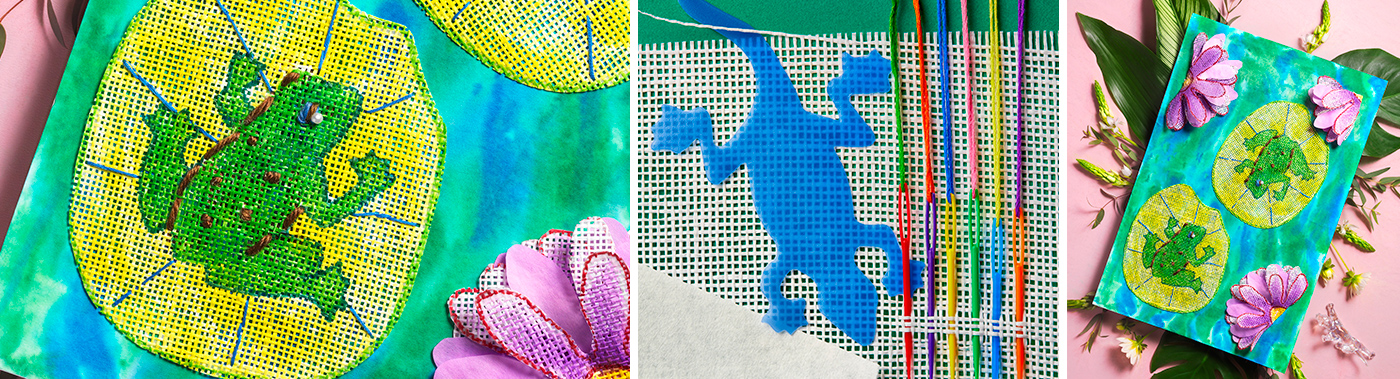
Select animals and objects from the assortment of Roylco® Nature Stencils or draw one of your own. The following instructions are for the habitat pictured in this lesson plan.
3
Trace the frog onto the center of a piece of Roylco® Paper Mesh using a permanent marker.
4
The center of the frog can be painted with the liquid watercolors or colored with markers.
5
Determine the size of the lily pad and outline it using permanent marker.
6
Before cutting, trace over the permanent marker with white glue. Allow to dry. Cut along the edge of the glue. (The background of the lily pad was also painted with liquid watercolors.)
7
Use yarn and embroidery thread to add dimension and textured embellishments to the frogs and lily pads. Beads can be used to create additional dimension to the piece.
8
Trace the flower stencil on to Roylco® Color Diffusing Paper and paint with liquid watercolors. On the Roylco® Paper Mesh trace the flower with permanent marker, paint with liquid watercolor. Run a line of white glue on top of the permanent marker and allow to dry before cutting the flower out.
9
To create the shape of the flower, layer one diffusing sheet between two Roylco® Paper Mesh sheets.
10
Pinching them at the bottom to form the flower shape, use the plastic lacing needle to sew through the piece and knot it. This will gather them up at the bottom.
11
Paint the background on Roylco® Color Diffusing Paper using liquid watercolors. After it dries and if more stability is desired, the Roylco® Color Diffusing Paper can be spray mounted onto a piece of paper or board.
12
Adhere the lily pads and flowers to the background using tacky glue.