Close

Marimekko-Inspired Printed Textiles
Lesson Plan, Grades 6-12, Art, Science, Social Studies, Speedball
Description
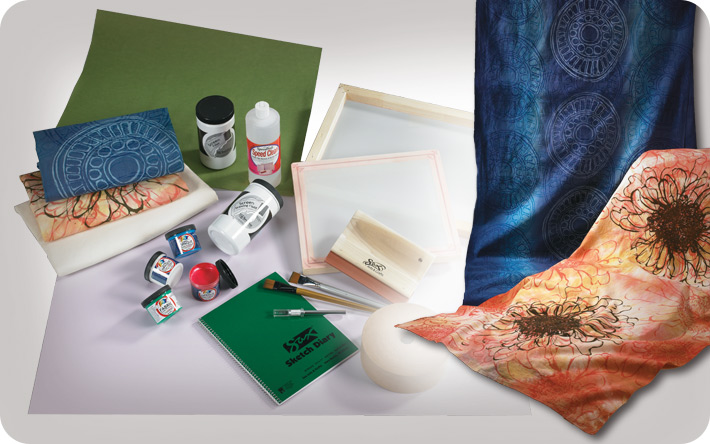
In the early 1950s, Marimekko® artists applied graphic patterns to fabric via silk screens, creating bold textile designs. These textiles, printed with patterns found in nature and in the Finnish culture, still are used today in the fashion and lifestyle industries. Following the example of these artists, your students can uncover the simple design elements in objects found in nature to create their own screen-printed fabrics for use as wall hangings or textiles.
Objectives
- Students will screen-print fabric with a single design element. Students will study and sketch natural objects to uncover and isolate their simple design elements. Students will explore design elements in cultural objects.
Supplies Needed
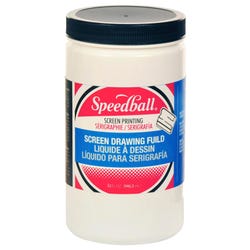
Speedball® Drawing Fluid, 1 quart 407347
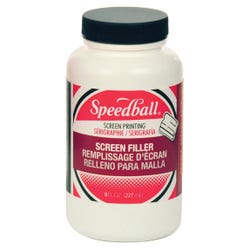
Speedball® Screen Filler, 1 quart 407875
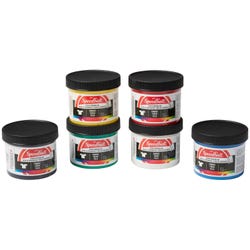
Speedball® Water-Soluble Acrylic Textile Inks, 6-color starter set, 4-oz. bottles 404601
Speedball® Opaque Iridescent Fabric Screen
Printing Inks, 6-color starter set, 4-oz. bottles 407264
Sax® 8" Squeegee 409707
Speedball® Speed Clean Screen Cleaner 40930
Unbleached Muslin, 5 yards 406383
Jacquard Procion MX Dye Classroom Pack 1429167
Sax® Sketch Diary 457586
Pre-made silk screens in varying sizes
Tape
Brushes
Pencils
Sponges
Fabric
Resources:
Speedball® Screen Printing DVD 1272532
Standards
CONTENT Standard #1: Understanding and applying media, techniques and processes
CONTENT Standard #4: Understanding the visual arts in relation to history and culture
CONTENT Standard #6: Making connections between visual arts and other disciplines
Instructions
Teacher preparation:
1
Discuss fabric design and what constitutes a design element, covering the role repetition plays in design. Use Marimekko samples and students' found objects as a basis for discussion.
2
Observe and sketch design elements in the samples and found objects. Select one element with which to create a fabric design.
3
Size the selected design element to fit the printing screen used, leaving a 2-inch border around the inside of the screen.
4
Seal the gap between the screen mesh and the wood frame with tape. Place masking tape or duct tape so that it covers ¼ inch of the screen and wraps on to the frame. Turn the screen over and cover the corded groove in the frame with tape, aligning tape edges on both surfaces of the screen.
5
Center the taped screen over the design element. Lightly sketch the element on the screen with pencil.
6
Using the sketch as a guide, paint blue drawing fluid on to the screen to cover the design element thoroughly. Work from the back of the screen to keep it from sticking to a surface. Place the screen in a horizontal position to dry, allowing drawing fluid to cure completely.
7
Apply a thin coat of screen filler. With the screen positioned horizontally, spoon a line of mixed screen filler on to the back of the screen and pull it over the screen with a squeegee to cover it in one thin coat (Using more than one coat will make the screen hard to wash.) Fill in detailed areas and remove excess filler with a piece of mat board or a plastic card. Dry completely.
8
Rinse the drawing fluid from the screen with cold water, using a sponge to clean difficult areas. Touch up the design with screen filler. Dry.
9
Select a 2- to 3-yard piece of fabric, making sure all sizing has been washed out. If using muslin, dye as desired.
10
Press fabric and tape it to a flat surface like foam core board. (Avoid using cardboard, which will leave ridge marks on the fabric.) Mark the midline of the fabric by pinning a line of thread from the top to the bottom.
11
Mix fabric inks to create desired colors in sufficient quantities to print the design over fabric's entire surface, using shades of the same color or opposite colors for the most visual impact.
12
Test the screen on newspaper, spooning a line of ink across the top of the screen and using a squeegee to pull the ink to the bottom of the screen, repeating as necessary for full coverage.
13
Print the fabric using the process described above, starting in the middle and working outward until the desired pattern is created. Dry.
14
Clean the screen thoroughly so it can be used again. First remove any excess ink; then wash with warm water.
15
Press the fabric with a hot iron for five or more minutes to heat-set the ink, using a scrap piece of 100 percent cotton fabric as a buffer to prevent sticking.