Close

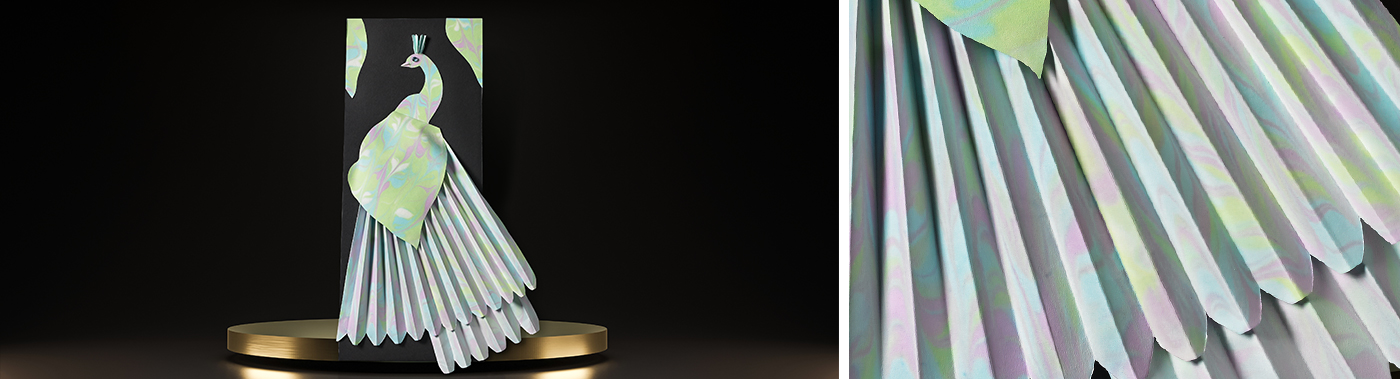
Marbled Watercolor Peacock
Lesson Plan, Grades K-12, Art, Science, Sax, 3-D
Description
Lesson Plan & Artwork by: Nadine Dresbach
The watercolor papers used to create the peacock in this lesson plan are marbled using foam paint pumps. This is a simple nontoxic method of marbling that produces beautiful results for any age level.
Objectives
- Learn and use a basic marbling technique with an alternate medium.
- Use finished marbled papers to design an assembled piece.
- Practice paper folding and manipulation to create a peacock image.
Supplies Needed
Roylco® Foam Paint Bottles, Pack of 3
Sax® Halifax Cold Press Watercolor Paper, White, 90 lb, 11"x15", Pack of 100
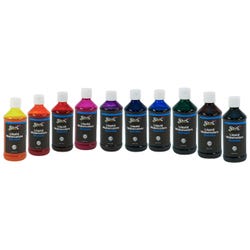
Sax® True Color Non-Toxic Concentrated Washable Liquid Watercolor Paint Set, 8 oz bottle, Assorted Colors, Set of 10
*Here are the supplies needed for this lesson plan for reference. Find a convenient carousel of shoppable products for this lesson below.
Standards
Creating
Anchor Standard #2: Organize and develop artistic ideas in work.
Anchor Standard #3: Refine and complete artistic work.
Presenting
Anchor Standard #5: Develop and refine artistic work for presentation.
Instructions
1
Prepare the mixture to create a paint solution (1 part liquid watercolor paint, 2 parts dish soap, 2 parts water). After experimentation you may wish to increase or decrease the amount of paint used in the recipe to adjust your colors to the desired intensity.
2
A smooth piece of glass or plastic can be used for this process. Choose your color combinations and pump foam onto the surface area of the glass or plastic starting with several pumps of the main color to create a base approximately the size of the paper.
3
To create a marbled pattern select two accent colors. Place a pump of color number two every few inches within your base shape (as if you were placing cookies on a tray to bake). Then, add a smaller pump of a third color either below, next to, or in the center of that colored circle.
4
Take the tip of a brush handle and draw a pattern through the foam. First, draw several evenly spaced lines vertically through the foam and then draw lines horizontally. This will marbleize your foam on the glass. Do not over mix because eventually foam will get "muddy" just like real paint does. (If a formal marbled pattern is not required or children are younger, instead allow them to make swirls in the paint with a brush handle).
5
Lay a piece of Sax watercolor paper onto the foam starting at one end and gently lay it toward the other. You will see the water coming through the back of the sheet. If you see a small bubble just give it a second or tap on it gently with your finger.
6
As soon as your sheet is completely wet lift it back off, set it aside and gently remove the foam using a squeegee like a flat edge. A large disposable foam brush works excellent for this. It removes the foam but won't tear the delicate paper.
7
Allow the papers to dry overnight. The paper specified in the lesson dries flat and does not need to be pressed.
8
This peacock was created freehand on drawing paper, cut out and traced onto the marbled paper. When cutting out the peacock, reserve the negative piece of drawing paper and use this as the stencil. This will allow you to specifically select what section of the marbled paper you will use.
9
Use an accordion fold to create and layer the feathers.
10
All of the papers were mounted on a black foam board using a double-sided adhesive tape.