Close

Light Cube Art
Lesson Plan, Grades 3-12, Art, Science, Math, Drawing
Description
Lesson Plan and Artwork by Carol Miller
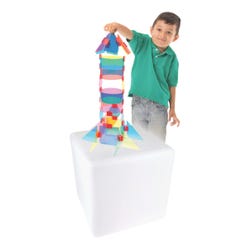
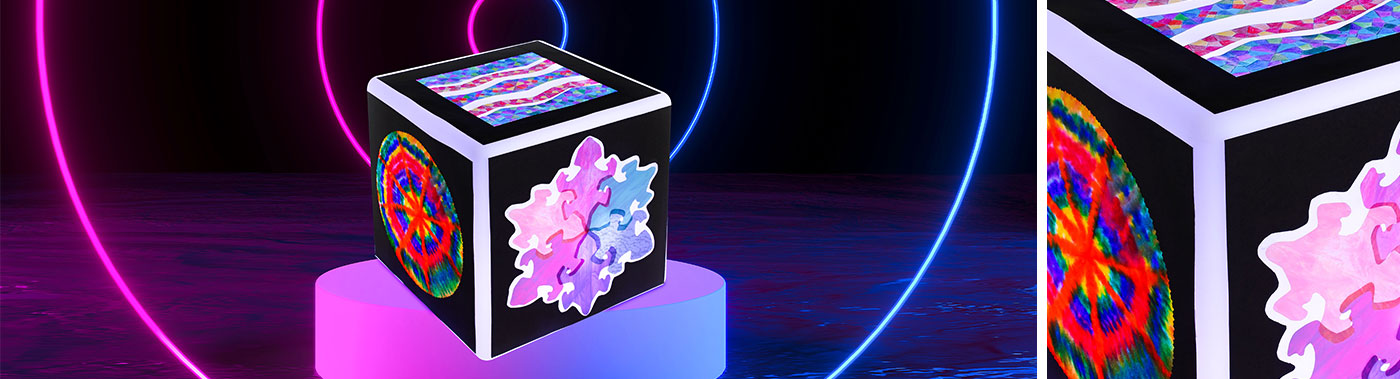
The Roylco® Educational Light Cube allows students to enjoy the unique experience of integrating colors of light into their artwork. Using opaque and translucent papers, along with drawing supplies, students can create artwork, embellished by various options of colored light to fill the negative space or to filter through papers. The built-in LED lights are accessed by a remote control. This allows the activation of the 16 colors that can blend with the translucent paper, creating unexpected new colors. The Cube can also create an optical illusion type of movement when using the Strobe and Flash mode buttons, unlike the Fade and Smooth buttons, which are much slower. You may also wish to experiment with viewing artwork though 3-D glasses for an added experience.
Objectives
- Students will explore the addition of colored light when integrated into tangible artwork to be viewed on the Roylco® Educational Light Cube.
- Students will make their own art considering that the negative space will be filled with colored light and the translucent, colored areas will be blended with the color of the light.
- Students will view and access their tangible art as they experiment with various colors and speeds of the Roylco® Educational Light Cube.
Supplies Needed
Supply #1 1489664 Roylco® Educational Light Cube, 16" x 16" x 16" Light Cube will ship separately, allow 7-10 business days
Supply #2 406817 Roylco® Tessellations Design Papers, 8 1/2" x 11", 24 Sheets, Assorted Color, Pack of 24
Supply #3 1438799 Sax® Artists Colored Pencils, Pack of 24
Supply #4 402024 Sax® Colored Art Paper, Black, 12" x 18"
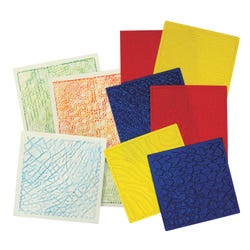
Supply #5 217608 Roylco® Optical Illusion Rubbing Plates with Idea Guide, 7" x 7", Set of 6
Supply #6 1289184 Roylco® Linear Art Rubbing Plates, 6 1/2" x 9 1/4", Set of 8
Supply #7 401865 Roylco® Animal Skins Rubbing Plates with Idea Guide, 7" x 7", Set of 6
Supply #8 587944 Roylco® Texture Rubbing Plates with 8 Textures, 8 1/2 x 11", Set of 4
Supply #9 1436149 Crayola® Construction Paper Crayons, Set of 16 (Kit includes 2 sets)
Supply #10 401304 Faber-Castell® Metallic Colored EcoPencils, Set of 12 (Kit includes 3 sets)
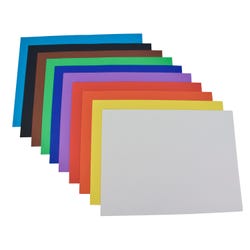
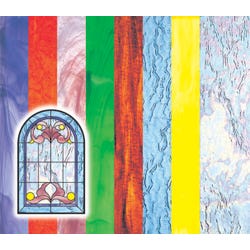
Supply #11 247819 Roylco® Stained Glass Craft Paper, 8 1/2" x 11", 24 Sheets, Assorted Color, Pack of 24
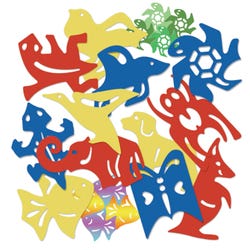
Supply #12 410534 Roylco® Tessellations Animal Templates, Pack of 12
Supply #13 407115 Roylco® Circle Color Diff using Paper, 18", White, Pack of 100
Supply #14 210782 Prang® Washable Art Markers, 8 Color Set (Kit includes 3 sets)
Supply #15 405621 Roylco® Frosted Glass Craft Paper, 5 3/8 x 8 1/2", Assorted Translucent Color, Pack of 24
Supply #16 054939 Tru-Ray® Sulphite Construction Paper, 76 lb, 18" x 24" Black, Pack of 50
Supply #17 090021 Scotch® 665 Photo-Safe Double-Sided Tape, 1/2" x 250", Pack of 3
Supply #18 240672 Clear-Lay Acid-Free Transparent Film, 14" x 17", 25 Sheets
*Here are the supplies needed for this lesson plan for reference. Find a convenient carousel of shoppable products for this lesson below.
Standards
CONTENT Standard #1: Generate and conceptualize artistic ideas and work.
CONTENT Standard #2: Organize and develop artistic ideas and work.
CONTENT Standard #3: Define and complete artistic work.
CONTENT Standard #4: Select, analyze and interpret artistic work for presentation.
CONTENT Standard #5: Develop and refine artistic work for presentation.
CONTENT Standard #6: Convey meaning through the presentation of artistic work.
CONTENT Standard #7: Perceive and anlalyze artistic work.
CONTENT Standard #8: Interpret intent and meaning in artistic work.
CONTENT Standard #10: Synthesize and relate knowledge and personal experiences to make art.
Instructions
Note: The four art activities are written for the individual student, but may also be used for small groups or the entire class, by reducing the finished piece to fit four per top and sides. These works can be first taped to transparent film so they can be easily moved between the work table and the cube. The Cube is 16" x 16" and the flat working surface is 14" x 14". Black paper frames are optional as noted. Finished work may be attached to the Cube with two-sided tape
Activity 1
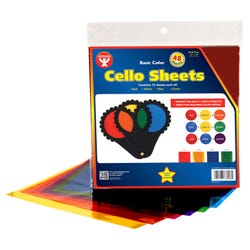
1. Choose a cello sheet.
2. You may want to select color combinations such as: warm/cool colors, analogous colors, or without a specific design.
3. Use 4, 14" x 14" strips of black paper, overlapped at the corners and taped or glued to create the frame.
4. Tape the wavy strips to the back of the frame in order and spread out, leaving space for the light to fill.
5. Tape to Cube. Experiment with the Strobe setting modes and other. 3-D glasses may also be used to reveal unexpected color blends.
Activity 2
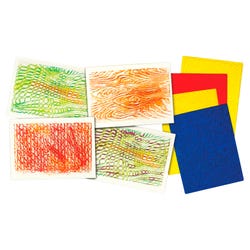
1. Using a 12" x 14" black paper, choose any combination of the rubbing plates and rub designs covering the entire paper using any or all of the drawing materials.
2. From the 14" side of the paper, cut 4-6 wavy lines ending at the other 14" side.
3. Cut 2 strips of black paper, 14" x 1-1/2", for the top and bottom.
4. Lay strips, in order, about 1/4" apart onto the 14" straight strip.
5. Tape or glue in place.
6. Tape to the Cube and try the Strobe and Flash modes and others.
Activity 3
1. Choose one animal template and cut several, from practice paper.
2. "Puzzle" them together in an interesting arrangement, even overlapping a bit.
3. Cut animals from Stained Glass Paper, arrange and tape them together from the back.
4. Optional frame using a 14"square of black paper and cutting out a loose version of the taped composition, plus 1/4". From the back, use tape to bridge animals to the frame.
5. Tape to Cube
6. Try using the Cube in Fade mode and experiment with the others.
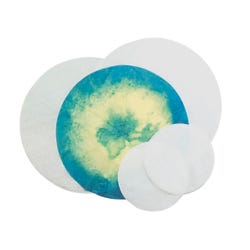
Activity 4
1. Cut a 12" circle from Diffusing Paper.
2. Fold in half and in half again.
3. Cover work surface and use the markers to make a pattern of dots. Hold the marker in place for a few seconds, allowing the color to soak through all four layers.
4. Unfold the circle and mist with a spray bottle. The dots will bleed for several minutes, so avoid over-misting.
5. Let dry.
6. Cut a 12" circle from a 14" x 14" square of black paper to frame using tape or glue.
7. Tape to cube.
8. Experiment with all modes and optional 3-D glasses.