Close

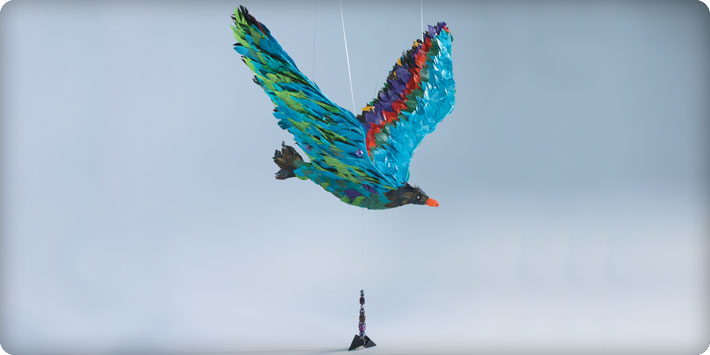
Leonardo da Vinci Style Articulated, Suspended Bird
Lesson Plan, Grades 9-12, Art, Science, History, Pacon
Description
Throughout history, people have been fascinated by the flight of birds. Artist and inventory Leonard di ser Piero da Vinci (1452-1519) was particularly obsessed with the idea of artificial flight. Leonardo da Vinci was the ultimate Renaissance Man. He was a gifted artist and very much a man of science. There has been no one since that has matched his talents and mental capacity to depict, invent and study everything with such depth of understanding. He was engrossed in the study of botany, geology, the flight of birds, the character of sunlight and shadows, and the motion of water. Leonardo invented many machines including the forerunners of tanks, cars, the parachute and the helicopter. His in depth study of birds led to his designs for flying machines.
Objectives
- By designing and creating a simple, articulated, balanced and suspended bird, students will realize and appreciate how much the study of Science and Nature are an important part of Art.
Supplies Needed
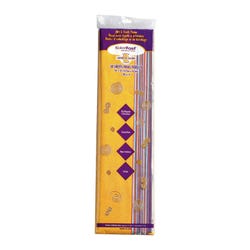
KolorFast® Designer Craft Tissue Assortments 214944
20" x 30", Pack of 50 Sheets
KolorFast® Metallic Luster Tissue, 210790
20" x 30", Pack of 14
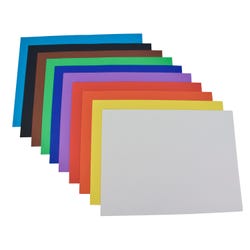
Sax® Colored Art Paper, 12" x 18", Pack of 50 402024
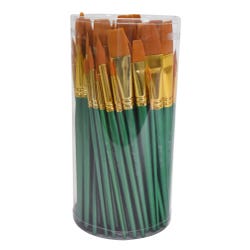
Sax® Optimum Golden Taklon Brushes, Set of 72 404637
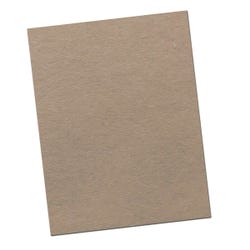
Gray Chipboard, 26" x 38", 10-Ply, Pack of 10 456848
Sax® True Flow® Tempera Varnish, Gloss, Quart 402269
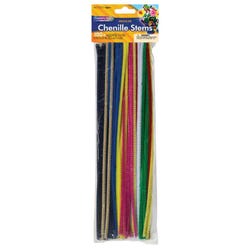
Standard Chenille Stems - Assorted Colors, 1/8" Dia., Pack of 100 085819
Aleene's Tacky Glue, 8 oz. 443021
Jewelry Cord, 6 Spool Assortment 1428982
Other Materials:
Small Fishing Weights
Clothes Pins
Various Beads 1428982
Standards
CONTENT Standard #1: Understanding and applying media, techniques and processes.
CONTENT Standard #2: Using knowledge of structures and functions.
CONTENT Standard #4: Understanding the visual arts in relation to history and cultures.
CONTENT Standard #5: Reflecting upon and assessing the characteristics and merits of their work and work of others.
CONTENT Standard #6: Making connections between visual art and other disciplines.
Instructions
1
Spend a class period having students varnish KolorFast® Tissue Paper to Sax® Colored Art Paper. These sheets will be shared by the students in creating feathers for their Suspended Birds. It will save time and confusion when students are ready to execute their project and the varnish gives the KolorFast® Tissue flexibility and strength when adhered to the colored paper.
2
Tell the students that they will be making a bird that is suspended from its wings. The suspension cord or line will be attached to a dowel stick to be able to hang the bird. Also, there will be a cord or piece of fishing line emanating from the underside center of the bird's body. This line will be weighted to be able to balance the body with the weight of the wings. It is a necessary step because the wings with feathers will far out-weigh the body and it will also enable the wings to flap.
3
Discuss and show Pictures of da Vinci's studies of animals and birds from books and computer articles. Stress the fact that da Vinci was both scientist and artist and that he studied nature in depth to see how people and animals were constructed and how they moved. These studies let to his invention of a flying machine! Also, provide sources for the study of different types of birds to show species differences in color, markings and shape.
4
Have students use white paper to make templates for the body and wings of the birds. The wings will be attached at the center of the body shape on both sides of the shape to depict an outstretched flight position. Because of this fact, the wing shapes should have a straight edge design where they are attached to the body.
5
Remind students that the bird will be suspended from fishing line or cord, so they have to decide where the wings will be attached to the body. There could be one or two attachments per wing. Refer to the art of puppetry to give the students a mental picture of how this bird is suspended and supported by cords for fishing line.
6
A good way to attach the bird is to have the wings tied to the center of the body at both ends of the wings and have these points coincide on both sides of the body.
7
Also, the bird will need to have a cord or fishing line hanging from the center of the body that will be weighted with small weights. This will give the bird's body weight in order to hold the wings in an outstretched position. If you were to gently pull on the weight, it would cause the wings to flap in the air.
8
From lightweight chip board, cut two or three chip board shapes for each wing and cut four for the body. Heavier chip board would make it too hard to cut shapes. If you are using this project with younger students, make the bird smaller. Then you will only need one thickness of chip board.
9
Use tacky glue with brushes to laminate the shapes together to give the shapes strength. Use clothes pins or large paper clips to hold pieces when drying. After these have dried, drill holes where the fishing line or cord will be inserted to put the bird together. If you cannot use a drill, holes can be made through these laminate pieces by using a hammer and an awl.
10
Students can insert thin chenille stems into the holes to keep them open while they are gluing paper feathers to the wings and body.
11
From the supply of varnished papers, (Tissue and Colored Paper), have the students create feathers for the wings and body of the birds. Glue feathers on the body and top and bottom of the feathers. Decide on a color scheme for the birds from the supply of papers. Refer to studies of birds to have students notice that feathers are in a specific pattern according to the wing shape.
12
Create eyes for the birds out of Model Magic® and paint with acrylics and glue on. Glue small pieces of tissue to the beak of the bird for color.
13
Take the fishing line or cord and tie the wings to the body of the bird in an outstretched position.
14
Tie a line from the center of the underside of the bird's body and let it dangle. Later you will attach the fishing weights or a lot of beads to this line.Cut a length of dowel stick that is approximately one third the width of the bird's wing span and drill holes into the end of it.
15
Tie beads to one end of the lines that will be threaded from the underside of the wings to the dowel stick. This will prevent the line from slipping out of the holes. Tie the other ends to the dowel stick. Refer to the way puppets are strung, to give the students an idea of how this works.
16
Tie cord or line from the wings to the ends of the dowel stick.
17
Now you can see how the body needs to be weighted to prevent to wings from going in a totally vertical position. Use small fishing weights and or beads to weight the body. This weight will cause the wings to level into an outstretch flight position and keep the bird balanced.
18
Take a piece of cord for fishing line and find the center and attached a metal ring to be able to have the bird sculpture hang. Tie the ends of this cord for line to the ends of the dowel so that you can hang the articulated Bird.
19
Have students critique their work and the work of others.