Close

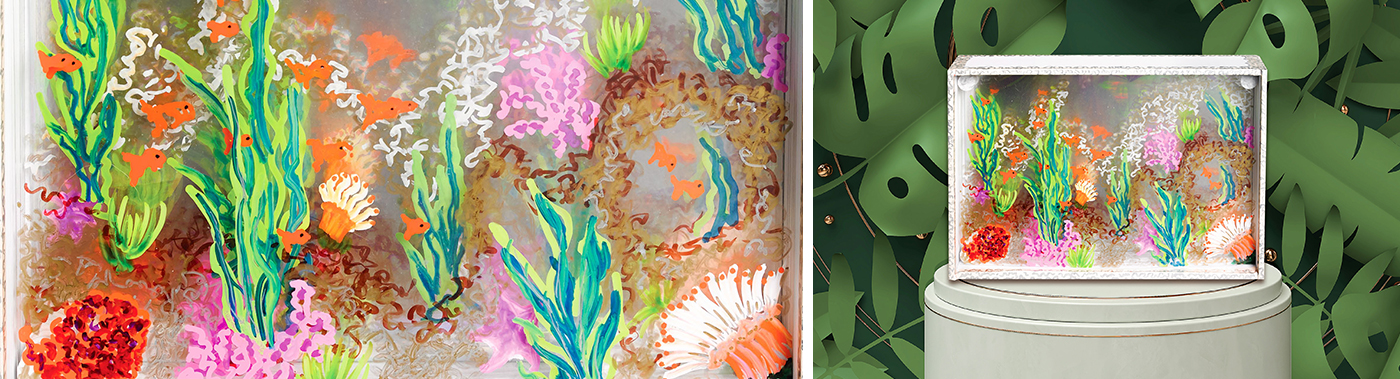
Layered Coral Reef
Lesson Plan, Grades 4-12, Science, Art, 3-D
Description
Lesson Plan & Artwork by Nadine Dresbach
This lesson uses a found box along with multiple sheets of plastic to create the layers and depth of a coral reef. The reef itself holds an abundance of colors, shapes and textures to explore. This lesson can be completed as shown or can be extended to include writing and poetry on the box that holds the reef.
Objectives
- Students will study coral reef formations and the plants and animals living among them.
- Students will learn and experience the process of design layering of color and creation of depth.
- Students will utilize the elements and principles of design in selecting a composition.
Supplies Needed
Supply #1 1440657 Sharpie® Metallic Markers, Assorted Canister of 36
Supply #2 1438024 Marker Brush Tip Assorted, Set of 12 (Kit includes 2 sets)
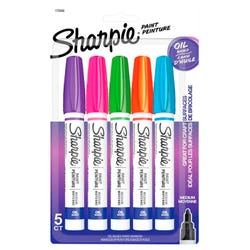
Supply #3 1371760 Sharpie® Fashion Paint Oil Markers, Set of 5 (Kit includes 4 sets)
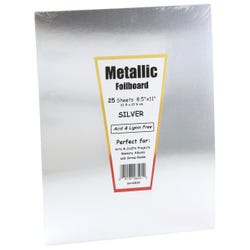
Supply #4 1494253 Metallic Silver Foilboard, 8 1/2" x 11", Pack of 25
Supply #5 405817 Decorate Me Jewelry Box, 4 7/16" x 4 13/16" x 2 3/16", Class Pack of 24
Supply #6 088017 Decorate Me Activity Box, 8 9/16" x 5" x 2 3/4", Class Pack of 12
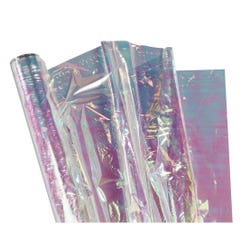
Supply #7 207460 Iridescent Cellophane, 36' x 12 1/2" Roll
Supply #8 406601 3 D-Os, 1/4" Thick x 1/2" Diameter, Pack Of 400 (Kit includes 2 packs)
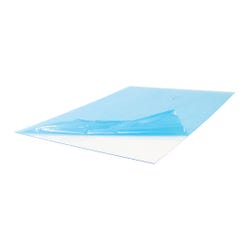
Supply #9 401473Transparent Plastic Sheets, 6" x 9", Pack of 10 (Kit includes 12 packs)
*Here are the supplies needed for this lesson plan for reference. Find a convenient carousel of shoppable products for this lesson below.
Standards
CONTENT Standard #1: Generate and conceptualize artistic ideas and work.
CONTENT Standard #2: Organize and develop artistic ideas and work.
CONTENT Standard #3: Define and complete artistic work.
CONTENT Standard #5: Develop and refine artistic work for presentation.
CONTENT Standard #10: Synthesize and relate knowledge and personal experiences to make art.
Instructions
1
Have students study and explore coral reefs and the different animals that live within them, studying their colors, textures and structures.
2
Using colored pencils or markers have the students draw a coral reef on drawing paper the same size as the found box (cigar, shoe or perfume box) they have chosen. This will act as a template for your acrylic sheets. The more they incorporate into this drawing the better the depth of the finished piece will appear.
3
Assemble the materials for the finished project. Begin by cutting to size the mirror board and acrylic sheets so they will fit snugly within the box that you have chosen.
4
Determine which structures animals or plants of the reef will be in the foreground, middle ground and background. The reef in this example uses five sheets of acrylic but you can use less or more depending on the depth effect you would like to obtain.
5
Lay one acrylic sheet at a time over the drawing to trace and transfer images. Use Sharpie® Brush Markers, Sharpie® Metallic Markers and Sharpie® Paint Pens to create the appropriate effects. The paint markers will be more opaque.
6
Remember that there will be a space between each sheet in the finished box using the 3 D-Os (or small pieces of foam core or chip board). It is helpful to work back and forth between acrylic sheets, pausing and layering your acrylic sheets to view them to make sure you are creating the depth effect you desire.
7
The next step is to assemble the piece. Begin by wrapping the mirror board in a piece of the iridescent cellophane. Secure the wrapped board using glue to the back of the box.
8
Once that is secured, place a 3 D-O at each of the four inside corners of the box and layer your background acrylic sheet on top of those. The 3 D-Os can be layered on top of each other to create a larger space between the plastic sheets. If doing this, first do the math and make sure all plastic layers will fit inbox. Repeat this process until all of your layers are in the box.
9
Next use the Sharpie® Brush Markers and Sharpie® Metallic Markers to decorate the exterior of the box and edges (do not use the paint pens on the surface of the box, they are not designed for porous surfaces).