Tessellations

Description
Inspire your students to create intriguing repeating motifs. This fascinating project is a combination of geometry and art. Tessellating shapes are those that interlock with one another to repeat infinitely, often in a mesmerizing fashion. The artist who used tessellations most effectively was M.C. Escher (1898-1972), who made most of his images as lithographs and woodcuts. His work borders between realism and surrealism. Other examples of tessellations in art can be found in Moorish and Islamic mosaics. The method of creating tessellating shapes in this project is one of the simplest, called cut and slide. Interesting papers, good glue and small detail scissors are all invaluable to those working to create a very exacting and beautiful tessellation.
Objectives
- Students will demonstrate knowledge of what tessellating patterns are by creating one of their own designs.
Supplies Needed
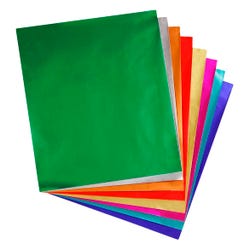
Hygloss Metallic Foil Paper, 8.5 x 10, 24 Sheet Pkg
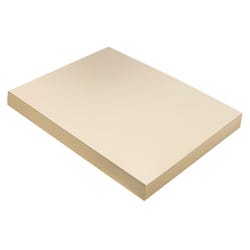
School Smart Manila Tag Board, 12 x 18, 100--Sheet Pkg.
Yes! Paste Glue
Fiskars Kids Scissors
You will also need:
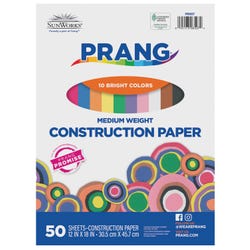
Construction Paper or Fadeless Art Paper
Large scraps of mat board or other colored cardboard
Masking Tape
Standards
CONTENT Standard #2: Using knowledge of structures and functions.
Grades K-4: Students will use visual structures and functions of art to communicate ideas.
Instructions
1
Cut enough of the tagboard into 2 squares so that each of your students has one square.
2
Have your students draw a line that divides the square into two sections. The line can be wavy, jagged, bumpy, etc. The line should run from the bottom right corner more or less diagonally to somewhere near the top left corner. (See Diagram A.)
3
Cut along the line.
4
Slide the right-hand piece over so that the right edge of the left-hand piece and the left edge of the right-hand piece touch. Tape these edges together with masking tape. Choose one side of your pattern to be the one that you want to tessellate and write top on it. This will be your template. (See Diagrams B & C.)
5
Place your template on the back of a sheet of the embossed paper with the top side down. Trace your template about 24 times on the back of this sheet and another of a contrasting color of the embossed paper. If you interlock them it will save time and paper.
6
Carefully cut out each of the tessellating shapes.
7
Glue them, interlocked, in alternating colors on to a 12 x 18 piece of construction paper.
8
When your design is as big as you want it to be, trim the tagboard to the desired size, mount it on construction paper and then on cardboard. (See Diagram D.)


