Close

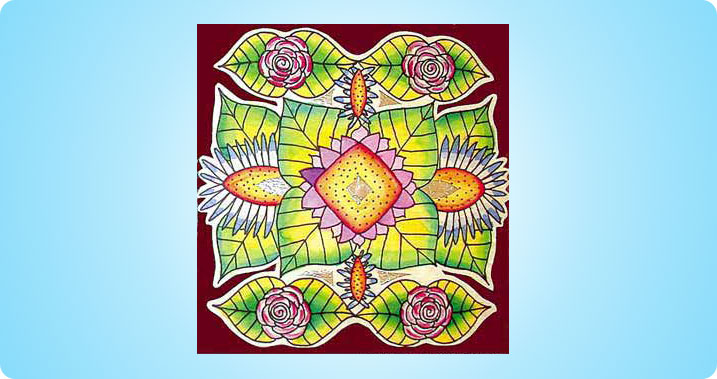
Magnificent Mandalas
Lesson Plan, Grades 5-12, Social Studies, Math, Sax, School Smart
Description
Humans of all cultures have made containers for their small treasures for centuries. This ceramic lesson’s small stamped slab boxes can be any size or shape and can contain a mystery of their own.
Objectives
- Students will recognize the principle of radial symmetry and be able to apply it in their own mandala design.
- Students will demonstrate understanding of the various functions of mandalas in different cultures by discussing them in class.
Supplies Needed
Sax® Watercolor Paper, 90-Lb., 50-Sheet Pkg., 18" x 24"
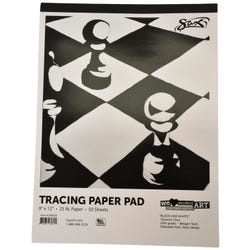
Sax® Tracing Paper Pad, 50 Sheet Pad, 9" x 12"
Sax® True Color® Liquid Watercolors, 10-Color Set, 8-Oz.
Art Utility Cups, Pack of 125, 3.25 oz.
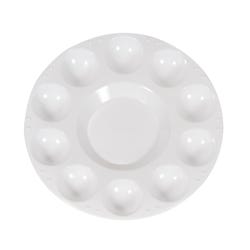
School Smart® Plastic Paint Palette, Pkg. of 12, 10-Well
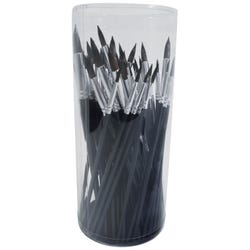
School Smart® Watercolor Brushes, Set of 72
Things You May Also Need:
Plastic containers for water
Standards
CONTENT Standard #2: Using knowledge of structures and functions.
Grades 5-8: Students select and use the qualities of structures and functions of art to improve communication of their ideas.
CONTENT Standard #3: Understanding the visual arts in relation to history and cultures.
Grades 5-8: Students know and compare the characteristics of artworks in various eras and cultures.
CONTENT Standard #4: Understanding the visual arts in relation to history and cultures.
Grades 5-8: Students know and compare the characteristics in various eras and cultures.
Instructions
1
Cut enough sheets of the watercolor paper into quarters (9" x 12") so that each student has a piece.
2
Give each student a 9" x 12" tracing paper. Fold it in half the length of the paper and in half the width of the paper. There will be four equal sections, each 4.5" x 6". The point where the fold lines cross will be the center of the design. The same design will be repeated in each of the four quarters as described below.
3
Cut enough tracing paper sheets into quarters (4 .5" x 6") so that each student has a quarter sheet as well as the 9" x 12" sheet.
4
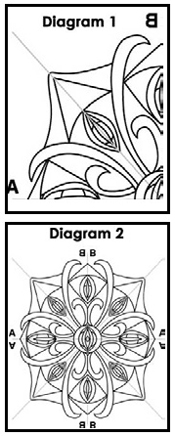
On the smaller piece of tracing paper, mark the bottom left corner with a red dot. This is your center point. Mark the bottom right corner with an "A". Mark the top left corner with a "B". See diagram #1.
5
Using organic or geometric shapes, draw a design that originates from and is connected to the bottom left corner.
6
Paperclip the design behind the top right corner of the large tracing paper and trace. Flip the design down, match up center points and "A"s and trace on the bottom right quadrant. Flip the design over to the left and match up center points and "B"s and trace in the bottom left quadrant of the large paper. Flip the design up, match center points and "A"s and trace in the top left quadrant.
7
Go over the lines on the large design with a dark colored Sharpie®. marker on one side of the tracing paper. See diagram #2
8
Cover the side of the tracing paper without the marker lines with a coating of pencil (graphite).
9
Place the tracing paper, graphite-side down, over the piece of watercolor paper and paperclip into the desired position. Using a colored pencil or ballpoint pen, trace over all of the Sharpie® lines. This will result in transferring the design as pencil lines on the watercolor paper.
10
Paint the design symmetrically, repeating the colors in the same way that the lines and shapes repeat. Be sure to clean your brush with water between colors.