Close

As Easy as a Walk in the Park!
Lesson Plan, Grades 7-12, Art History, Digital, Art, Speedball, 3-D, Printmaking
Description
Lesson Plan and Artwork by Franz Spohn
Speedball Art, the manufacturer of the Speed Screen kit, has developed a very convenient and accessible method of screen printing that can be used on both flat and curved surfaces. This kit introduces students to an easy, and immediate screen printing process without undo effort and equipment in the process. Students can create their own original art or use digital images.
Objectives
- Manipulate visual content to correspond to specific criteria of a specific technique, screen printing.
- Develop screen printing skills that enable them to produce printed imagery consistently without smudges, misregistration, etc.
- Discover many possibilities/differences of printing inks and underglazes while identifying differences/ similarities in hand-generated and digital images.
Supplies Needed
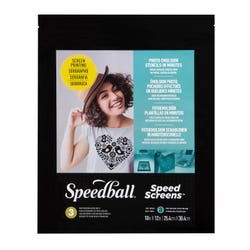
Speedball® Speed Screens™ Kit
Sharpie® Oil Based Paint Marker, Medium Tip, Black
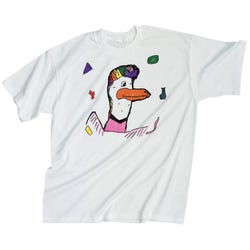
Gildan® Heavyweight Cotton-Blend T-Shirt, Crew Neck, Large, White
Speedball® Speed Screens™, Pack of 3
Speedball® Artists Pen, No 22B Fine Drawing Tip, Bronze, Pack of 12
Gildan® Heavyweight Cotton-Blend T-Shirt, Crew Neck, Medium, White
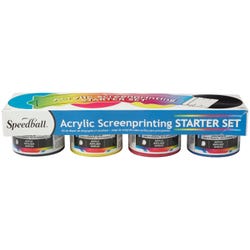
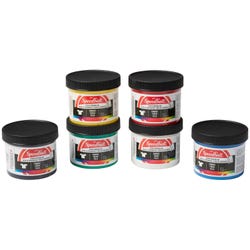
Speedball® Permanent Acrylic Screen Printing Ink Set, 4 Ounce Jars, Assorted Color, Set of 4
Speedball® Arnhem 1618® Printmaking Paper, 8-1/2 x 11 Inches, 90 lb, White, 100 Sheets
Gildan® Heavyweight Cotton-Blend T-Shirt, Crew Neck, Small, White
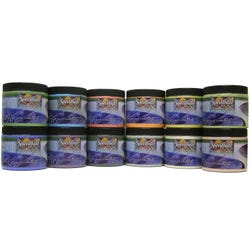
Speedball® Earthenware Glaze Set, Assorted Colors, Set of 12 Pints
Speedball® Water-Soluble Fabric Screen Printing Ink, 4 oz, Set of 6
AMACO® Bisque Ceramic Tile, 4-1/4 x 4-1/4 Inches
Speedball® Earthenware Glaze Set, Assorted Colors, Set of 6 Pints
Speedball® Super Black India Ink, 1 Pint
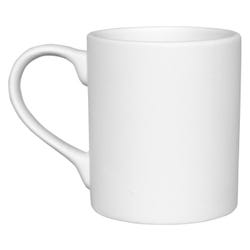
Mayco® Bisqueware 12 Ounce Mug, Pack of 24
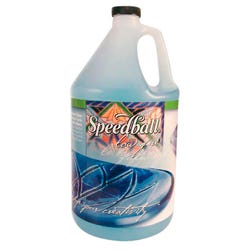
Speedball® Earthenware Glaze, Clear, Gallon
Speedball® Underglaze Set, 6 Pints, Assorted Colors
Speedball® Super Black India Ink, 2 Ounces
Speedball® Underglaze Sampler, 2 Ounces, Assorted Colors, Set of 12
*Here are the supplies needed for this lesson plan for reference. Find a convenient carousel of shoppable products for this lesson below.
Standards
Standard #1: Generate and conceptualize artistic ideas and work.
Standard #2: Organize and develop artistic ideas and work.
Standard #3: Refine and complete artistic work.
Standard #4: Select, analyze and interpret artistic work for presentation.
Standard #5: Develop and refine artistic work for presentation.
Standard #6: Convey meaning through the presentation of artistic work.
Standard #7: Perceive and analyze artistic work.
Standard #8: Interpret intent and meaning in artistic work.
Standard #10: Synthesize and relate knowledge and personal experiences to make art.
Instructions
Students will explore photo-realist painters to consider including Man Ray, Richard Estes, Chuck Close, Janet Fish, Audrey Flack, Alfred Stieglitz, Ansel Adams, Minor White, and more recently Dawoud Bey. These are just a few photographers whose work transcends the medium into “Art”. Andy Warhol and Robert Rauschenberg excelled at combining painting and screened images together.
NOTE: The stencil material is a piece of screen fabric that has been pre-coated with photo-emulsion (keep out of direct light until exposed). When exposed to the recommended one minute of UV light (provided by the kit’s included LED-UV compact light) the emulsion hardens to become water INSOLUBLE and, thus, will NOT rinse off the screen fabric. When dry, it will block the screen, preventing ink to pass through the fabric. However, the photo emulsion is water-soluble if not exposed to UV light and will rinse off the fabric base with a gentle spray of warm to hot water if unexposed. Areas of the photo-sensitive screen fabric that are covered by a transparency film with opaque areas (either hand-generated or digitally printed on appropriate transparency materials) will shield the emulsion from exposure to UV light and thus these areas will rinse off to create open printable areas. Thus, ink will only flow through the open stencil area that was protected from the UV light initially by the opaqueness of the transparency in printing areas and be blocked by the hardened emulsion areas exposed to UV light. Read and follow manufacturer’s directions for complete procedure. The goal now is to produce a transparency that is opaque corresponding to the desired printing areas and transparent in non-image areas. This task can be accomplished using hand generated, opaque images or digitally, printing by either ink jet, laser, or office copier.
Hand-Generated:
1
The easiest method is simply drawing onto acetate sheets with a black, opaque paint marker (do not use a permanent marker). Make sure it is nice and juicy.... it should lay down a thick, smooth application of solid paint. Avoid too much detail with some crosshatching but try to interpret the image primarily with boldness at first. Later explorations will enable you to make educated decisions as to the extent of detail possible. Remember: this is a screen print and not a graphite drawing.
2
To create a flat shape as a base color for underneath your key image for multiple color, either draw the shape with the paint marker on acetate sheet or cut the shape out of black construction paper and use when exposing photo screen sheet. NOTE: For classrooms that have traditional screens, paper stencils using freezer wrap can be used to print simple shapes.
Photo/Digital:
1
Download a photo image and use available software to turn to grayscale. (in Photoshop this is done under Image, Mode.)
2
Adjust contrast and brightness to produce a high contrast rendition that is either black or white (opaque and transparent)
3
Alternatively transform the grayscale image to a bitmap 50% threshold to produce the high contrast version...you can alter the initial grayscale image with contrast/brightness manipulations in several forms, turn these into bit maps and print in registered layers in different values to create a posturized effect.
4
Print file/image onto transparencies appropriate to type of printer or copier. It is recommended that two copies of each image be printed and then registered one on top of the other and taped to insure complete opacity.
5
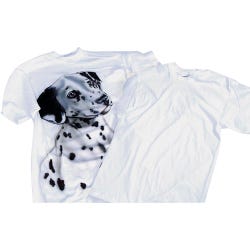
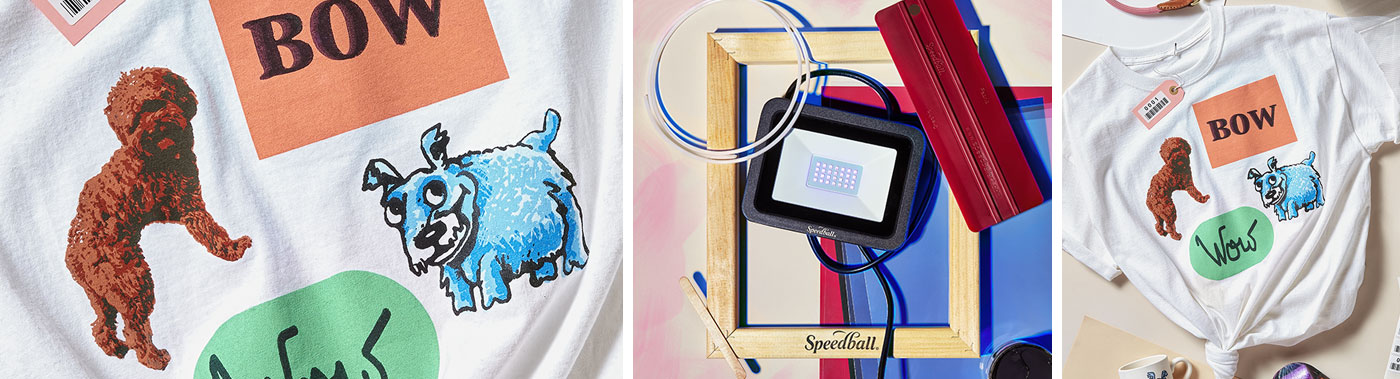
Use the developed photo screen stencils to print on fabric, paper, foamboard, etc. Because the stencils can be printed without a wooden frame, stencils can be taped to curved surfaces such as ceramic mugs and printed with ceramic glazes. Experiment!
Printing Directions and Clean Up:
Please follow manufacturer’s instructions for printing and clean up.