Close

Texture Makes A Difference
Lesson Plan, Grades 3-12, Art, Science, Amaco, Ceramics & Sculptures, 3-D
Description
Lesson Plan and Artwork by Jack Matthews
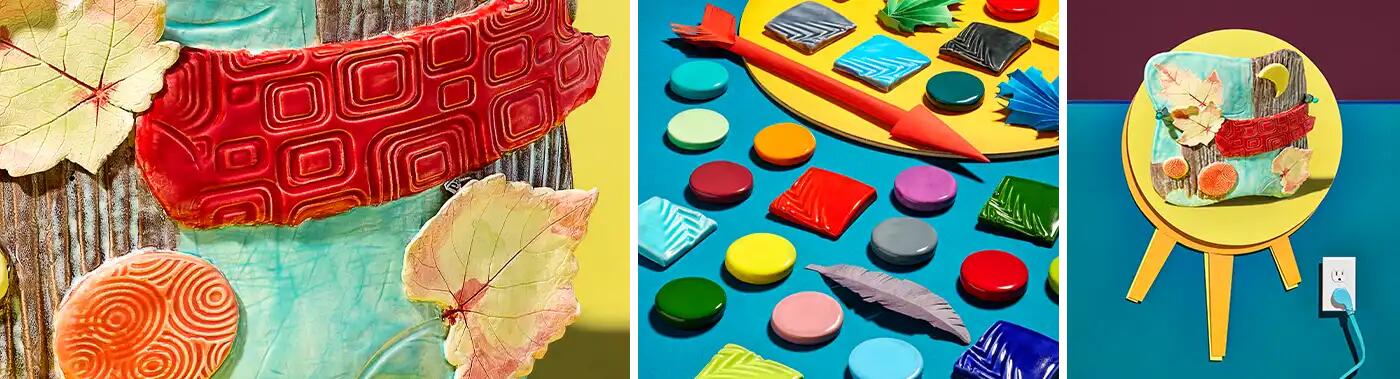
Clay works and ceramics have been around since humans discovered fire. It can be functional, utilitarian, or a decorative art form. With this lesson, we look at the many textures one can use and the glazes that can enhance those textures. Whether we work small or large, in a 2-D style or completely in a 3-D mode, it all works as long as we have TEXTURE!
Objectives
- Study various examples of texture, found in nature and man-made.
- Determine what textures to incorporate into final artwork.
- Understand the processes for creating slab pieces and the processes of adhering clay pieces to each other
- Create a final piece expressly for the purpose of form over function.
Supplies Needed
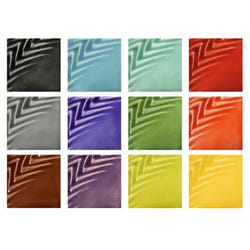
AMACO® Teacher’s Palette Light® Glaze Classroom Pack, Pint, Assorted Colors, Set of 12
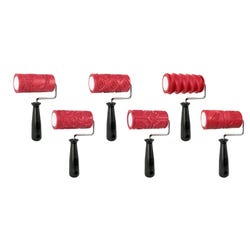
AMACO® Clay Texture Rollers, 4 Inches, Assorted Designs, Set of 6
AMACO® Low-Fire Liquid Texturizer
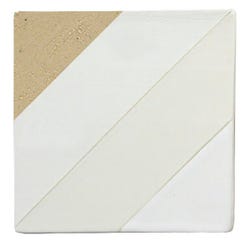
AMACO® Low-Fire Earthenware Clay, 50 Pounds, White
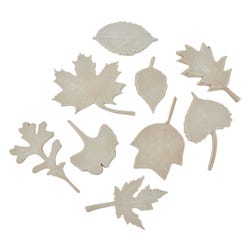
Sax® Leaf Prints, Assorted Sizes, Set of 10
*Here are the supplies needed for this lesson plan for reference. Find a convenient carousel of shoppable products for this lesson below.
Standards
Standard #1: Generate and conceptualize artistic ideas and work.
Standard #2: Organize and develop artistic ideas and work.
Standard #8: Interpret intent and meaning in artistic work.
Instructions
1
Teacher will discuss the term “texture,” showing examples of texture found in nature and texture created by an artist. Teacher will also show textures that are made to appear as if found in nature.
2
Students will find various objects that can be used to create texture, and will create a sample drawing of textures made by hand using pencil or pen (crosshatch, series of dots, etc.).
3
Given the tools, students will roll out a piece of clay to create a slab ½” thick in their choice of a geometric or organic shape, to serve as the base of their final creation.
4
Using found textures, possibly in combination with tools created by hand, students will firmly press textured objects into the clay to design a combination of textures onto the slab as well as onto smaller pieces of clay.
5
Students will add textured pieces to the slab, adhering them through the process of “scratch and slip.” These shapes may be further examples of texture, such as leaves and flowers.
6
When completed, students will create two holes on either side of the slab in order to hang the piece. SUGGESTIONS: The clay does not have to remain flat! The final piece can be laid over a rounded surface (bowl or side of a bucket) covered with paper towel, plastic wrap, or newspaper. Cover the piece so that it does not dry out too quickly. NOTE: These will need to be checked so that the piece does not crack during shrinkage. When leather-hard, the clay can be removed, then kept covered for the remainder of drying time.
7
Prior to bisque firing clay to Cone 04, pieces may need to have edges and other areas of the clay cleaned up with a damp sponge or clay tool.
8
Once the clay pieces have been bisque-fired to Cone 04, teacher will demonstrate how to use glazes: one layer – most transparent; three layers – most opaque. Students may also experiment with the use of AMACO low-fire Liquid Texturizer (which probably works best on surfaces with little to no created texture).
9
Fire the glazed pieces to Cone 05. See the results! NOTE: After firing, other items can be added to the piece to create pockets that can hold small items or areas that will further allow for protruding images.
10
To complete the piece, add wiring and possibly beads, feathers, etc., that embellish the piece’s appearance when it is hung.