Close

Swipe, Lift, Repeat
Lesson Plan, Grades 6-12, Art, Art History, Math, Speedball Flex, Printmaking, Textile Arts

Description
Lesson Plan and Artwork by Jack Matthews
Silk screen printing dates back as early as the year 900 in China and was used for prints on clothing. Its purpose primarily was not as an art form but as a process for functional use. It had the capability of printing an image over and over again in repetitious steps, allowing for repeated patterns in fabric and in wallpaper. It was much later that it would be adopted as an art form, made even more popular by artists such as Andy Warhol.
Objectives
- Learn the history of screen printing through discussion and imagery presented by the teacher.
- Develop a single image through the process of subtraction to use as their stencil.
- Learn the process of developing a stencil for screen printing. Study the process, the use of the screen and proper inks for fabric as opposed to paper, and how to move the initial design to an image on fabric.
- Create a repeated pattern design by printing the original stencil four or more times.
Supplies Needed
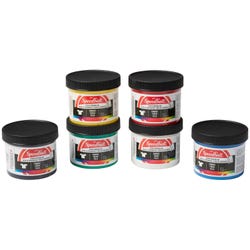
Speedball® Flex® Fabric Screen Printing Ink, 4 Ounce, Assorted Colors, Set of 6
Speedball® Water-Soluble Fabric Screen Printing Ink, 4 Ounce, Set of 6
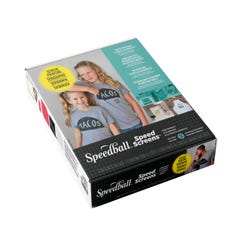
Speedball® Speed Screens™ Kit
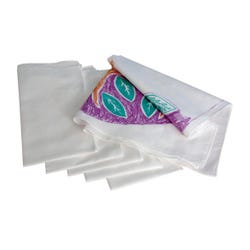
Cotton Blended Bandanas, 21-1/2 X 21-1/2 Inches, White, Pack of 12
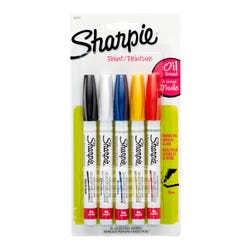
Sharpie® Oil-Based Paint Marker, Fine Tip, Assorted Colors, Set of 5
*Here are the supplies needed for this lesson plan for reference. Find a convenient carousel of shoppable products for this lesson below.
Standards
Standard #1: Generate and conceptualize artistic ideas and work.
Standard #2: Organize and develop artistic ideas and work.
Standard #11: Relate artistic ideas and works with societal, cultural and historical context to deepen understanding.
Instructions
1
The teacher will show examples of screen-created images throughout history; discussion will include utilitarian/functional verses art for art’s sake. For the purposes of this lesson, the teacher will discuss use of a single image repeated over and over again to create a pattern.
2
Students will be given black paper to create a single image using the subtraction method (cutting out sections of paper). Images may be hard-edged or soft and amorphic.
3
Students will learn how to create a transfer stencil and apply to a screen by following the manufacturer’s instructions included in the Speedball Speed Screen Kit. A sink or water source is necessary as well as the black light in the kit.
4
For the purpose of this lesson, students will use white 21.5” x 21.5” cotton bandanas, although any cotton or silk material may be used (must pre-wash). Students will secure material to a hard surface and prepare to print. It is best to have a layer of cardboard, foam core, or other similar material under the cloth in case of bleeding through material. NOTE: These inks are designed for use on dark fabric as well.
5
The decision as to where to begin the printing process is up to the individual. If the image is large enough (1/4 the size of the material), the student will be able to print the image a total of 4 times. To make sure the image is equally distributed, measure to find the center of the cloth. Place the bottom right corner at this point. Tape down the screen to the cloth.
6
Once the screen is in place, students will spoon a generous amount of ink above the stencil design created on the screen. The design will now show as the open area of the screen not covered by blocking material.
7
Students will take the squeegee and firmly push the ink down the stencil. It may be necessary to repeat in the opposite direction as well. Remove excess ink from the screen, then gently remove tape (tape can be reused for the next printing processes).
8
Lift the stencil, making sure no ink has seeped through to the bottom of the blocked stencil. If so, gently wipe with a paper towel.
9
To continue the printing process, allow ink to dry completely between each color.
10
Move the stencil to another part of the material (possibly turning the direction if the design is of equal proportions) and repeat the printing process. NOTE: If the desire is to change colors, have one student dry the image while another clean the screen, blot it dry with a paper towel.
11
When completely dry, a warm iron should be used to permanently set the ink. Be sure to place protective material such as craft paper over the cloth before ironing.
ADDITIONAL SUGGESTIONS: To further enhance the final product, students may take paint pens to draw designs, lines, etc. on the cloth. Be sure to have protective material under the cloth so as not to get paint pen on the table.