Close

Scenic Sketchbooks
Lesson Plan, Grades 6-12, Art, Art History, Science, Kwik Stix, 3-D, Adapted, Mixed Media, Painting
Description
Lesson Plan and Artwork by Sue Loesl
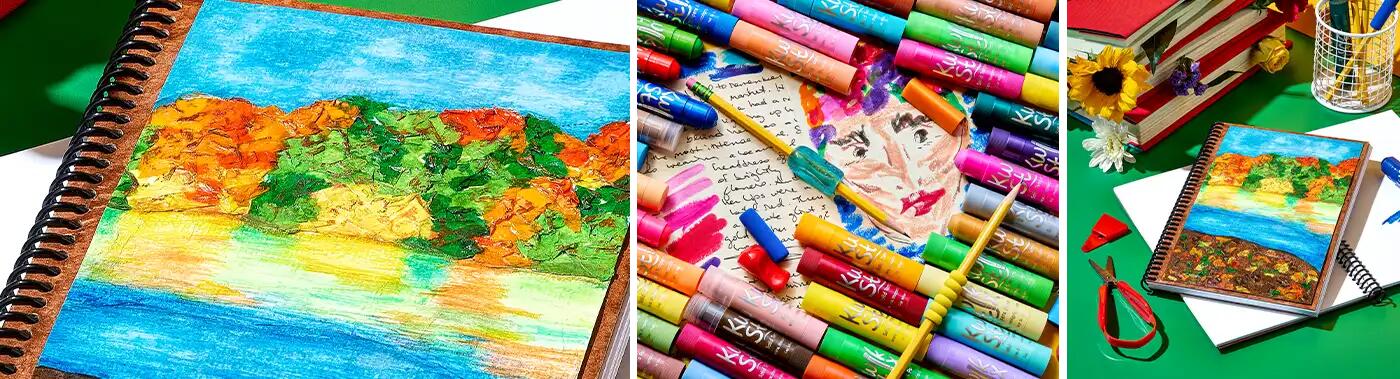
Sketchbooks and journals have been an important part of many artists’ work. Exploring materials beyond the traditional techniques encourages student creativity. Kwik Stix are a fast-drying paint medium, but when used as a more traditional paint paired with tissue paper, they produce exciting artworks. In this lesson, students will design and create a textured sketchbook cover to use on their journeys as artists.
Objectives
- Understand the importance of sketchbooks to an artist’s work.
- Explore using media in new ways.
- Create a sketchbook cover based on a landscape theme.
Supplies Needed
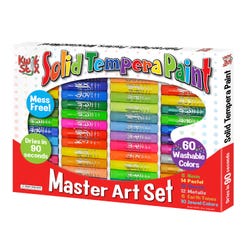
Kwik Stix™ Solid Tempera Paint, Assorted Colors, Set of 60
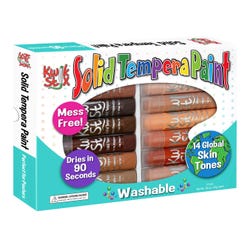
Kwik Stix™ Solid Tempera Paint, Assorted Skin Tones, Set of 14
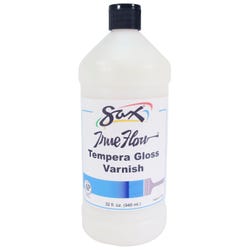
Sax® Tempera Varnish, Gloss Finish, 1 Quart
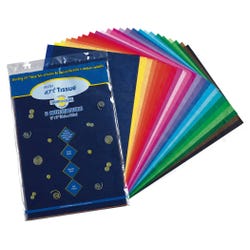
Spectra® Deluxe Bleeding Tissue™ Paper, 12 x 18 Inches, Assorted Colors, Pack of 50
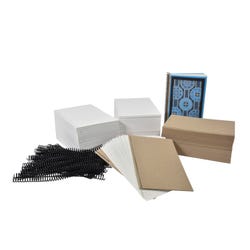
Sax® Spiralbound Sketchbook and Journal Making Kit, Pack of 30
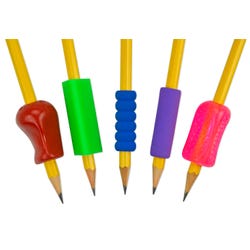
The Pencil Grip Pliable Grips, Assorted Designs, Pack of 5
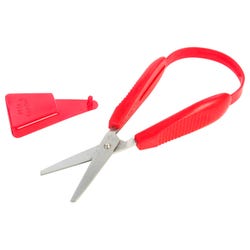
PETA Mini Easi-Grip Scissors, Stainless Steel Blade, Maroon/Red
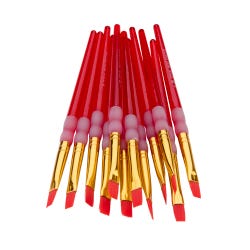
Royal & Langnickel® Big Kids Choice™ Brushes, Flat, Short Handle, Size 8, Pack of 12
*Here are the supplies needed for this lesson plan for reference. Find a convenient carousel of shoppable products for this lesson below.
Standards
Standard #1: Generate and conceptualize artistic ideas and work.
Standard #2: Organize and develop artistic ideas and work.
Standard #5: Develop and refine artistic work for presentation.
Instructions
1
Discuss artist sketchbooks/journals significance in an artist’s work. Show examples of various sketchbooks by famous artists such as Leonardo DaVinci and Frida Kahlo.
2
Show samples of textured sketchbooks/journals for students to explore how to create the textures in tissue paper for painting.
3
Investigate landscape images that have various levels of potential texture such as land, water, trees, flowers, mountains, sky, etc. Students can choose one or create their own scenic landscape. The finished image will be 6”x 9”. NOTE: Kwik Stix are designed to be used without water or a brush and dry almost immediately. In this lesson students will explore those properties as well as experiment with other techniques to create unique effects.
4
Encourage students to experiment using Kwik Stix as a paint by twisting the color up and pressing a small area (about 2”) on mixed media paper, then smoothing out the color with a size 8 brush dipped in water. The application can be opaque or transparent, depending upon how much water is used. Kwik Stix can also be dipped directly into water and applied to the paper. Again, a paintbrush can be used to spread the paint and/or mix with other colors. Kwik Stix color can be applied to surfaces by using a water-dipped paintbrush directly on the surface of the Kwik Stix, brushing the color onto the brush and then applying to the paper. Additionally, to create highlights on textured surfaces, use the Kwik Stix color stick directly onto the textured surface’s high points, with brilliant effects especially with the metallic colors.
5
Demonstrate how to use bleeding tissue paper as a textured medium on which to paint. For small textures such as leaves, stones, flowers, etc., tear tissue into small pieces. Gently or firmly scrunch them. Using Sax Tempera Varnish, adhere them to the surface of the mixed media paper, and cover with varnish to seal the color. Then, for larger areas such as water, rocks, trees, ground, sky, etc., tear or cut tissue with PETA Mini Easi-Grip scissors for other shapes, making them a little larger than the desired area. Paint tempera varnish onto mixed media paper and place the tissue over the tempera varnish, allowing the tissue paper to wrinkle for texture. Add more varnish over the tissue to set and let dry. Direct students to experiment with the tissue techniques to create textures, then explore the new Kwik Stix paint techniques on the tissue surfaces. Kwik Stix dry very quickly, so work with the paint color and water as soon as paint is on the paper. Students may also use the Kwik Stix over the tissue without water if they prefer.
6
Direct students to draw their designs on 6’“ x 9” mixed media paper with pencils to guide the design. Use a Pencil Grip Pliable Grip for students who have concerns grasping thin art tools. Cut or tear tissue colors as undercolors for the landscape individual parts. Light colors work well for water and sky, and darker colors for land and trees. Trace or freehand cut the desired tissue shapes by placing tissue on the image and, using a dark or light colored pencil, trace and cut out shape. Adhere additional tissue paper background textures with tempera varnish and let dry.
7
Add Kwik Stix with painterly techniques practiced prior, depending upon the textured surface. Finish with tempera varnish to seal the colors onto the book surface, being careful not to let it pool into recessed areas. Let dry.
8
Take two covers (front and back) and choose the color(s) for the background that complement the textured cover. The example cover is designed with three shades of Kwik Stix to achieve the brown suede effect. Take the Kwik Stix and draw one of the colors directly into the cardboard cover, adding water to smooth out the paint, repeat and alternate the colors next to each other. Complete both sides and the edges of each cover. Let dry and put gentle weights on the boards as they dry, as the cardboard will buckle from the moisture.
9
Determine an appropriate border around the painting and trim the painting as needed. Use craft glue to glue the painted image onto the cardboard cover.
10
Work in pairs to assemble the book by layering the cover, white paper, and cover, and then twisting on the coils to complete the book.