Close

Merry-Go-Round Sculptures
Lesson Plan, Grades 4-8, Art, Math, Science, Mayco, 3-D, Ceramics & Sculptures
Description
Lesson Plan and Artwork by Tana Holderman-Orr
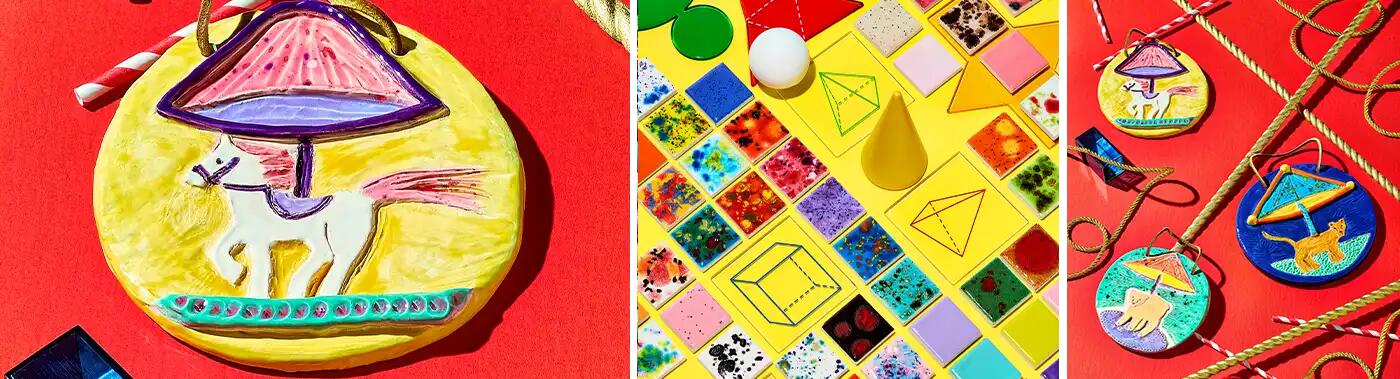
Students will create with clay an additive and subtractive Merry-Go-Round hanging sculpture using geometric shapes and animal forms. They will glaze them with the colorful Mayco Jungle Gems and Stroke and Coat glazes.
Objectives
- Build clay relief sculptures of a Merry-Go-Round depicting their favorite animal with low-fire clay.
- Learning the vocabulary of relief sculpture: trapezoid, triangle, circle, and oval geometric and organic shapes.
- Using drawing skills to cut and make templates. Students will learn how to score and slip clay properly to assemble a relief sculpture.
Supplies Needed
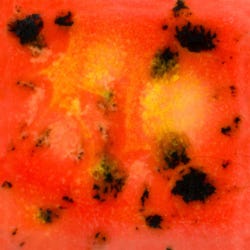
Mayco® Jungle Gems™ Crystal Glaze, CG-1002 Day Lily, Opaque, Pint
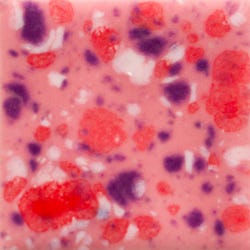
Mayco® Jungle Gems™ Crystal Glaze, CG-1004 Berry Tart, Opaque, Pint
Mayco® Jungle Gems™ Crystal Glaze, CG-1006 Purple Reign, Opaque, Pint
Mayco® Jungle Gems™ Crystal Glaze, CG-1007 Blueberry Bugglegum, Opaque, Pint
Mayco® Jungle Gems™ Crystal Glaze, CG-1008 Blue Guppy, Opaque, Pint
Mayco® Stroke & Coat® Glaze, Spruce It Up, Pint
Mayco® Stroke & Coat®Glaze, Lavendear, Pint
Jute Twine, 219 Feet, 3-Ply
Sax® Low Fire Earthenware Clay, White, 50 Pounds
*Here are the supplies needed for this lesson plan for reference. Find a convenient carousel of shoppable products for this lesson below.
Standards
Standard #1: Generate and conceptualize artistic ideas and work.
Standard #2: Organize and develop artistic ideas and work.
Standard #3: Refine and complete artistic work.
Instructions
1
First, using pencils and paper, have students draw the animals and the geometric shapes. Draw a 5” circle, a trapezoid, or a smaller circle to place below the animal and triangle for the top of the merry-go-round.
2
Roll out 3 pounds of clay, 1/4” thick & 6-7” wide. Using your 5” circle template, place it on top of clay and cut the circle using the fettling knife. Students will use the extra pieces for the rest of the sculpture.
3
Roll out extra clay, place the animal template on clay, and cut out the shape with a fettling knife. Score both sides of the clay area. Use the vinegar for slip and place the animal on the circle. Use the geometric shapes to create the rest of the merry-goround. Score and stick with vinegar on desired areas of the sculpture.
4
Cut two holes for the twine on the top of the sculpture with a straw.
5
Use the clay modeling tools for carving around desired areas of the sculpture.
6
Sculptures can be raised (additive) or carved (subtractive).
7
When sculptures are bone dry, fire according to product directions.
8
Have students reference the glaze colors of the Mayco Jungle Gems and Stroke and Coat. Have students create a pencil drawing of their final piece, indicating which glazes will be used in what sections. Keep in mind that the Jungle Gems “burst” with their unique glaze effects, so use those to highlight special areas of the piece. Apply glaze with 2 to 3 coats of each color, allowing layers to dry completely between coats. Make sure students do not glaze the back of the sculpture.
9
Fire glazed pieces using product directions. Add sturdy cord for hanging. Share and critique finished work.