Close

Glazed Ceramic Drinking Vessel
Lesson Plan, Grades 7-12, Art, Math, Speedball, Ceramics & Sculptures, 3-D
Description
Lesson Plan and Artwork by Eric Orr
Functional ceramics have a long history in all cultures. Drinking from cupped hands gets old! Early humans learned that clay was so fine-grained that it could hold liquid, unlike sand and soil. With the realization that clay could be fired to produce hard vessels that hold liquids, ceramics were born.
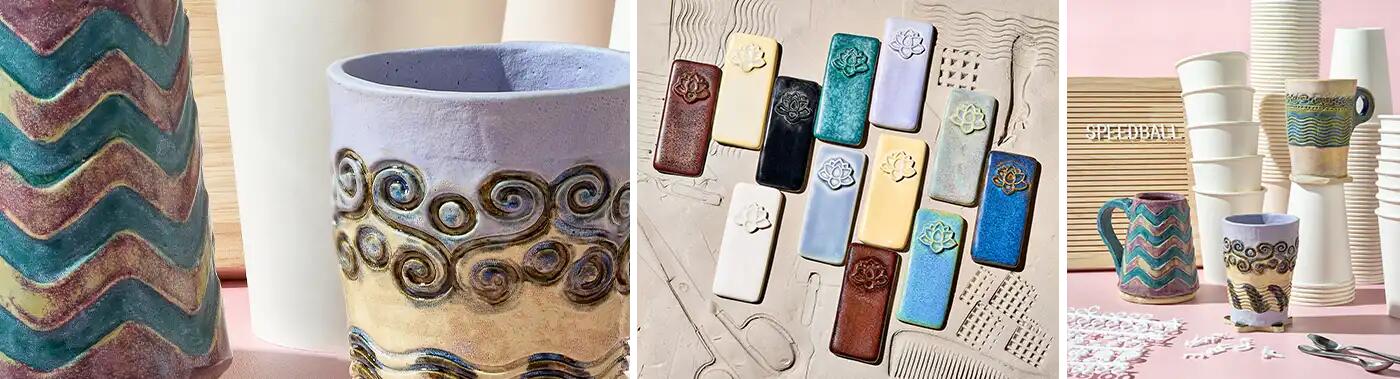
Speedball® Mid-Fire™ Glaze offers students the ability to layer color and create unique dimensions on ceramic vessels that are dinnerware safe. In this lesson, students will learn to create a vessel using a simple slab method and Speedball® Mid-Fire™ Glaze.
Objectives
- Research history of clay drinking vessels.
- Craft a functional drinking vessel/cup out of clay slabs. Vessel will have a stable base as well as a functional handle and be leakproof.
- Enhance and personalize the vessel by rolling or stamping a texture pattern into the vessel surface.
- Dried clay cup will be bisque fired to cone 04 and glazed with Speedball Mid-Range Fire Glazes. Glazed vessels will be fired to cone 5–6.
Supplies Needed
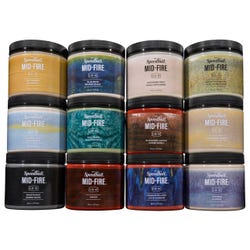
Speedball® Mid-Fire™ Glaze, Pint, Assorted Color, Set of 12
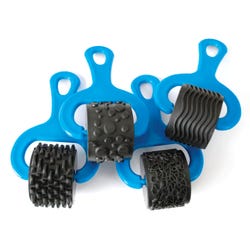
Ready2Learn™ Heavy Duty Paint and Clay Explorer Set, Blue, Set of 4
Stoneware Clay -No.11, 50 pounds, White
Kemper Fettling Knife, 4½”, Hard Tempered Steel Blade, Wood Handle
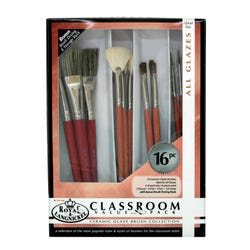
Royal & Langnickel® Ceramic Classroom Value Pack, Assorted Sizes, Set of 16
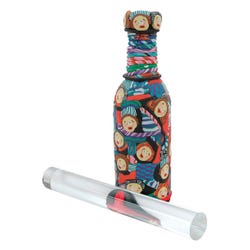
Non-Stick Portable Poly Roller, 8”, Acrylic, Clear
*Here are the supplies needed for this lesson plan for reference. Find a convenient carousel of shoppable products for this lesson below.
Standards
Standard #1: Generate and conceptualize artistic ideas and work.
Standard #2: Organize and develop artistic ideas and work.
Standard #3: Refine and complete artistic work.
Standard #10: Synthesize and relate knowledge and personal experiences to make art.
Standard #11: Relate artistic ideas and works with societal, cultural and historical context to deepen understanding.
Instructions
1
Have the students look at functional ceramic drinking vessels at home, in magazines or online.
2
Sketch several ideas they would like to employ to build their clay slab cup. Students will consider size, function, form, and textural pattern as well as a finished glaze color.
3
A functional clay vessel must have a body to hold liquid, a stable base, and a pleasing rim.
4
Create a handle with which to lift and hold the vessel.
5
Lightweight paper or cardboard cups can easily be turned into a cup pattern (do not use plastic or heavy styrofoam).
6
To create the pattern, students cut a vertical line from the top of the paper cup to the bottom. Next, they cut away the circular bottom. They will now have their two pattern pieces, a windshield shaped trapezoid and a circular base to lay out on a slab of clay.
7
Students will roll out about 2 to 3 lbs. of clay on a canvas mat using a rolling pin or a plastic PVC pipe.
8
The dimensions should be about ¼” thick & 21” wide. Using a wooden paint stick from a paint or a hardware store, they will make ideal-thickness guides on each side of the clay slab.
9
Students will trace around their cup windshield (trapezoid) shape and cut with a fettling (thin bladed) knife. Also cut a circle for the bottom, using the original paper cup bottom.
10
Students determine the textures they wish to have on their vessel, then roll or stamp their chosen pattern onto the clay slab.
11
The cup body is rolled up and rejoins the vertices side. The two sides are scored, slipped, and gently pressed together.
12
Students score and slip the circular clay bottom and gently press it to the bottom of the vessel form.
13
The student artisans roll several size coils, place them over clay joints, and gently work the coils into the joints to create smooth and leak-proof seams.
14
Students smooth all joints and rough areas, making sure the rim is “drinkable” for users’ lips.
15
To improve base stability, students might add a bigger circle or other desired shape to increase base size. At this stage, they can also sign their name on the base.
16
Cups are dry finished until bone dry. Bisque fire to cone 04.
17
While cups are being bisqued, students will decide on a color scheme or pattern for glazing cups.
18
After cups have cooled and been removed from kiln, have students apply 3 liberal coats or one dip of Speedball Mid-Fire Glazes to complete their artwork. Be sure glaze is not on bottom. Glaze fire to cone 5-6.
19
Have students share and critique final artwork.
NOTE: Creating test tiles for all colors used in the lesson prior to starting the project is recommended. Test tiles will provide accurate color representation of color specific to their clay body, temp and application.