Close

Bold Expressions
Lesson Plan, Grades 7-12, Art, Art History, Language Arts, Science, Sharpie, Drawing, Mixed Media
Description
Lesson Plan and Artwork by Dana DuMont
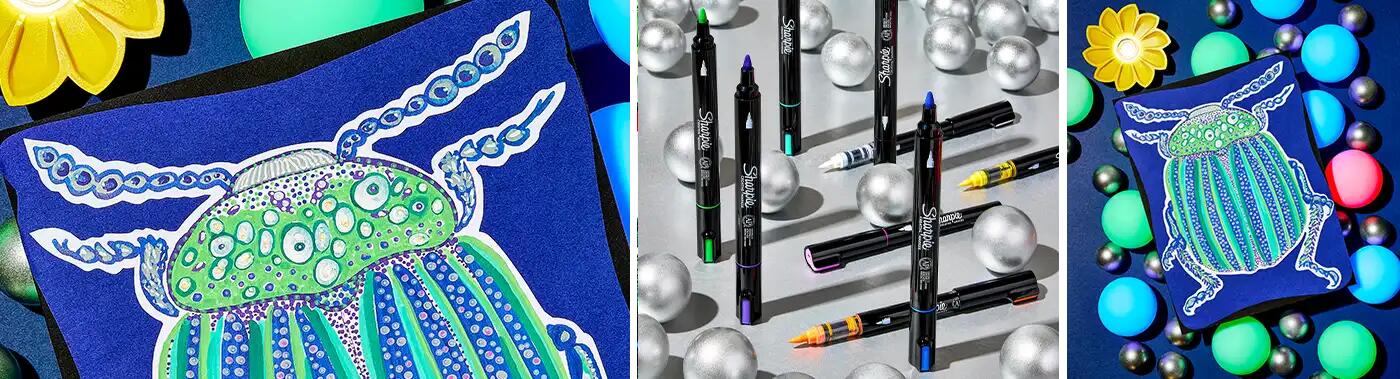
Artists including Yayoi Kusama, Nick Cave, and Olafur Eliasson use color, form, and design to communicate meaning and connect with viewers. Using Sharpie Creative Markers, students can express themselves by designing objects and environments that speak to their current interests while visually inviting others to explore the worlds they create.
Objectives
- View and discuss works by artists including Yayoi Kusama, Nick Cave, and Olafur Eliasson and others who incorporate bold color, form, and design in their works.
- Plan and sketch expressive color palettes, unified objects, and/or environments that depict individual visions and profound interests.
- Manipulate Sharpie Creative Markers to create final object/environment designs.
- Display and respond to the ideas and impressions shared by each student artist.
Supplies Needed
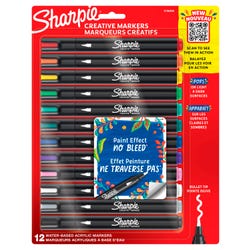
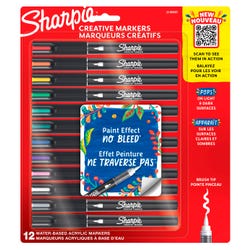
Sharpie® Creative Markers, Brush Tip, Assorted Colors, Set of 12
Sharpie® Creative Markers, Bullet Tip, Assorted Colors, Set of 12
Sax® Pen and Ink Drawing Paper, 80 lb, 18 x 24", White, 100 Sheets
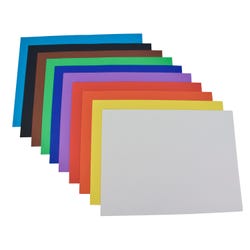
Sax® Colored Art Paper 12 x 18 Inches Assorted Colors 50 Sheets
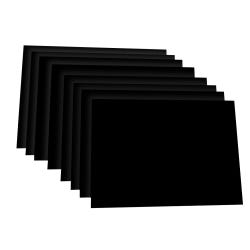
Sax® Colored Art Paper, 9 x 12", Black
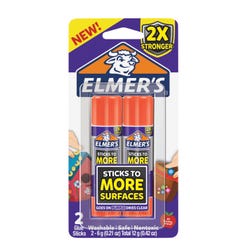
Elmer's® Extra Strength Glue Sticks
*Here are the supplies needed for this lesson plan for reference. Find a convenient carousel of shoppable products for this lesson below.
Standards
Standard #6: Convey meaning through the presentation of artistic work.
Standard #8: Interpret intent and meaning in artistic work.
Standard #10: Synthesize and relate knowledge and personal experiences to make art.
Instructions
1
View bodies of work by Yayoi Kusama, Nick Cave, and Olafur Eliasson, and have students look specifically for patterns, themes, repetition, materials and textures. Next, look more closely at each of these artist’s works, view their videos discussing their work, and have a conversation concerning how artists create collections of pieces that relate to one another, communicate meaning, and express an artist’s perspective.
2
Create a list of subjects that could be a springboard for a set of objects. Sketch plans and palettes for individual objects/collections/environments. Also have students consider the use of unifying color schemes, repeated shapes, designs and patterns.
3
Using light pencil, sketch out three to five objects on 9 x 12” or larger Sax Drawing or Colored Art Paper. One to two full environments can be sketched on 18 x 24” or larger paper if making installation pieces. Optionally, students may also build 3-D paper objects by cutting and piecing their designed papers with tape, yarn, string, filament, wire, etc.
4
Encourage brainstorming and informal peer critiques throughout the process.
5
When collection ideas are firmed up, practice layering Sharpie Creative Markers. Be sure to allow drying time in between varied color layers.
6
Draw final images and layer colors to create interest. Optional applications student can cut, pierce, sew, weave, adhere or hang pieces and parts to create final objects. 2-D objects can have color and detail on both sides if being hung away from a wall.
7
Have students display, share and critique final objects and environment drawings/forms. Students can create factual and/or fantastic gallery labels for viewers from other classes.