Close

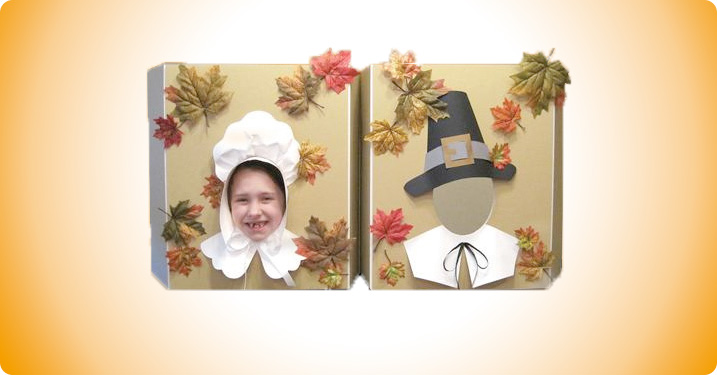
Portrait Pilgrims
Activity, Grades K-4, Art, Seasonal, Fall/Autumn, Provided by Elmers Teachers Club®
Description
Parents or teachers can photograph children being Pilgrims!
Time Needed: 1 Hour
Supplies Needed
(2) Elmer's® Foam Board, 20" x 30" x 3/16"
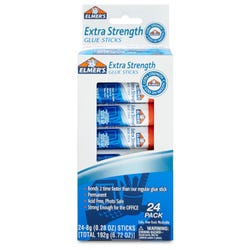
Elmer's Extra Strength Glue Stick
Craft Knife* with extra blades
8 1/2" x 11" heavy-weight paper: (4) White, (1) Black, (1) Gray, (1) Gold
Silk fall leaves, assorted colors and sizes
24" length of 5/8" wide white satin ribbon
24" length of 1/4" wide black satin ribbon
Glue gun* and glue sticks
Transparent tape
Cutting mat
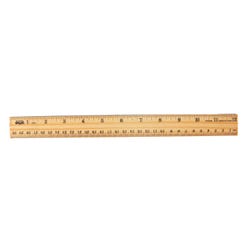
Ruler
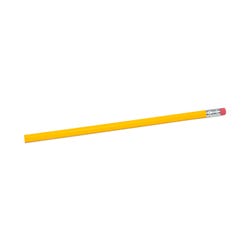
Pencil
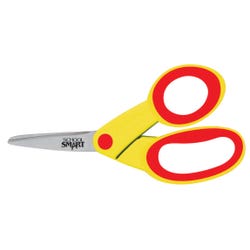
Scissors
* An adult should use X-ACTO® Knife and glue gun.
Instructions
1
To make the tri-fold display on tan colored side of Foam Board, measure and lightly draw a line 7" from each short edge of Foam Board. Use craft knife and cutting mat to cut along pencil lines ONLY through top layer of paper and foam (but NOT through white paper on other side). (Hint: Score lightly first and then press more firmly to cut through the foam. If line is accidentally cut all the way through, reinforce cut edge with transparent tape.)
2
Lightly trace an oval face pattern onto copy paper and cut out shape with scissors. For face opening, on center section of Foam Board place face pattern 5" up from bottom center edge and trace. Use knife and cutting mat to cut out opening.
3
For Pilgrim Boy: Trace patterns on colored paper and cut out: collar (white), hat (black), hat band (gray), and buckle (gold).
4
Use Elmer's Extra Strength Glue Stick to attach boy's hat band and buckle to hat. Fold back hat tabs. Give it dimension by slightly bringing sides in so that hat middle extends out. Mark placement with pencil. Apply glue stick and press in place, holding until secure.
5
For boy's collar, use glue stick to run line of glue just under face opening. Align curved neck of collar with opening and press in place until secure. Bring shoulder edges of each collar down and in, to create dimension with bottom of collar. Apply glue to shoulder edges only, holding until secure. Tie bow in black ribbon and ask an adult to use glue gun to attach to collar.
6
For Pilgrim Girl: Similarly, trace hat, brim and collar patterns onto white paper and cut out. On bottom, curved edge of bonnet, ask an adult to hand gather and hot glue random pleats. Use glue gun to attach to inner foam edge of face opening, starting at top center and working out to edges of bonnet. Butt short ends of two brim pieces and tape to connect. Use glue gun to glue brim to inner foam edge, sandwiching bonnet pleats, and starting at top center, and down sides, letting ends flow to front. For collar, follow step 5 using white ribbon instead of black.
7
Randomly place leaves on Foam Board and use glue gun to put in place.
8
Place the tri-fold on a table so that the child can sit behind and be hidden. Photograph your little pilgrims!