Close

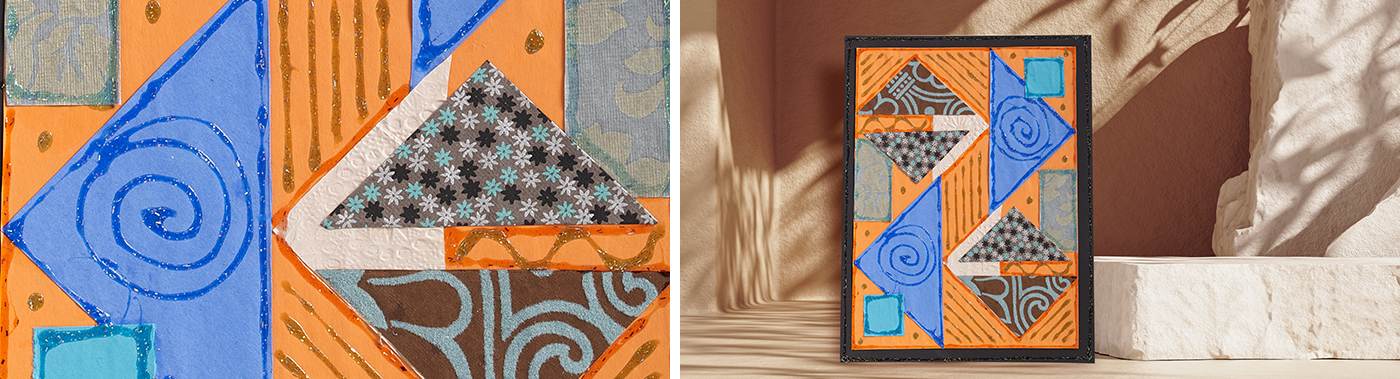
Glitter Collage
Lesson Plan, Grades 4-8, Art, Social Studies, Collage
Description
Lesson Plan and Artwork by Lesson Plan and Artwork by Eric Orr
Collage, from the French term ‘coller’ meaning to paste or stick, is an art form developed in the early 20th Century. It was employed by Pablo Picasso, Georges Braque, and others of the early Cubist period. The technique uses found and fancy papers, which are glued directly to the canvas or other surface - often to suggest textural and special features in this “new” abstract art movement. In this lesson, students will create a paper collage on black mat board using a variety of papers. They will utilize glitter glue lines to enhance their paper shapes and composition.
Objectives
- Students will demonstrate how to use a variety of papers to create a collage.
- Students will use complementary colors and varying textures in their collage.
- Students will show compositional use of line, shape, color and space in their collage.
- Students will learn how to use scissors, rulers and glue in their collage.
Supplies Needed
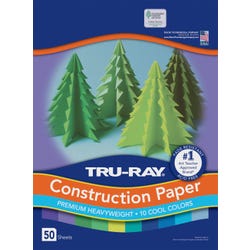
Paper Assortment, cool colors, 9 x 12”, 50 pack
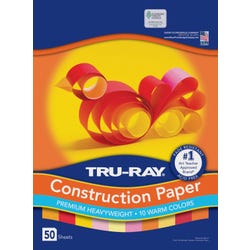
Paper Assortment, warm colors, 9 x 12”, 50 pack
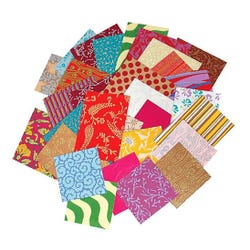
Marble Paper assortment, 9 x 12”, 50 pack
Handmade Paper Assortment
Glitter Glue, assorted Bright
Glitter Glue, assorted Primary
No Run School Glue 8 oz
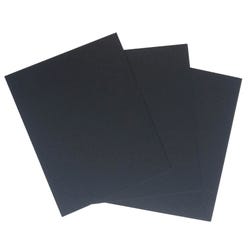
Black Board, 9 x 12”, 50 pack
*Here are the supplies needed for this lesson plan for reference. Find a convenient carousel of shoppable products for this lesson below.
Standards
Standard #1: Generate and conceptualize artistic ideas and work.
Standard #2: Organize and develop artistic ideas and work.
Standard #3: Define and complete artistic work.
Standard #5: Develop and refine artistic work for presentation.
Standard #7: Perceive and analyze artistic work.
Standard #9: Apply criteria to evaluate artistic work.
Standard #10: Synthesize and relate knowledge and personal experiences to make art.
Standard #11: Relate artistic ideas and works with societal, cultural and historical context to deepen understanding.
Instructions
1
Show the students Cubist and collage work.
2
Discuss the elements of design and how to arrange and balance shapes and colors in a composition.
3
Study the color wheel and have students discuss complementary colors. Why are they visually dynamic?
4
Allow students to look at and touch various color and patterned papers. What shapes will they use to create their design? How will they be positioned on the black background board?
5
Show and practice with younger students to name and identify geometric shapes. Practice how to draw various geometric shapes with rulers.
6
Practice using scissors to cut paper shapes by holding the scissors in one position and turning only the paper.
7
Once students have chosen their complementary colors have them choose several plain and fancy/patterned papers they want to use in their composition. What shapes will they cut?
8
Distribute the backboard and scissors and have the students cut and arrange their shapes on the backboard. Rearrange shapes. Have students experiment with vertical or horizontal formats.
9
Only when interesting composition choices and decisions have been made, allow students to glue shapes on the black backboard using glue.
10
Place finished collages on a drying rack.
11
In the next class, distribute the collages and discuss how lines might enhance the design. Show the students how to properly and economically use the glitter glue.
12
Place finished collages on the drying rack.
13
Share work in a class critique.