Close

Geometric Pop-Up
Lesson Plan, Grades 6-12, Math, Art, 3-D

Description
Lesson Plan and Artwork by Annette Johnson
A Pop-Up is described as a self-erecting, three dimensional structure formed by the action of opening a crease. The most common forms of pop-ups found today are mostly in greeting cards and children’s books. This lesson will use construction paper to turn a flat 2-dimensional sheet of paper into a three dimensional structure by folding, cutting, gluing and inserting the pop-up structure into an accordion fold strip. In addition, explore the work of famous paper engineers and pop-up artists such as; Robert Sabuda, Matthew Reinhart, and Ron van der Meer.
Objectives
- Use color and simple geometric pop-up forms to explore positive and negative space and color relationships.
- Learn that by using warm and cool colors, analogous and complimentary colors can change how an individual pop-up looks and feels.
Supplies Needed
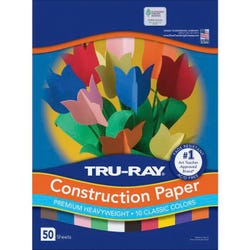
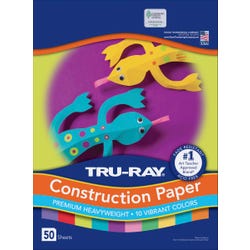
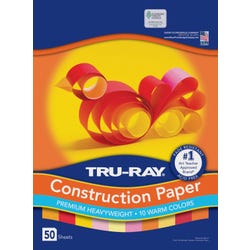
TRU-RAY® Construction Paper Classic Assortment 9 x 12 in, 50 Sheets
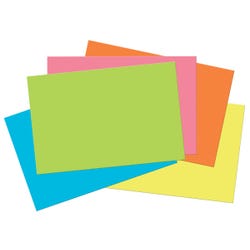
TRU-RAY® Construction Paper Bright Assortment 9 x 12 in, 50 Sheets
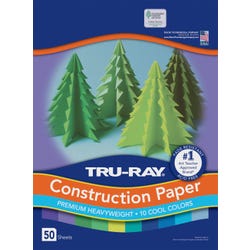
TRU-RAY® Construction Paper Cool Assortment 9 x 12 in, 50 Sheets
TRU-RAY® Construction Paper Warm Assortment 9 x 12 in, 50 Sheets
TRU-RAY® Construction Paper Primary Assortment 9 x 12 in, 50 Sheets
TRU-RAY® Construction Paper Pastel Assortment 9 x 12 in, 50 Sheets
TRU-RAY® Construction Paper Hot Assortment 9 x 12 in, 50 Sheets
TRU-RAY® Construction Paper Black 18 x 24 in, 50 Sheets
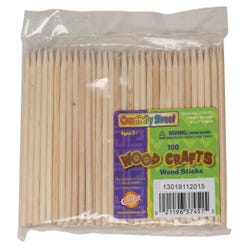
Creativity Street® Stylus Sticks, Pack of 100
Alvin® Professional Cutting Mat 8-1/2 x 12
Alvin® Super Sharp Large Knife
Alvin® Super Sharp Large Knife Replacement Blades
Alvin® Non-Skid Flexible Ruler 24 in
Scotch™ Multi-Purpose Scissors 8 in
Elmer’s® CraftBond® Adhesive Tape Runner
Elmer’s® CraftBond® Adhesive Tape Runner Refill
Westcott® See-Through Acrylic Ruler 18 in
Heritage Arts Bone Folder
Standards
Standard #1: Generate and conceptualize artistic ideas and work.
Standard #2: Organize and develop artistic ideas and work.
Standard #4: Select, analyze and interpret artistic work for presentation.
Standard #7: Perceive and analyze artistic work.
Instructions
3 Color Accordion Fold Strip: Backing for Pop-Up structure (See Fig. 1 & 2)
Students should construct a practice pop-up prior to starting the final construction of their finished pop-up. This will familiarize the student with the folding and cutting processes and will help them work out any problems they may have in completing their finished work. The practice paper should be similar in weight to the paper used for the final piece.
NOTE: The 5” x 15” backing strip is a design choice that allows a portion of the pop-up to protrude from inside when folded. If you would like the pop-up to be fully concealed within its closed borders you will need a longer strip.
1
Cut 2 pieces of paper 5” x 5-1/2” of colors A and B, cut 1 piece 5” x 5” of color C. After assembly the finished strip is 5” x 15”. For a one color backing strip, cut one piece of paper 5” x 15”.
2
Mark pieces of color A and color B at 5”. Join Color B to A at the 5” mark and Color C to B at the 5” mark. There will be a fold line directly to the left of where the colors are joined.
3
Mark the length of the strip every 2-1/2” on the top and bottom of the strip.
4
Using the smallest ball burnisher from the Proedge tool set, line a ruler up with the top and bottom marks and score a line from top to bottom.
5
Fold back and forth along the scored marks and set creases with the bone folder.
6
Set aside and complete the pop-up structure pieces.
7
Cut three 5” squares from Tru-Ray construction paper.
Pop-Up Structure
8
Measure 2-1/2” in from one edge of the square. Mark both the top and bottom.
9
Use a ruler and the smallest ball burnisher from the Proedge tool set to score a line.
10
Fold the right “half against the ruler and towards the other edge. Set the crease with the bone folder.
11
Open the fold. Each half measures 2-1/2” x 5”. Measure down on the right side 2-1/2” and place a light mark on the crease. Also place a mark on the outer edge of the right side. Draw a line connecting both marks. Using a knife or scissors cut along the line to the center crease. (See Fig. 3)
12
You now have two flaps on the right side of the center fold. Turn the top flap towards the center crease. Turn the bottom flap to the back and bottom of the left side.
13
Place the top flap facing up with the folded edge to the right. Measure ½” in from the left side of the flap, draw a light line ½” from the top and bottom of the flap.
14
Measure down ½” from the top of the flap, draw a line beginning at the left side line to the folded edge.(See Fig. 4)
15
Draw 3 more lines 1⁄2” apart, beginning at the left side line and ending at the fold. You should have 4 lines equally spaced 1⁄2” apart from top to bottom of the flap and 1⁄2” away from the left edge. Flip over and repeat on bottom flap. Make sure the fold line is on the right.(See Fig. 5)
16
Position one end of the pop-up so the fold is facing down. Place a metal ruler on the first line. Cut from the line drawn ½” from the edge through the folded end. Continue cutting through the next 3 lines, from the line through the folded edge. Flip over and repeat on the other flap.
17
Place the ruler on the line opposite the folded end and press the 3 center sections against the ruler. Remove the ruler and crease the three middle sections flat, unfold them and turn the strip over and fold the center sections the opposite direction so they are flat against the open-end line. Unfold so the flap is totally flat. Turn over a repeat on the other flap.
18
After all sections are cut and folded in both directions, open one flap. Pull the second and third section up. Turn over and repeat with second flap. You should now have a rib facing straight up in the center, with one Pop-Up section on the top right and one section on the bottom left.
Join Pop-Up to Accordion Base
19
Open accordion fold, so that 3 valley folds face up.
20
Close the pop-up section flat against its center rib.
21
Apply tape to the bottom of the top Pop-Up section, positioned so it is inside the valley fold and touches the bottom of the valley fold. Slowly line up the top end with the top of the strip and the right edge with the top of the mountain fold. Once half of the pop-up is attached turn the strip around and repeat on the bottom.