Close

Geometric Mosaic
Lesson Plan, Grades 7-12, Math, Art, Crescent, Collage
Description
Lesson Plan and Artwork by Jack Matthews
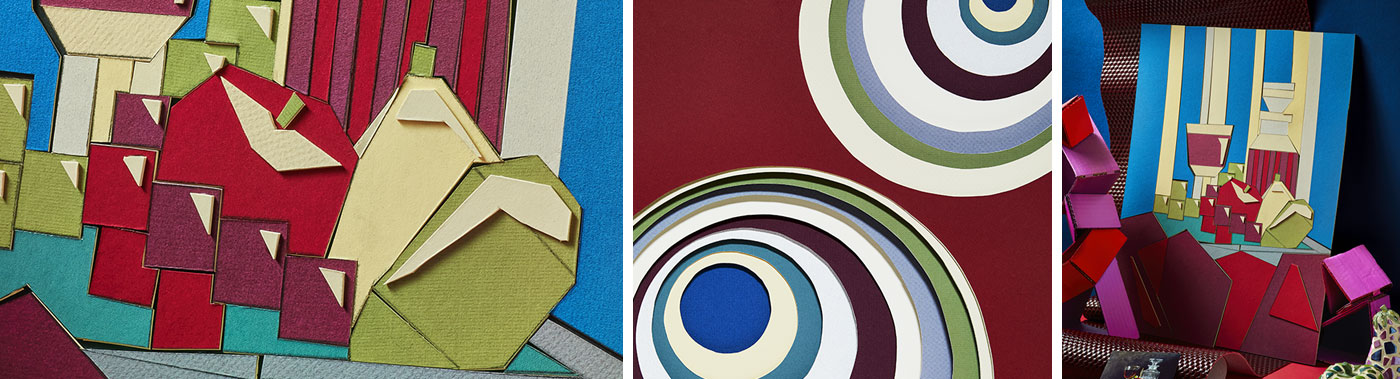
Mosaics are fun. They can be super intricate and detailed, or they can represent a composition in its simplest format. This lesson allows students to take an image, not their own, and reproduce it in a very simplified manner using mat board, a utility knife, and glue.
Objectives
- Students research still life images and their history.
- Students will learn to reduce images to their simplest forms using the materials provided.
Supplies Needed
Crescent Creative™ Ultra Black™ Mounting Board, 16 x 20”, Black, Pack of 10
Crescent Creative™ Mat Board Assortment, 20 x 32”, Earthtones, Pack of 10
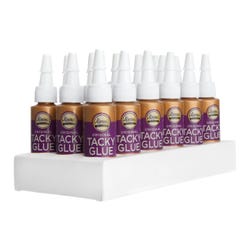
Aleene’s® Tacky Glue®, 0.66 Ounces, Pack of 18
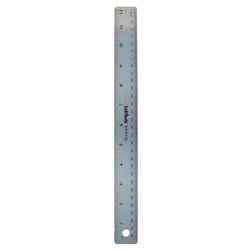
School Smart® Flexible Stainless Steel Ruler with Cork Backing, 12”
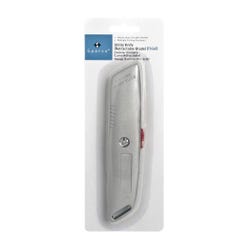
Sparco Retractable Utility Knife and Replacement Blades
*Here are the supplies needed for this lesson plan for reference. Find a convenient carousel of shoppable products for this lesson below.
Standards
Standard #1: Generate and conceptualize artistic ideas and work.
Standard #2: Organize and develop artistic ideas and work.
Standard #3: Define and complete artistic work.
Standard #10: Synthesize and relate knowledge and personal experiences to make art.
Standard #11: Relate artistic ideas and works with societal, cultural and historical context to deepen understanding.
Instructions
1
Teacher will show images of various compositions and discuss them as well as demonstrate how each object can be reduced to its simplest shapes. NOTE: Teacher should explain why this is so important due to the materials and cutting tools students will be using. A good example regarding simple, straight lined forms can be Picasso’s “Three Musicians”
2
Students will look for and decide what painting they will select for their project, keeping in mind what will look best reduced to its simplest form.
3
Using a straight edge and pencil, students will reproduce the images on white drawing paper, using a pencil AND only using straight lines. This will take some critical thinking on the part of the student as they move through the creation of the new composition.
4
Once drawn out, student will trace over the lines using a black felt-tip pen.
5
Students will then decide/code what each area/shape must be color-wise and write that in the various shapes.
6
Beginning at the bottom of the composition, students will select a piece of Crescent Creative Mat Board that coordinates with the color in the code used for that shape in their composition.
7
Students will then lay a piece of carbon paper over the mat board, lay their composition on top (specifically the desired area) and trace with a pencil or ballpoint pen which no longer works. Carefully lift the composition and carbon paper so as not to smear on to the mat board (a white eraser can be used if smudges occur).
8
Using the straight edge and utility knife on a protective surface, student will carefully cut out the shape.
9
The student will begin placing these cut outs onto a black mounting board.
10
When an area appears to fit well, the student can begin gluing down the pieces. Use small dots of glue around the perimeter of the shape.
11
Continue this process until all pieces have been cut out and fit in. NOTE: This is not an exact science and sometimes the piece cut out may not fit exactly. The student will have to use critical thinking skills to figure out small problems of size, trimming as they go.