Close

From Concrete to Abstract
Lesson Plan, Grades 9-12, Math, Art, Painting
Description
Lesson Plan and Artwork by Jack Matthews
Trying to understand and execute an abstract work of art without context can be difficult. When teaching students the difference between “concrete” and “abstract”, it’s important to start with the concrete (real) and then move towards the abstract (nonrealistic). Although this is not a true abstract art lesson, it is a way for students to be selective in terms of creating a work of art – with the end result being a composition that appears to be an abstract work of art.
Objectives
- Differentiate between concrete and abstract
- Understand and demonstrate knowledge of Rhythm, Balance, Composition, Negative/Positive Space, Use of Color
- Use Chromacryl® Acrylic Essentials, Chroma® Molten Metals Acrylics, brushes and a variety of tools to create their painting.
- Create a non-representational work of art utilizing the components above and a grid system.
Supplies Needed
Chromacryl® Acrylic Essentials, 6.75 oz, Set of 12
Chroma® Molten Metals Acrylic, 8 oz, Set of 6
Sax® Nylon Flat Acrylic Easel Brushes, 1/4 in, Pack of 6
Sax® Nylon Flat Acrylic Easel Brushes, 1/2 in, Pack of 6
Fredrix® Value Series Cut Edge Canvas Panels, 12 in Square, White, Pack of 25
Jack Richeson™ Super Safety Complete 5 Knife Set
Jack Richeson™ Bulk Palette Paper, 9 x 12 in, 50 Sheets
Standards
Standard #1: Generate and conceptualize artistic ideas and work.
Standard #2: Organize and develop artistic ideas and work.
Standard #3: Refine and complete artistic work.
Instructions
1
Discuss and define what is considered “concrete” imaging in art and what is “abstract” as well as various elements of art and design (see examples in objectives).
2
Students make a “viewfinder” from a 4”x4” piece of scrap paper or card stock.
• Move the viewfinder across images in a magazine to find a segment that supports good composition, rhythm and balance.
• It will be necessary to remove image from the magazine and place behind viewfinder as a tool while creating the new art composition.
• NOTE: Search for large images so that the image seen inside the viewfinder will be less identifiable.
• Trace around the image inside the viewfinder opening then cut the image out of the magazine slightly larger in order to tape it to the back of the viewfinder.
3
Demonstrate how to use a grid system to transfer the composition from a small scale to one that will fit the canvas board. Students mathematically mark off a grid on the viewfinder using a pencil and ruler.
4
Draw the grid on a canvas and then sketch in the new composition seen in the viewfinder.
5
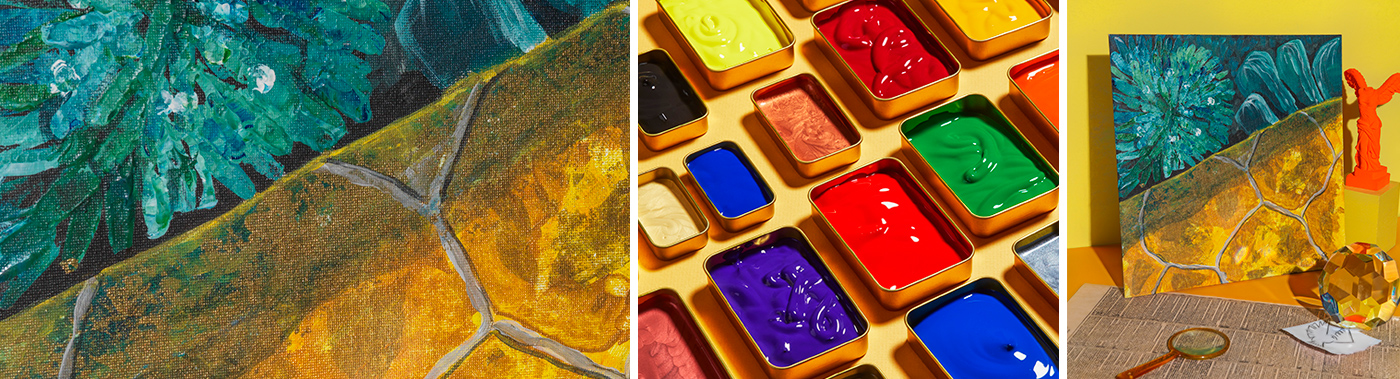
Create appropriate paint colors by mixing Chromacryl® Acrylic Essentials. Using either brushes and/or a palette knife lay down background colors. Start to define shapes within grid using the mixed paints.
6
Once painted with Chromacryl® Acrylic Essentials, further embellish the work with Chroma® Molten Metals Acrylics to enhance the composition as desired.