Close

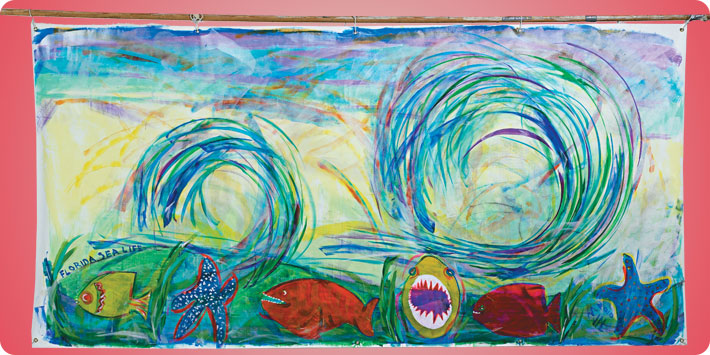
Florida Sea Life Mural
Lesson Plan, Grades 6-12, Art, Science, Sax
Description
Learning is more than an individual effort. It's a collaborative process. Your students will see that clearly as they work together to create an underwater mural that offers a visual representation of their discoveries in both art and science.With this project, there is ample opportunity for customization. Midwestern students might create a freshwater mural; those on the Eastern seaboard might opt for saltwater marsh life. The possibilities are as boundless as students' imaginations! In every case, students engage in scientific inquiry and show off what they've learned.
Objectives
- Students will observe the structure and function of a living earth system.
- Students will portray this living earth system in a habitat mural, illustrating its structure as part of a hydrosphere.
Supplies Needed
Sax® True Flow Acrylics, 12-pint assorted colors 439304
Sax® True Flow Fluorescent Acrylics, 6-pint set, assorted colors 402434
Sax® Platinum Acrylic Medium, 1 quart 403535
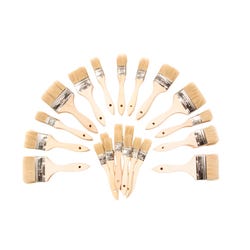
Sax® Overstock Brushes, Set of 20 402377
Wyland Mural Canvas, 5'x10' with grommets 1332336
Sax Standard White Bristle Utility Brush Assortment, Assorted Size, Pack of 48 1412628
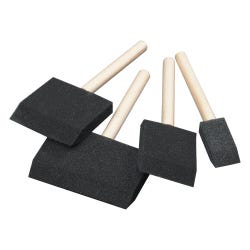
School Smart® Foam Brushes, 48-brush set, assorted sizes 085676
School Smart® Foam Rollers, 12-roller set, assorted sizes 085737
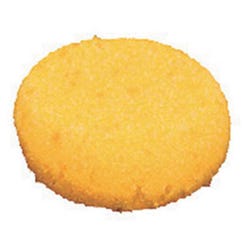
Round Sponge, 2½" diameter 408064
Resources Bridging Curriculum through Art, 144-pg. book 401433
Standards
CONTENT Standard #1: Understanding and applying media, techniques and processes
CONTENT Standard #3: Choosing and evaluating a range of subject matter, symbols and ideas
Instructions
Teacher preparation:
Gather tidbits of sea life to orient students to the theme, including seashells, skeletal remains, photographs and student stories. Arrange a trip to the local science center or aquarium.
1
Discuss the structure and function of living earth systems, covering habitat and identifying and comparing elements of different systems.
2
Decide on the orientation and scale of the mural. Make small sketches of various fish and plant species to help determine the mural's overall design and colors. Transfer these sketches to the Classroom Mural Canvas, scaling and combining them as desired.
3
Identify which elements of the mural each class member will paint.
4
Gather the materials needed: acrylic paints, brushes, paint rollers, sponges and drop cloths or butcher paper to cover tables or protect the floor.
5
Using large brushes, paint the background with bands of color, showing the habitat above the water's surface as well as below it.
6
Using smaller brushes, paint the aquatic animals, plant life and the like, starting with dark colors and progressing to light ones.
7
Assess the mural as a whole as work on it progresses. Ensure that the colors throughout work together and that each section has the same brightness of color, overall feel and level of imagination.
8
Let the mural dry.
9
Soften the outlines of the aquatic animals and plant life to make them look like they are underwater by dabbing on water-thinned acrylic paint with a sponge.
10
Give the mural a 3-D feel by painting shadows, highlights and reflections. Dry.
11
Curate the completed mural by signing, dating and titling it.
12
Install the mural, suspending it by placing twist ties or similar hangers through the grommets.
Lesson plan extensions:
Write a description of one of the aquatic animals or plants, including its life cycle and characteristics, to accompany the mural. Develop a play, poem or short story around the mural theme. Extend the scientific inquiry to other non-aquatic earth systems. Display the mural at a local science or children's museum.