Close

Fish Sculpture
Lesson Plan, Grades 6-12, Art, Science, Prang, Ceramics & Sculptures, 3-D
Description
Lesson Plan and Artwork by Annette Johnson
Fish are cold blooded vertebrates that have evolved to live their lives in water. The earth’s surface is covered by 71% of water. There were 34,300 described species of fish by 2020 with more discovered every year. Students will research a selected species and create a 3-D sculpture of the fish.
Objectives
- Select a fish and create a 3D sculpture of the chosen fish.
- Study the anatomy of the chosen fish.
- Research the habitat of the chosen fish and how the fish may have adapted to its environment.
Supplies Needed
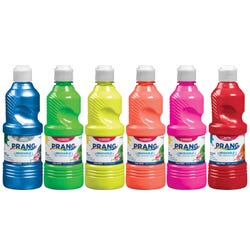
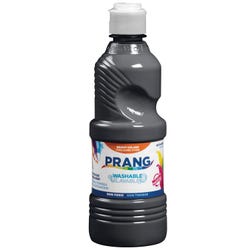
Prang® Ready-to-Use Washable Tempera Paint, Pint, Black
Prang® Ready-to-Use Washable Tempera Paint, Pint, White
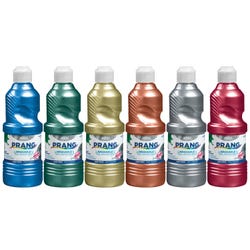
Prang® Ready-to-Use Washable Tempera Paint Set, Assorted Glitter Colors, Pint Set of 6
Prang® Ready-to-Use Washable Tempera Paint Set, Assorted Metallic Colors, Pint Set of 6
Prang® Ready-to-Use Washable Tempera Paint Set, Assorted Metallic, Fluorescent, Glitter Colors, Pint Set of 6
Plast'r Craft® Modeling Plaster Material, 5 Pounds
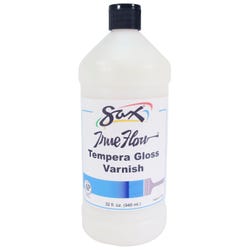
Sax® True Flow® Tempera Varnish, Gloss Finish, 1 Quart
School Smart® Newsprint Drawing Paper, 30 lb, 9 x 12 Inches, 500 Sheets
School Smart® Multi-Purpose Chipboard, 10 Ply, 19 x 26 Inches, Gray, Pack of 10
Highland™ 2600 Masking Tape, 0.75 Inch x 60 Yards, Cream
*Here are the supplies needed for this lesson plan for reference. Find a convenient carousel of shoppable products for this lesson below.
Standards
Standard #1: Generate and conceptualize artistic ideas and work.
Standard #3: Refine and complete artistic work.
Standard #5: Develop and refine artistic work for presentation.
Standard #11: Relate artistic ideas and works with societal, cultural and historical context to deepen understanding.
Instructions
1
Chose a species of fish to sculpt.
2
Study the anatomy of the chosen fish and how the parts of the fish work.
3
Students will create a drawing of the chosen fish. Including details like: eye placement, position of mouth, where the gill cover ends, location of various fins and the tail. The picture should include all details from mouth to tail and the top to bottom of the fish. The fish drawing should be no larger than 8” to 10”.
4
Transfer the completed outline of the fish with details from your drawing onto chipboard. Including both sides of the fish on the front and back of the chipboard. Note: You may find it easier to completely transfer one side of the fish onto the chipboard and then cut it out. Then transfer the details to the second side of the fish cutout. Draw a line at the base of the fins where they attach to the fish body.
5
The cutout chipboard fish shape will become your armature.
6
If your fish has a pair of pectoral fins and pair of pelvic fins you will have to trace both pairs on a separate piece of chipboard and cut them out. Make sure to add at least a 1/2” at the end of the fins where they meet the side of the fish and the bottom of the fish. These will be attached in the proper location after your fish is stuffed. Set aside.
7
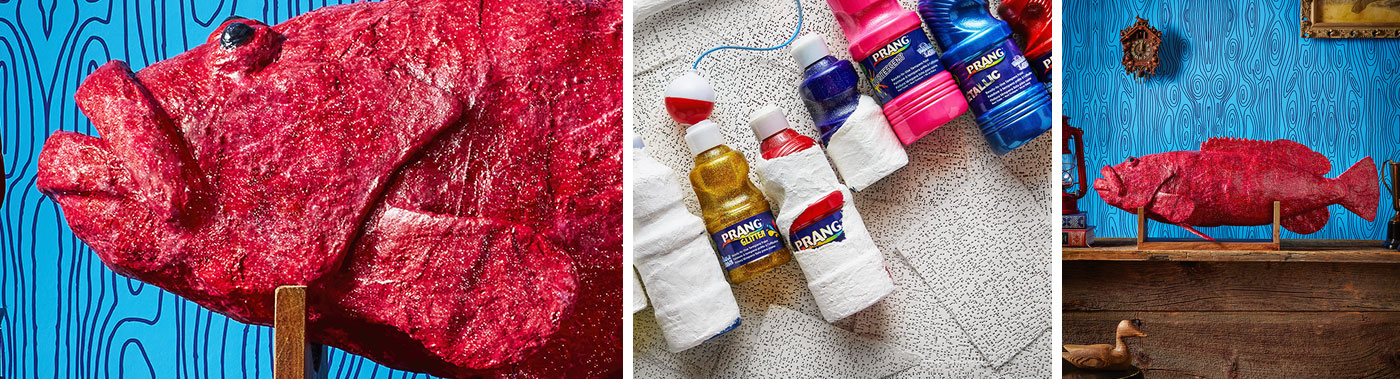
Shaping the fish – use masking tape to secure crumpled newspaper or newsprint to the fish cutout to create the 3-D shape. Making sure to stop below the line drawn at the bottom of the fins. Work on both sides moving from side to side keeping the fish shape uniform. The head ends at the gill opening. Create a curved edge where the gill is attached to the body of the fish. Make sure this is loose not attached to the back part of the fish. Keep the mouth open adding stuffing on both sides, top and bottom to create a rounded form. Attach the pairs of pectoral fins to both sides of the body and the pair of pelvic fins to the bottom of the fish placing toward the sides of the fish. Add eyes to the fish head - these can be made from Das Clay. Glue or tape in place.
8
Prepare Plast’r Craft per manufacturer’s instructions. Place one layer of Plast’r Craft over the entire fish sculpture, overlap edges and allow it to dry overnight. It may take longer to dry under certain conditions. At this time, determine if additional Plast’r Craft is needed and apply. Once dry add the mouth detail with additional Plast’r Craft. You may also need to use it to add more detail around the eyes and on the body.
9
Under paint the fish sculpture with a solid color tempera. When dry, apply one of the Prang Special Effects Tempera Paints. Use the same color as the base color. Dry completely.
10
Apply Sax Tempera Gloss Varnish as a final top coat.
11
Extra activities - Visit an Aquarium, a fish hatchery or fresh fish market to observe live or just caught fish.