Close

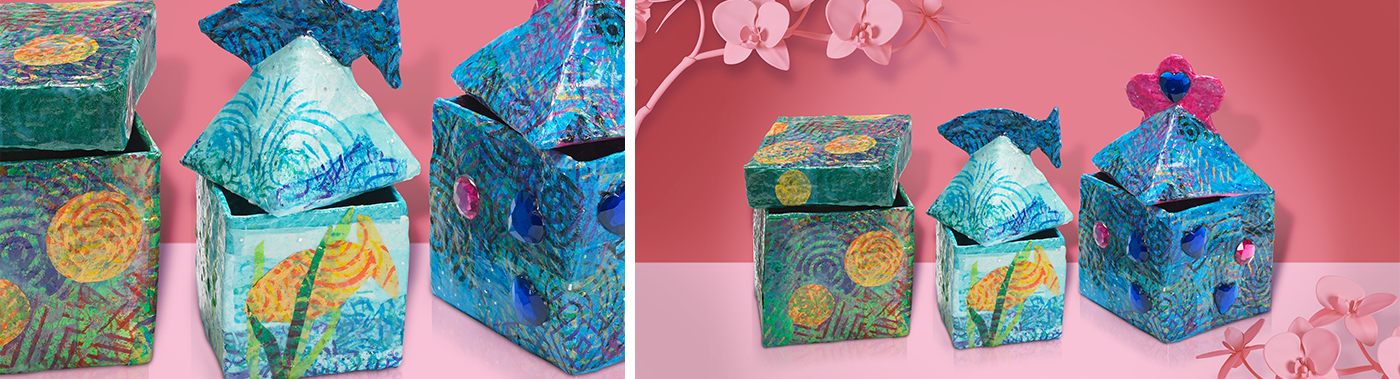
Feelings Box
Lesson Plan, Grades 5-12, History, Social Studies, Social/Emotional Learning, 3-D, Crafts
Description
Lesson Plan and Artwork by Mary Reilly
On any given day, someone may say or do something that offends us. We tend to carry these negative feelings around, only making us feel worse as the day goes on. What if we could take these bad feelings and tuck them away and even throw them away, giving us a fresh start to our day? The Feeling Boxes are designed as a vessel to put our negative feelings into. We can write down our feelings on a slip of paper and place them in the box. At the end of the day or week, we throw out these feelings collected in the box, cleansing our minds of negative thoughts. Many cultures have devised ways to release negative feelings and worries. One well-known example is the Guatemalan Worry Dolls. Have your students research others and share with the class.
Objectives
- Students will explore different types of boxes and their uses.
- Students will create designs that reflect their personality, making it truly their own creation and representative of themselves.
- Students will learn how to construct a box and lid using a simple plus sign (+) construction method.
- Students will have the opportunity to discuss how important it is to release negative feelings and how other cultures have devised ways to do so.
Supplies Needed
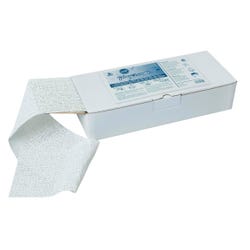
Plast'r Craft®, 5 lbs
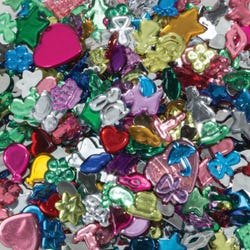
Gems, 1/2 lb
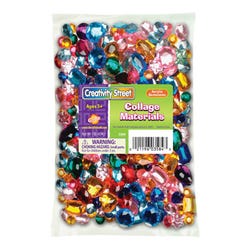
Acrylic Gemstones, 1 lb
Tissue Assortment, pack of 100
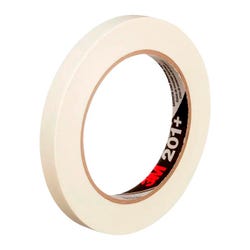
Masking Tape, .5 in x 60 yds
Tissue, Metallic, pack of 14
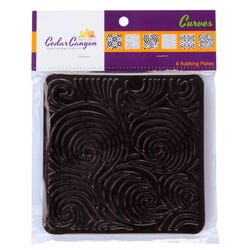
Rubbing Plates, Curves, 7 x 7 in, Set of 6
Glitter Tissue, Assorted, pack of 14
Grey Chipboard, 19x26, 40 pt.
*Here are the supplies needed for this lesson plan for reference. Find a convenient carousel of shoppable products for this lesson below.
Standards
Standard #2: Organize and develop artistic ideas and work.
Standard #3: Define and complete artistic work.
Standard #6: Convey meaning through the presentation of artistic work.
Standard #8: Interpret intent and meaning in artistic work.
Standard #10: Synthesize and relate knowledge and personal experiences to make art.
Instructions
1
Explore different types of boxes, their designs, construction, and uses. Research how other cultures have devised ways to release negative feelings and worries.
2
Have students develop a design/theme for their boxes that reflects their personalities. This design will become part of the box construction process.
3
Box Construction: Start with a plus sign (+) template. The template below represents a three-inch-plus box frame; each part of the plus sign (+) is three inches - the base and sides of the box. Have students start by drawing a template on paper. Trace the template on newsboard. Draw lines to mark the base lines. See template below. Cut out the shape; score the base lines. Fold on the lines to create the box. Tape sides using masking tape.
4
Lid Construction: Have students create their design on paper, starting with a plus sign (+) template. For the three-inch box you will need a three-inch base. The sides can be any height; can be made into a small box to fit on top of the base; can be cut at angles to form a point; and shapes can be added to add personality to the lid. Once the design has been created it can be drawn out on newsboard, cut, scored and taped together with masking tape. Have students cut a 2½- inch square out of ¼-inch-thick cardboard. This 2½- inch square will need to be centered on the bottom of the lid and glued down. This square will keep the lid from slipping off the base.
5
Cut Plast’r Craft into small strips for ease of application onto the box and lid shapes. Prepare Plast’r Craft per manufacturer’s instructions. Place one layer of Plast’r Craft over the sides of the box, leaving the inside and bottom base free of Plast’r Craft. Allow it to dry. The Plast’r Craft will make the box sturdier to handle. If texture is desired, the Plast’r Craft easily can be manipulated to create different types of textures at the time of application. In addition to the base, have students cover the lid. The sides and bottom of the lid will need to be covered in Plast’r Craft. Let lid dry well.
6
Create different patterned papers by using Tissues, Tempera Sticks, and rubbing plates. Students will use these papers to decorate their boxes and make them their own. Students should experiment with different colors and patterns.
7
Students should select the papers that will best help them complete their design. Students can trade with each other to achieve the patterns and colors they need. Once students have chosen the papers they want to use, they should experiment with placement. Students should try to create a placement that will use the whole surface of the box and lid. Once students are comfortable with their design, they can use Multi Media Varnish to adhere the tissue paper, first to the inside of the box and then to the outside, completing their design. Allow to dry. Students can now add other embellishments such as Gem Stones.
8
Have students display their boxes and discuss how the boxes reflect their personalities. Discuss how they can write negative feelings on pieces of paper to put into their Feeling Boxes. Students can decide how often they want to dispose of their negative feelings.